
Colour Printer User's Guide
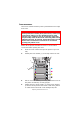


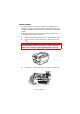
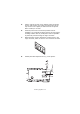

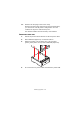
Table Of Contents
- Preface
- Emergency First Aid
- Importer to the EU
- Environmental Information
- Contents
- Notes, Cautions and Warnings
- Introduction
- Paper recommendations
- Loading paper
- Printer settings in Windows
- Printer settings in Mac
- Mac OS 9
- Choosing Printing Options
- Changing the default print settings
- Page Setup Options - General
- Page Setup Options - Layout
- Page Setup Options - Custom Paper Size
- Print Options - General
- Print Options - Print Control
- Print Options - Colour
- Print Options - Layout
- Print Options - Options
- Print Options - Select Panel Language
- Print Options - Watermark
- Print Options - Information
- Mac OS X
- Mac OS 9
- Colour printing
- Menu functions
- Replacing consumable items
- Installing upgrades
- Clearing paper jams
- Specifications
- Index
- Oki contact details
Installing upgrades> 98
5. Lift the edge of the side cover slightly at the two points
shown, and pull the cover away from the printer at the
top. Lift the cover slightly to detach it from the printer.
Place it safely to one side.
6. Carefully remove the new memory board from its
wrapping. Try to handle the board only by its short edges,
avoiding contact with any metal parts as far as possible.
In particular, avoid touching the edge connector.
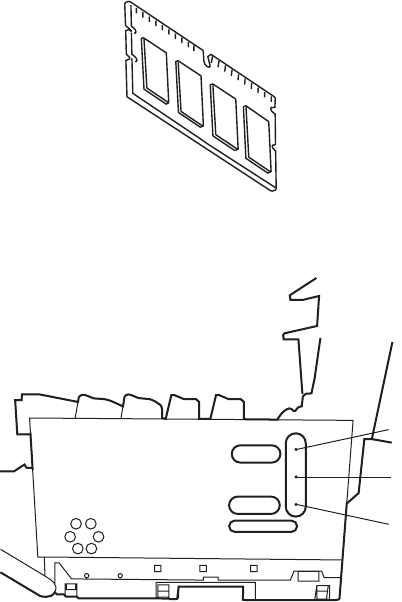
7. Notice that the memory board has a small cutout in the
edge connector, which is closer to one end than the other.
8. Identify the RAM expansion slot (1) in the printer.
1
2
2