
Printer Developer's Guide
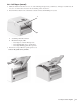
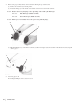
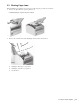
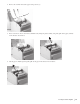
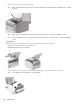
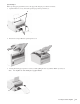
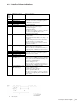
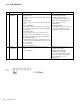
Table Of Contents
- Contents
- 1. Setting Up the Printer
- 1.1. Select a Location
- 1.2 Where to install your printer
- 1.3 Unpacking
- 1.4 Installing the Printer
- 1.5 Installing the Paper
- 2. Using the Printer
- 3. Maintenance
- 4. Troubleshooting and Repair
- 5. Specifications
- 5.1 Introduction
- 5.2 General Specifications
- 5.3 Communication Interface Specifications
- 5.4 Physical Characteristics
- 5.5 Logical Characteristics
- 5.6 Printer Performance
- 5.7 Media Specifications
- 5.8 Paper Feed Specifications
- 5.9 MICR Specifications (Only with MICR type)
- 5.10 Auto Cutter Specifications
- 5.11 Ribbon Specifications
- 5.12 Reliability
- 6. Command Description
- 7. Using the Unitool Printer Driver
- 1. Setting Up the Printer
56
OKIPOS 425D
|
5. Gently remove the paper left on the Auto Cutter.
Note: When the blade of the Auto Cutter is exposed, turn the knob (1), and manually move the blade to the original
position.
o425_79.jpg
Note: Turn on the power. If the Auto Cutter behaves abnormally, contact your shop or maintenance service.
Note: Do not forcibly remove a piece of paper left in the Auto Cutter. Use a vacuum cleaner, or contact maintenance
service.
Cut-Sheet Paper
When cut-sheet paper gets jammed, remove the paper, following the procedure shown below:
1. Press the Cover Open Bar and open the printer cover
* Print head may be hot. Exercise caution.
o425_31.jpg and o425_32.jpg
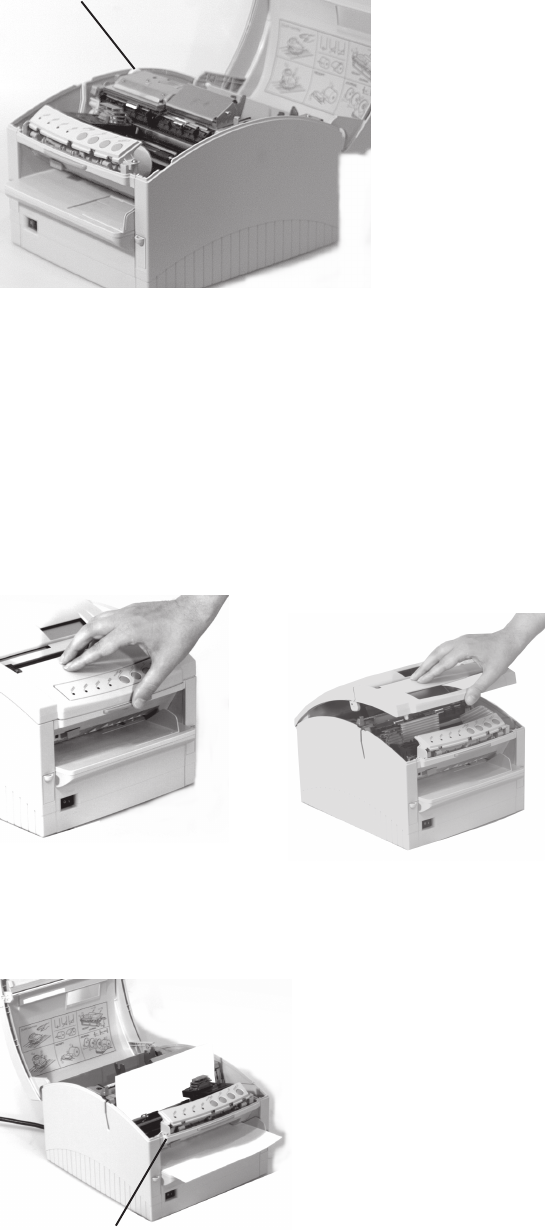
2. Slowly pull out the paper upward or toward you while pulling the lever (1) [marked “PULL”] toward you.
Note: Be careful not to leave small pieces of paper behind.
o425_60.jpg
1
1