
User's Manual
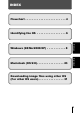
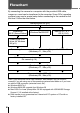
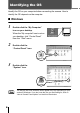
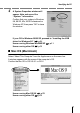

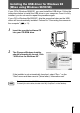
Table Of Contents
- CAMERA OPERATION
- INDEX
- Contents
- Getting started
- Shooting basics
- Advanced shooting
- Using the self-timer
- Shooting pictures sequentially (Sequential shooting)
- Varying the image brightness (Exposure compensation)
- Selecting the metering area (Spot metering)
- Adjusting the color tone (White balance)
- Selecting the image quality and size (Record mode)
- Panorama shooting
- Taking two-in-one pictures
- Taking a picture of yourself (Self-portrait shooting)
- Playback
- Camera settings
- Print settings
- Troubleshooting
- Specifications
- Index
- CONNECTING THE CAMERA TO A PC
9
Windows
Installing the USB driver for Windows 98
(When using Windows 98/98 SE)
If your OS is Windows 98/98 SE, you must install the USB driver. Follow the
instructions below to install the USB driver in your computer. Once it is fully
installed, you do not need to repeat the procedure again.
If your OS is Windows Me/2000/XP, skip the procedure below as the USB
driver will be automatically installed. Proceed to “Connecting the camera to
the computer” (
p.11).
1
Insert the provided software CD
into your CD-ROM drive.
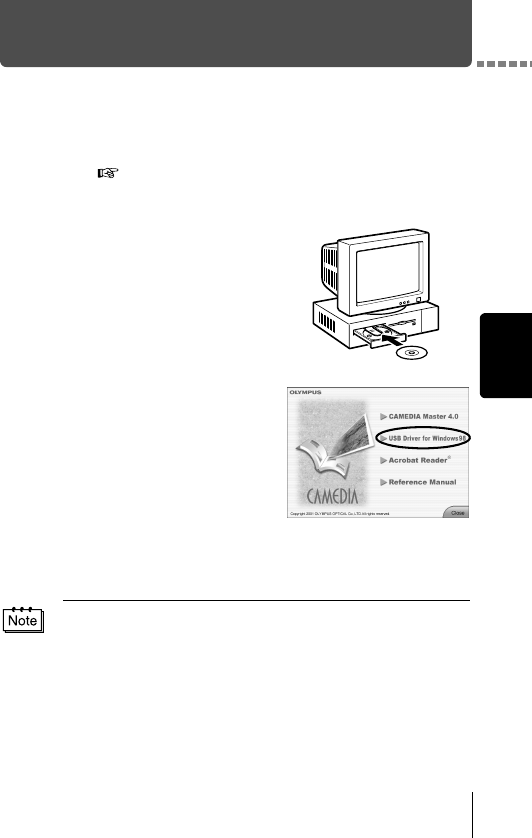
2
The Olympus Windows Installer
should automatically launch. Click
“USB driver for Windows 98”.
If the installer is not automatically launched, select “Run..” on the
“Start” menu and then execute “(drive letter):/ Information.exe”.
The drive letter of the CD-ROM varies depending on the computer.
To identify the drive letter, double-click “My Computer” on the desktop.