
Impress Guide
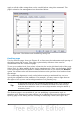
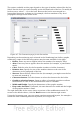
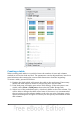

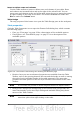

Figure 48: Nested list with mixture of numbers and bullets
Changing the order of the outline level lines
Click once in a line of text to place the cursor in it, then click on the Outline tab (to
the right of the Normal tab) in the Workspace and use the Promote/Demote buttons
in the Text Formatting toolbar to move the text to the appropriate position and give it
the appropriate outline level.
The button with the arrow pointing left promotes the list entry by one
level (for example from Outline 3 to Outline 2), the right arrow button demotes the
list entry by one level, the up and down arrow buttons move the list entry. Numbering
adjusts automatically.
Tip
You can also use the Tab key and Shift + Tab keys to promote and demote
the outline level of a line in a list.
Using tables
Tables are a powerful mechanism to convey structured information quickly, so they
represent an important tool when creating a presentation. You can create tables
directly in Impress; there is no need to embed a Calc spreadsheet or a Writer text
table, although in some circumstances it makes sense to do so as the functionality
provided by a Calc spreadsheet is far superior to that provided by an Impress table.
Many predefined table designs are available in the Table design section of the task
pane.
Chapter 3 Adding and Formatting Text 67