
User manual


Table Of Contents
- using your Treo™ 650 smartphone by palmOne
- Contents
- Welcome
- If you read nothing else...
- read this now: getting started
- first day: learning the basics
- first week: using phone, web, and messaging
- Phone overview
- Dialing calls
- Receiving calls
- Using voicemail
- Managing active calls
- More ways to manage calls
- Defining favorite buttons
- Using a phone headset
- Connecting to devices with Bluetooth® wireless technology
- Using dial-up networking
- Sending and receiving email
- Transferring settings from an existing account (Windows only)
- Setting up an account on your computer: Common providers (Windows only)
- Setting up an account on your computer: Other providers (Windows only)
- Setting up an account on your phone
- Creating and sending messages
- Attaching photos and videos
- Attaching ringtones
- Attaching Word, Excel, and PowerPoint files
- Attaching other types of files
- Receiving and viewing messages
- Replying to or forwarding messages
- Viewing attachments
- Managing your messages
- Deleting selected messages from the Inbox
- Deleting messages by date
- Switching accounts
- Customizing your email settings
- Scheduling Auto Sync
- Selecting alert tones
- Setting preferences for getting messages
- Attaching a signature to a message
- Working with Microsoft Exchange ActiveSync
- Messaging
- Browsing the web
- Viewing a web page
- Creating a bookmark
- Saving a page
- Viewing bookmarks or saved pages
- Editing or deleting a bookmark or saved page
- Arranging bookmarks and saved pages
- Downloading files from a web page
- Copying text from a web page
- Using the History list
- Finding text on a web page
- Customizing your web browser settings
- Manually disconnect the Internet connection
- Taking photos and videos
- first two weeks: using organizer features
- first month: managing applications
- when you’re ready: customizing your TreoTM smartphone
- Phone settings
- System sound settings
- Display and appearance
- Applications settings
- Button settings
- Date and time settings
- Power Preferences
- Locking your phone and info
- Using Keyguard
- Using Auto-Keyguard and touchscreen lockout
- Using Phone Lock
- Using system password lock
- Setting Owner Preferences
- Working with private entries
- Hiding or masking all private records
- Viewing all private records
- Viewing private entries in a specific application
- Security and Palm® Desktop software (Windows)
- Connecting to a virtual private network
- if something happens: help
- Upgrading from another Palm Powered™ device
- Trouble installing the desktop software?
- Resetting your Treo™ 650 smartphone
- Replacing the battery
- Screen
- Network connection
- Signal strength is weak
- Treo smartphone won’t connect to the mobile network
- Treo smartphone hangs up when I hold it to my ear
- Treo smartphone seems to turn off by itself
- The smartphone makes or answers calls when it’s in a briefcase or pocket
- I can’t tell if data services are available
- The Treo 650 smartphone won’t connect to the Internet
- I can’t send or receive text messages
- I can’t make or receive calls using a hands-free device with Bluetooth® wireless technology
- I hear static or interference when using my hands-free device
- Some features of my hands-free device don’t work with my smartphone
- Dial-up networking
- Synchronization
- Email
- I have problems using my account
- I have problems sending and receiving email
- Auto Sync is not working
- I have problems sending email
- I have problems synchronizing messages on my phone with messages on my computer
- My vCard or vCal email attachment isn’t forwarding correctly
- After I get messages, either manually or through Auto Sync, messages disappear from my Inbox
- I am using Microsoft Exchange ActiveSync, but the last seven days of email messages and Calendar events are not downloading to my phone
- Web
- Camera
- Third-party applications
- Error messages
- Making room on your Treo™ 650 smartphone
- Voice quality
- Getting additional help
- Glossary
- FCC
- Index
- Specifications
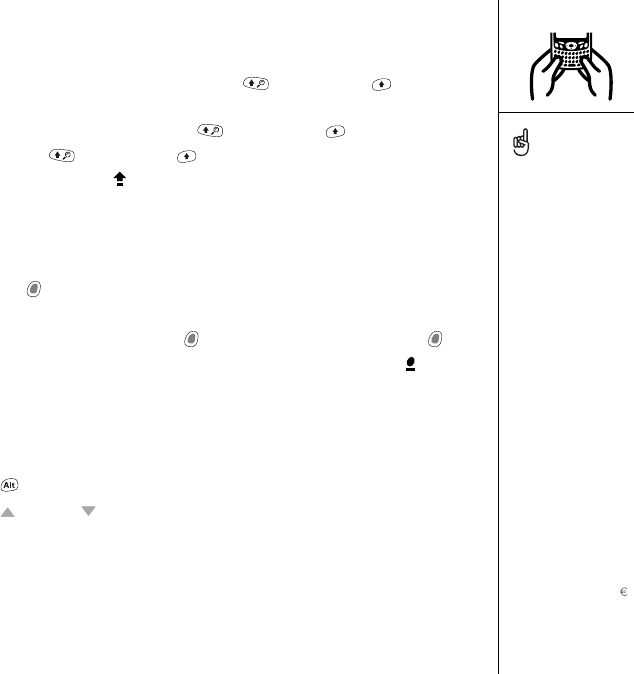
Using the keyboard :: 23
Entering lowercase and uppercase letters
• To enter lowercase letters, press the desired keys.
• To enter an uppercase letter, press Shift/Find or Right Shift , and then
enter a letter. You don’t need to press and hold Shift while entering a letter.
• To turn Caps Lock on, press Shift/Find or Right Shift twice. To turn it off,
press Shift/Find or Right Shift again. When Caps Lock is on, this symbol
appears in the lower right: .
Entering numbers, punctuation, and symbols that appear above the
letters on the keys
• Press Option , and then press the key with the desired character shown above
the letter. You don’t need to press and hold Option while pressing the second key.
• To turn Option Lock on, press Option twice. To turn it off, press Option
again. When Option Lock is on, this symbol appears in the lower right: .
Entering other symbols and accented characters
1. Enter the character that corresponds to the symbol or accented character you
want. See the table on the next page.
2. Press Alt .
3. Press Up or Down to highlight the desired character.
4. Press Center to insert the character.
In many applications, you
can view a list of all the
alternate characters. Open
the Edit menu and select
Keyboard Help.
Some application views
automatically default to
Option Lock, such as the
Dial Pad View in the Phone
application or the
Calculator. In this case, you
do not have to press and
hold Option to enter
numbers.
The alternate characters
are grouped according to
their similarity to the
corresponding key. For
example, the alternate
characters available for the
e key are é, è, ë, ê, and .
RushUG.book Page 23 Monday, June 13, 2005 1:33 PM