
Advanced Operating Manual


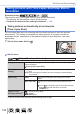
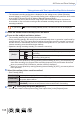
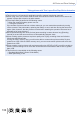

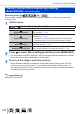
Table Of Contents
- Finding the information you need
- How to use this manual
- Contents
- Contents by Function
- Before Use
- Preparations
- Basics
- Holding the camera
- Basic Operation
- [LVF] button (Recording pictures using the viewfinder)
- Zoom Lever (Use Zoom)
- [Zoom Compose Assist] button (Using the Zoom Compose Assist function)
- Shutter button (Taking pictures)
- Motion picture button (Recording motion pictures)
- Mode dial (Select the recording mode)
- Front Dial/Rear Dial
- Control ring
- Cursor button / [MENU/SET] button (Selecting/setting items)
- [DISP.] button (Switching the display information)
- Touch screen (Touch operations)
- Taking pictures using the touch function
- Setting the menu
- Calling frequently-used menus instantly (Quick Menu)
- Assigning frequently used functions to the buttons (Function buttons)
- Entering Text
- Recording mode
- Taking pictures with automatic settings (Intelligent Auto Mode)
- Taking pictures after automatically setting the aperture value and shutter speed (Program AE Mode)
- Taking pictures by setting the aperture value and shutter speed
- Taking pictures by setting the aperture value (Aperture-Priority AE Mode)
- Taking pictures by setting the shutter speed (Shutter-Priority AE Mode)
- Taking pictures by setting the aperture value and shutter speed (Manual Exposure Mode)
- Checking the effects of the aperture value and shutter speed (Preview Mode)
- Easily set aperture value / shutter speed for suitable exposure (One Push AE)
- Recording panorama pictures (Panorama Shot Mode)
- Taking pictures according to the scene (Scene Guide Mode)
- Taking Pictures with different picture effects (Creative Control Mode)
- Recording motion pictures by setting the aperture/shutter speed/ISO sensitivity (Creative Video Mode)
- Registering your own settings and recording (Custom Mode)
- Focus, Brightness (Exposure) and Color tone Settings
- 4K Photo and Drive Settings
- Selecting a Drive Mode
- Burst function
- Recording with the 4K Photo function and selecting pictures to save
- Adjusting the focus after recording ([Post Focus]/[Focus Stacking])
- Taking pictures with Time Lapse Shot/Stop Motion Animation
- Taking pictures with self-timer
- Taking Pictures While Adjusting a Setting Automatically (Bracket Recording)
- Stabilizer, Zoom and Flash
- Recording motion pictures
- Playing Back and Editing Pictures
- Using Menu Functions
- Wi-Fi/Bluetooth
- What you can do with the Wi-Fi®/Bluetooth® function
- Wi-Fi/Bluetooth Function
- Connecting the camera to a smartphone
- Controlling with a Smartphone
- Turning on/off the camera using a smartphone
- Operating the shutter button of the camera using a smartphone (remote recording)
- Playing back or saving images stored on the camera, or uploading them on social media sites
- Transferring recorded images to a smartphone automatically
- Writing location information of a smartphone on a recorded image
- Synchronizing the camera’s clock with a smartphone
- Combining motion pictures recorded with Snap Movie according to your preference on a smartphone
- Displaying still pictures on a TV
- Sending pictures
- Sending pictures to a smartphone
- Wireless printing
- Sending pictures to AV device
- Sending pictures to a PC
- Using WEB services
- About Wi-Fi connections
- [Wi-Fi Setup]
- Connecting with other devices
- Others
137
4K Photo and Drive Settings
Taking pictures with Time Lapse Shot/Stop Motion Animation
Creating stop motion animation [Stop Motion Animation]
You can stitch still pictures to create stop motion animation.
1
Set the drive mode dial to [ ]
2
Set the menu
→ [Rec] → [Time Lapse/Animation]
[Mode] Switches the recording method between [Time Lapse Shot] and [Stop
Motion Animation].
Select [Stop Motion Animation]
[Auto Shooting] [ON]: Takes pictures automatically at a set recording interval.
[OFF]: Takes pictures manually, one frame at a time.
[Shooting Interval] (Only when [Auto Shooting] is set to [ON])
Set the interval used for [Auto Shooting].
If you touch [ ] on the recording standby screen, the menu screen will be displayed.
3
Press the shutter button halfway to exit the menu
4
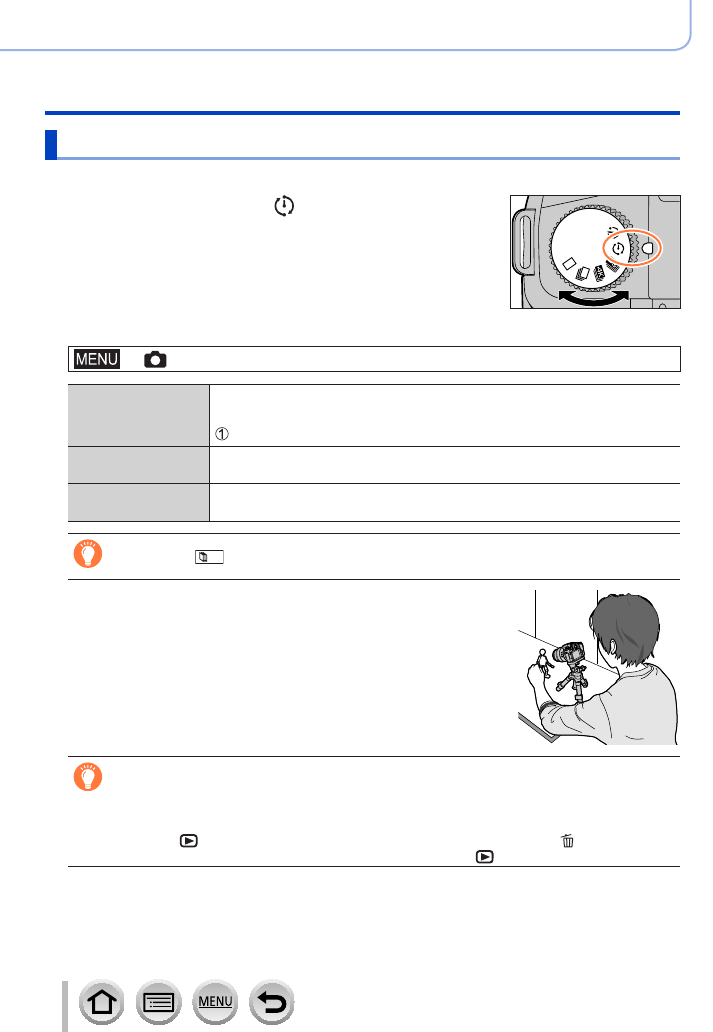
Focus on the subject and take a picture
5
Move the subject to decide on the composition (repeat)
• Up to 9,999 frames can be recorded.
• When you turn off the camera during recording, a
message to restart recording will appear when you turn
on the camera.
How to create stop motion animation effectively
●
Up to two previously recorded pictures are displayed on the recording screen. Check this screen
as a guideline for determining the amount of required motion.
●
You can press [ ] (Playback) button to check the recorded pictures. Press [ ] button to delete
unnecessary pictures. To return to the recording screen, press [
] (Playback) button again.