Digital Camera User Manual
Table Of Contents
- Contents
- Before Use
- Preparation
- Basic
- Selecting the Recording Mode
- Tips for taking good pictures
- Taking a Still picture
- Taking Pictures using the Automatic Function (Intelligent Auto Mode)
- Taking Pictures with Defocus Control Function
- Taking Pictures with Your Favorite Settings (Program AE Mode)
- Recording Motion Pictures
- Playing Back Pictures/Motion Pictures
- Deleting Pictures
- Setting the Menu
- Setting the Quick Menu
- About the Setup Menu
- Recording
- Optical Image Stabilizer
- Taking Pictures with the Zoom
- Taking Pictures using the Built-in Flash
- Compensating the Exposure
- Taking Pictures using Burst Mode
- Taking Pictures using Auto Bracket
- Taking Pictures with the Self-timer
- Taking Pictures with Auto Focus
- Taking Pictures with Manual Focus
- Adjusting the White Balance
- Setting the Light Sensitivity
- Using the function button
- Taking Pictures by Specifying the Aperture/ Shutter Speed
- Taking Pictures that match the Scene being recorded (Scene Mode)
- Taking Pictures with different image effects (Creative Control Mode)
- Taking Pictures in Custom Mode
- Recording still pictures while recording motion pictures
- Taking a Picture with Face Recognition Function
- Entering Text
- Using the [REC] Mode Menu
- [PHOTO STYLE]
- [ASPECT RATIO]
- [PICTURE SIZE]
- [QUALITY]
- [FACE RECOG.]
- [FOCUS MODE]
- [QUICK AF]
- [METERING MODE]
- [FLASH]
- [RED-EYE REMOVAL]
- [FLASH SYNCHRO]
- [FLASH ADJUST.]
- [I.RESOLUTION]
- [I.DYNAMIC] (Intelligent dynamic range control)
- [ISO LIMIT SET]
- [ISO INCREMENTS]
- [LONG SHTR NR]
- [SHADING COMP.]
- [EX. TELE CONV.]
- [DIGITAL ZOOM]
- [BURST RATE]
- [AUTO BRACKET]
- [SELF-TIMER]
- [COLOR SPACE]
- [STABILIZER]
- Using the [MOTION PICTURE] Mode Menu
- Using the [CUSTOM] Menu
- Playback/Editing
- Connecting to other equipment
- Others

- 181 -
Connecting to other equipment
∫ [PAPER SIZE]
•
Paper sizes not supported by the printer will not be displayed.
∫ [PAGE LAYOUT] (Layouts for printing that can be set with this unit)
•
An item cannot be selected if the printer does not support the page layout.
∫ Layout printing
When printing a picture several times on 1 sheet of paper
For example, if you want to print the same picture 4 times on 1 sheet of paper, set
[PAGE LAYOUT] to [ä] and then set [NUM. OF PRINTS] to 4 for the picture that you
want to print.
When printing different pictures on 1 sheet of paper
For example, if you want to print 4 different pictures on 1 sheet of paper, set
[PAGE LAYOUT] to [ä] and then set [NUM. OF PRINTS] to 1 for each of the 4 pictures.
Note
•
The camera is receiving an error message from the printer when the [¥] indication lights
orange during printing. After finishing printing, make sure there are no problems with the
printer.
• If the number of prints is high, the pictures may be printed several times. In this case, the
remaining number of prints indicated may differ from the number set.
• Only pictures taken in JPEG format can be printed. Those taken in RAW will use the JPEG
pictures that were simultaneously created. If an equivalent JPEG picture is not available, no
print will take place.
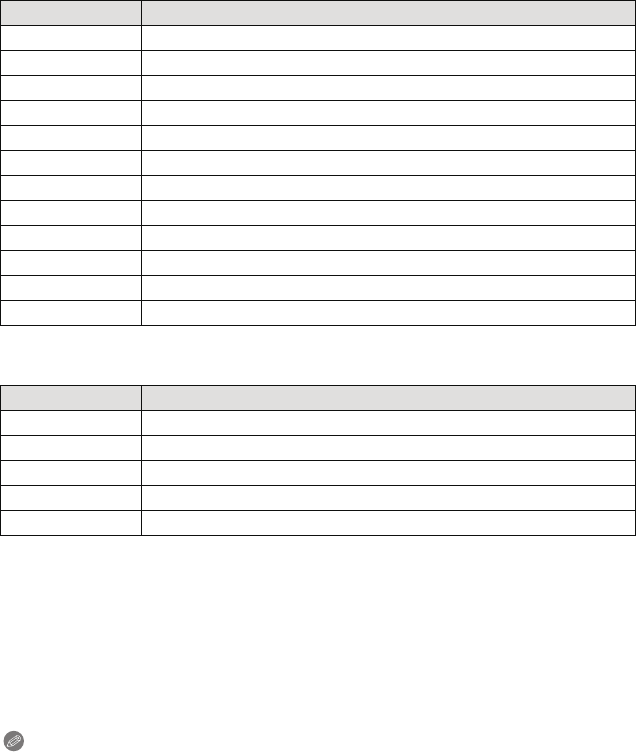
Item Description of settings
{ Settings on the printer are prioritized.
[L/3.5qk5q]
89 mm
k
127 mm
[2L/5qk7q] 127 mmk178 mm
[POSTCARD] 100 mmk148 mm
[16:9] 101.6 mmk180.6 mm
[A4] 210 mmk297 mm
[A3] 297 mmk420 mm
[10k15cm] 100 mmk150 mm
[4qk6q] 101.6 mmk152.4 mm
[8qk10q] 203.2 mmk254 mm
[LETTER] 216 mmk279.4 mm
[CARD SIZE] 54 mmk85.6 mm
Item Description of settings
{ Settings on the printer are prioritized.
á 1 picture with no frame on 1 page
â 1 picture with a frame on 1 page
ã 2 pictures on 1 page
ä 4 pictures on 1 page


