
Digital Camera User Manual
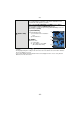
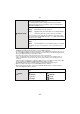
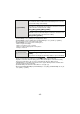
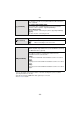
Table Of Contents
- Contents
- Before Use
- Preparation
- Basic
- Selecting the Recording Mode
- Tips for taking good pictures
- Taking a Still picture
- Taking Pictures using the Automatic Function (Intelligent Auto Mode)
- Taking Pictures with Defocus Control Function
- Taking Pictures with Your Favorite Settings (Program AE Mode)
- Recording Motion Pictures
- Playing Back Pictures/Motion Pictures
- Deleting Pictures
- Setting the Menu
- Setting the Quick Menu
- About the Setup Menu
- Recording
- Optical Image Stabilizer
- Taking Pictures with the Zoom
- Taking Pictures using the Built-in Flash
- Compensating the Exposure
- Taking Pictures using Burst Mode
- Taking Pictures using Auto Bracket
- Taking Pictures with the Self-timer
- Taking Pictures with Auto Focus
- Taking Pictures with Manual Focus
- Adjusting the White Balance
- Setting the Light Sensitivity
- Using the function button
- Taking Pictures by Specifying the Aperture/ Shutter Speed
- Taking Pictures that match the Scene being recorded (Scene Mode)
- Taking Pictures with different image effects (Creative Control Mode)
- Taking Pictures in Custom Mode
- Recording still pictures while recording motion pictures
- Taking a Picture with Face Recognition Function
- Entering Text
- Using the [REC] Mode Menu
- [PHOTO STYLE]
- [ASPECT RATIO]
- [PICTURE SIZE]
- [QUALITY]
- [FACE RECOG.]
- [FOCUS MODE]
- [QUICK AF]
- [METERING MODE]
- [FLASH]
- [RED-EYE REMOVAL]
- [FLASH SYNCHRO]
- [FLASH ADJUST.]
- [I.RESOLUTION]
- [I.DYNAMIC] (Intelligent dynamic range control)
- [ISO LIMIT SET]
- [ISO INCREMENTS]
- [LONG SHTR NR]
- [SHADING COMP.]
- [EX. TELE CONV.]
- [DIGITAL ZOOM]
- [BURST RATE]
- [AUTO BRACKET]
- [SELF-TIMER]
- [COLOR SPACE]
- [STABILIZER]
- Using the [MOTION PICTURE] Mode Menu
- Using the [CUSTOM] Menu
- Playback/Editing
- Connecting to other equipment
- Others
- 69 -
Recording
Recording Mode:
Recording
Optical Image Stabilizer
Using one of these modes, jitter during picture taking is detected, and the camera
automatically compensates the jitter, enabling jitter-free images to be taken.
The interchangeable lens (H-FS014042, H-FS045200) has a stabilizer function.
•
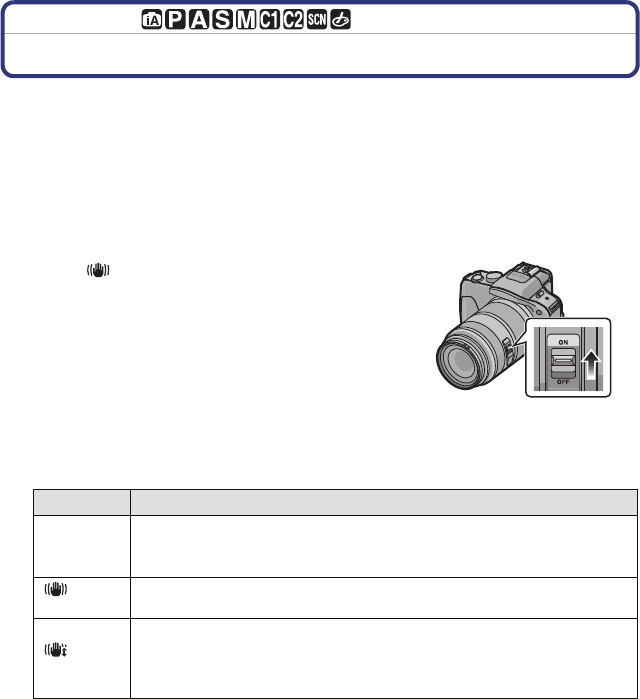
There is an [O.I.S.] switch on the interchangeable lens (H-FS045200).
• There is no [O.I.S.] switch on the interchangeable lens (H-FS014042). Set the [STABILIZER]
settings in the [REC] Mode menu.
∫ Setting the Stabilizer in the [REC] Mode menu
1 Select [STABILIZER] in the [REC] Mode menu. (P56)
2 Press 3/4 to select the setting and then press [MENU/SET].
¢ This item cannot be set in the Intelligent Auto Mode.
•
The [STABILIZER] feature is only available if the lens you are using has an internal
stabilizer.
• Exit the menu after it is set.
When using a lens with an [O.I.S.] switch, it is
possible to set to enable the Optical Image Stabilizer
by switching the [O.I.S.] switch on the lens to [ON].
(It is set to [ ] at the time of purchase.)
Example when a lens with the
[O.I.S.] switch is mounted.
Item
Settings
[OFF]
[STABILIZER] does not work.
(This can be selected only when using a lens without the [O.I.S.]
switch.)
[]
(Normal)
Jitter is always compensated during Recording Mode.
[]
¢
(Panning)
Camera shake is corrected for up/down movements. This mode is ideal
for panning (a method of taking pictures which involves turning the
camera to track the movements of a subject which continues to move
in a fixed direction).