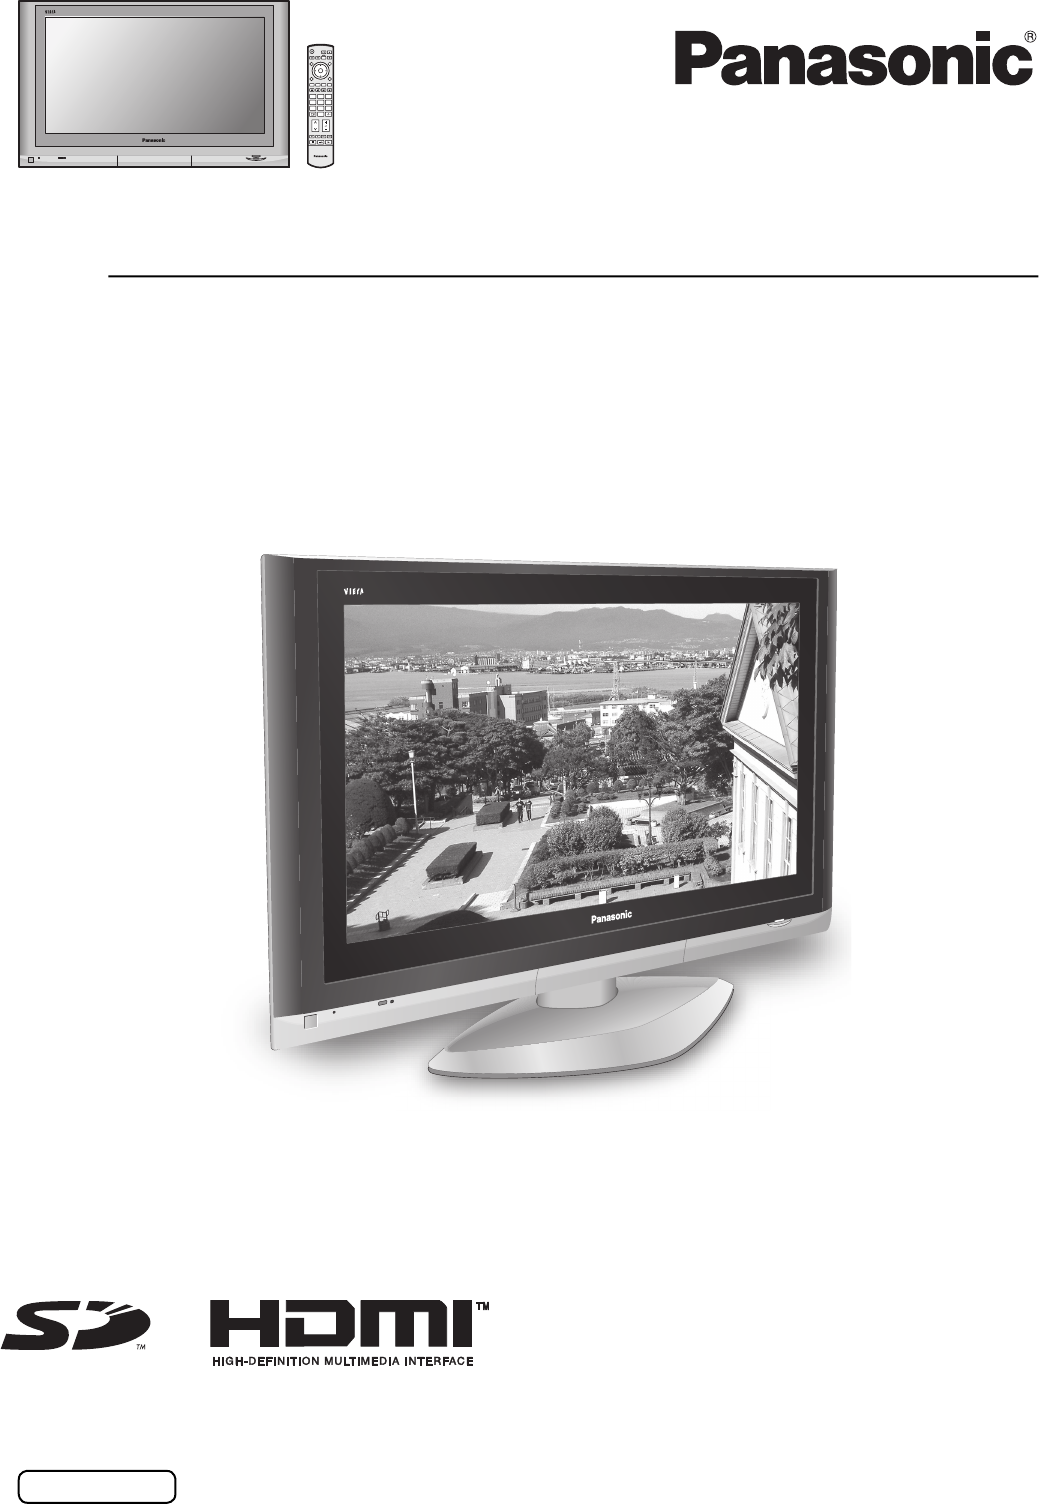
OK 1 4 7 2 5 8 0 3 6 9 TV Operating Instructions Plasma Television with HD Monitor Input Model No. TH-42PV500A TH-50PV500A The illustration shown is an image. Pedestal stand shown above is optional extra. Please read these instructions before operating your set and retain them for future reference.
Welcome Dear Panasonic Customer, Welcome to the Panasonic family of customers. We hope that you will have many years of enjoyment from your new Plasma TV. To obtain maximum benefit from your set, please read these Instructions before making any adjustments, and retain them for future reference. Retain your purchase receipt also, and note down the model number and serial number of your set in the space provided on the rear cover of these instructions. Contents Important Safety Notice .......................
Important Safety Notice WARNING 1) To prevent damage which may result in fire or shock hazard, do not expose this appliance to dripping or splashing. Do not place containers with water (flower vase, cups, cosmetics, etc.) above the set. (including on shelves above, etc.) No naked flame sources, such as lighted candles, should be placed on / above the set. 2) To prevent electric shock, do not remove cover. No user serviceable parts inside. Refer servicing to qualified service personnel.
Safety Precautions WARNING Setup This Plasma TV is for use only with the following optional accessories. Use with any other type of optional accessories may cause instability which could result in the possibility of injury. (All of the following accessories are manufactured by Matsushita Electric Industrial Co., Ltd.) • Pedestal ............................................ TY-ST42PX500 (TH-42PV500A), TY-ST50PX500 (TH-50PV500A) • Display stand ....................................
Safety Precautions If problems occur during use If a problem occurs (such as no picture or no sound), or if smoke or an abnormal odour starts to come out from the Plasma TV, immediately unplug the power supply plug from the wall outlet. • If you continue to use the Plasma TV in this condition, fire or electric shock could result. After checking that the smoke has stopped, contact your local Panasonic dealer so that the necessary repairs can be made.
Accessories Check that you have the accessories and items shown Operating Instructions Mains Lead Remote Control Transmitter (N2QAJB000156) Batteries for the Remote Control Transmitter (2 × R6 (AA) size) Clamper × 2 OK 1 4 7 2 5 8 0 3 6 9 TV Fitting remote control batteries 1 2 3 “R6 (AA)” size Pull and hold the hook, then open the battery cover. • • • • Insert batteries - note correct polarity ( + and -). Replace the cover. Make sure that the batteries are fitted the correct way round.
Cable binding instructions Cable cover Mains Lead Removal 1. Push down hooks and pull the cover slightly towards yourself to disengage the claws (at 2 points). 2. Slowly pull out in the downward direction. Clamper Open Close Clamp How to fix: Fitting Fix by pushing in till a clicking sound is heard. How to release: Pull down while drawing the knob. 1. Insert the claws (at 2 points) at the bottom end. 2. Push until it clicks.
Antenna connection For proper reception of VHF / UHF channels, an external antenna is required. For best reception, an outdoor antenna is recommended. VHF Aerial UHF Aerial VCR Mixer ANT OUTPUT ANT INPUT OR 75 Ω Coaxial cable Notes: • Do not put the Coaxial cable close to the mains lead to avoid noise. • Do not place the Coaxial cable under the TV. • Additional equipment, cables and adapter plugs shown are not supplied with this TV set.
Connections It is possible to connect a variety of additional equipment to this TV. The following pages detail how to connect external equipment to the front and rear of the TV. Once your equipment is connected, use the following procedure to view the input: TV/AV Press the TV/AV button. Whilst the on screen selector keys are displayed, select the page by pressing the Red or Blue button and then press coloured buttons to select the AV source you wish to view.
Connections AV IN AUDIO IN L AV1 IN AV2 IN VIDEO Y COMPONENT Y VIDEO MONO R PC AV4 IN COMPONENT S VIDEO MONITOR OUT MONO PB/CB L MONO PB/CB L AUDIO PR/CR PR/CR R R AUDIO How to connect the Monitor Output terminals to other Equipment Example of output signal source VCR MONITOR AV IN AUDIO IN VIDEO IN AV4 IN COMPONENT VIDEO Y COMPONENT Y VIDEO R AUDIO IN AV2 IN L L Amplifier to speaker system AV1 IN S VIDEO MONITOR OUT MONO MONO PB/CB L MONO PB/CB L AUDIO R
Connections How to connect the AV2 / AV4 Component Input terminals Example of input signal source COMPONENT VIDEO OUT Y DVD PLAYER Y, PB, PR, OUT Connect the VIDEO or COMPONENT VIDEO terminal.
Connections How to connect the PC Input terminal Example of input signal source COMPUTER Conversion adapter (if necessary) RGB AV IN AUDIO IN (D-sub 15p) L AUDIO L AV1 IN AV4 IN COMPONENT VIDEO Y COMPONENT Y VIDEO MONO MONO PB/CB R PC L MONO PB/CB L AUDIO (Stereo plug) AV2 IN S VIDEO MONITOR OUT PR/CR R PR/CR R R AUDIO PC IN AUDIO IN Notes: • Connect a cable which matches the audio output terminal on the computer.
Basic controls: front panel and remote control Headphones jack (see page 9) AV3 terminals (see page 9) PC CARD slot (see page 27) /MONO AV3 IN S VIDEO VIDEO TV/AV button (see page 9) On / Off switch SD CARD slot (see page 27) STR (Normalization store) Used to store tuning and other function settings. Standby On / Off button Switches TV On or Off (Standby mode). Surround On / Off (see page 20) MULTI PIP SD REC MENU button Press to access the Picture, Sound and Setup menus.
Using the On Screen Displays Many features available on this TV can be accessed via the On Screen Display menu system. Use the remote control as shown below to access and adjust features as desired. The MENU button is used to open the main menus and also to return to the previous menu. MENU OK The up and down cursor buttons are used to move the cursor and select menus. 1 4 7 The left and right cursor buttons are used to access menus, adjust levels or to select from a range of options.
Tuning Tuning menu During TV mode MENU Press the MENU button. Move to choose Setup menu. OK Access Setup menu. 1 4 7 Move to choose Tuning menu. Access Tuning menu. 2 5 8 0 3 6 9 Move to choose menu option. Adjust chosen option or access chosen menu. TV Press the EXIT button at any time to go back to watching TV. EXIT Pressing the OK button after having adjusted some features will store the setting as the default (replacing the factory setting). OK Sys select Select the system.
Tuning Auto tuning Auto tuning automatically retunes your TV. This feature is useful if, e.g., you move house and wish to retune your TV to receive the local stations. Press the MENU button. MENU Move to choose Setup menu. OK Access Setup menu. 1 4 7 Move to choose Tuning menu. 2 5 8 0 3 6 9 Access Tuning menu. Move to choose Auto tuning.
Tuning Manual tuning It is possible to retune individual programme positions: Press the MENU button. MENU OK Move to choose Setup menu. Access Setup menu. 1 4 7 2 5 8 0 Move to choose Tuning menu. 3 6 9 Access Tuning menu. Move to choose Manual tuning. TV Access Manual tuning. Select the programme position to be tuned. 1 Press repeatedly until required station is found. When the desired station is found, press the OK button to store. The programme position will flash.
Channel Allocation Sys select CH DISPLAY 0 1 2 3 4 5 6 7 NZ/INDONES 11 12 13 14 15 16 11 – – – – – – – – 21 19 20 21 22 23 24 Australia RECEIVE CHANNEL – 1 2 – 0 1 2 3 4 5 S2 S10 6 9 9A 10 11 12 S11 28 S44 20 21 57 58 59 62 63 62 63 69 70 73 74 75 76 77 78 79 80 81 69 – – – S’1 S’2 S’3 – – – S1 S2 89 90 91 92 93 94 95 96 97 98 99 100 S10 S11 S12 S13 S14 S15 S16 S17 S18 S19 S20 S21 107 117 118 120 125 18 S41 – – 69 – – – – – – –
Picture menu Press the MENU button. MENU Move to choose Picture menu. OK Access Picture menu. 1 4 7 Move to choose menu option. Adjust chosen option or access chosen menu. Press the EXIT button at any time to go back to watching TV. 2 5 8 0 3 6 9 EXIT TV Menu Menu mode will be memorized for each TV, AV1, AV2, AV3, AV4, PC, HDMI and Card operations mode.
Sound menu Press the MENU button. MENU Move to choose Sound menu. OK Access Sound menu. 1 4 7 Move to choose menu option. Adjust chosen option or access chosen menu. Press the EXIT button at any time to go back to watching TV. 2 5 8 0 3 6 9 EXIT TV Menu Bass Treble Balance Menu mode will be memorized for each TV, AV1, AV2, AV3, AV4, PC, HDMI and Card operations mode. Music / News / Cinema You can change the level of each Item (Bass and Treble) for each Menu (Music, News and Cinema).
Setup menu Press the MENU button. MENU Move to choose Setup menu. OK Access Setup menu. 1 4 7 Move to choose menu option. 2 5 8 0 3 6 9 Adjust chosen option or access chosen menu. Press the EXIT button at any time to go back to watching TV. EXIT TV Teletext Allows you to choose 2 modes. See page 35. Not displayed during HDMI, PC mode and 60Hz. TOP / List Off timer Switches the TV off within a preset time which you can choose from between 0 to 90 minutes in 15 minute intervals.
Owner ID Owner ID allows you to enter a security code (Owner ID) and personal details into its memory, so that in the unfortunate event of theft it will help the Police to trace the owner. If you wish to check the personal details already entered into the TV (except your PIN number), press the F button (Front panel) and hold for 6 seconds(initially the volume level function will appear, as you continue to hold down the F button it will disappear again, and the Owner ID information will appear).
Aspect Controls The Widescreen TV will allow you to enjoy viewing the picture at its optimum size and aspect, including widescreen cinema format pictures. Press the ASPECT button repeatedly to move through the aspect options: ASPECT OK 16:9, 14:9, Just, 4:3, Zoom1, Zoom2 and Zoom3 PC mode: 16:9 and 4:3 OR Press the ASPECT button. Whilst the on screen selector keys are displayed, use the Red or Green buttons to move in either direction through the aspect options.
Multi window Press the MULTI PIP button. Whilst the on screen selector keys are displayed, use the Red or Green buttons to move between the PIP (Picture in picture), POP (Picture out of picture) and PAP (Picture and picture) feature. Press the Blue button to swap the contents of the two windows. The on screen selector keys that appear for the features clear after a few seconds. If you want to select an operation when the keys are not shown, press the MULTI PIP button again and the keys will reappear.
PC mode When you switch to PC input, the menu will be changed. About the PC connection, see page 12. TV/AV Press the TV/AV button. Whilst the on screen selector keys are displayed, press the Blue button to move to the next page, and then press the Yellow button to access PC mode. OK Yellow Blue 1 4 7 Press the TV/AV button again to go back to watching TV. 2 5 8 0 3 6 9 Picture menu During PC mode MENU Press the MENU button. Main menu P i c t u r e menu Move to choose Picture menu.
PC mode Setup menu During PC mode Press the MENU button. MENU Main menu P i c t u r e menu Move to choose Setup menu. Sound menu Access Setup menu. Setup menu Move to choose menu option. Setup menu PC setup Side panel Power save Adjust chosen option or access chosen menu. Press the EXIT button at any time to exit Setup menu. PC setup EXIT PC setup Input resolution Clock H-pos V-pos Clock phase Sync VGA H&V Access to adjust chosen option.
Card operations This function lets you display Still images (JPEG) or Moving pictures (MPEG4) recorded by this unit, DIGA, D-snap or digital camera on a memory card when it is inserted in the proper card slot.
Card operations Folders and Files • Photo view can show still images recorded by a digital still camera with DCF∗ and EXIF standard JPEG file. ∗ DCF (Design rule for Camera File system) Unified standard established by Japan Electronics and Information Technology Industries Association (JEITA). If the image is imported from a PC, it must follow the EXIF (Exchangeable image file format) 2.0, 2.1, 2.2 or JFIF (JPEG file interchange format) in addition to the DCF (design rule for Camera File system) format.
Card operations SD Record The TV channels can be recorded on the SD card. The recording is not available for AV input signal. During recording, it is possible to watch other terminals input signal. Setup Rec mode and Rec time in Setup menu before recording. See page 33. Select the channel you want to record. OK 1 4 7 2 5 8 0 3 6 9 Insert the SD card into the card slot. See page 27. SD REC Press the SD REC button to start recording.
Card operations Basic operation To enter Card operations mode OK Press the SD button. To return to the SD card menu 1 4 7 EXIT Press the EXIT button. 2 5 8 0 3 6 9 To exit Card operation SD card During the SD card menu is displayed, press the SD button to return to normal picture. MPEG4 view Photo view Setup Memory left MPEG4 view The moving pictures recorded by this unit, DIGA or D-snap will be played back. This function is supported by SD cards only. Press the SD button.
Card operations During the playback When the operation guide is not displayed, press the (Recall) button to display it. During the operation guide is displayed ( ) Press to pause. ( ) Press to playback. OK ( ( , ) Press to skip the picture. Press and hold to Rew/FF. ) Press to stop. Notes: • During the playback, the volume can be adjusted using the Volume up/down button. • During the playback, no signals are output from the monitor output terminals.
Card operations Photo view The still images recorded by the digital camera will be displayed. This function supports both SD cards and PC cards. Press the SD button. SD card MPEG4 view Move to choose Photo view. Photo view Access Photo view. The thumbnail screen is displayed. Setup Select the file. Memory left Press the OK button to view. OK Notes: • Picture menu or Card setup menu adjustment is possible by pressing the MENU button during Photo view.
Card operations Setup Press the SD button. SD card MPEG4 view Move to choose Setup. Photo view Access Setup. Setup Move to choose menu option. Memory left Adjust chosen option or access chosen menu. Setup Economy No setting Access Rec mode Rec time Card format Rec mode (Extra fine, Super fine, Fine, Normal or Economy) The quality of picture can be changed. The recordable time will be changed by Rec mode. Notes: • Multi Media Cards do not support the Extra fine and Super fine recording mode.
Card operations Error messages Is SD Card in? Insert a card. SD Card is locked Please unlock to operate Unlock the SD card. This file is locked Please unlock to operate Unlock the file in the card. This type of format is not supported The card must be formatted with FAT 12 or FAT 16. Still image must be with DCF and EXIF standard JPEG file. Moving picture must be with MPEG4 standard ASF file. This type of card is not supported Incompatible card is inserted.
Teletext operation • Teletext features may vary depending on the Broadcasting Companies and is only available if the channel selected is transmitting Teletext. • Pressing the MENU button whilst in Teletext operation will display the contrast function with a cyan bar, press the left and right cursor buttons to alter the setting as required. • Pressing the MENU button whilst in Teletext operation will display special function options at the bottom of the screen.
Teletext operation It is not possible to change the programme position when in News flash, Update or Sub Coded Page Access operation. 1 4 7 Blue 2 5 8 0 3 6 9 OK F.P. MENU Yellow Favourite Page (F.P.) Stores a favourite page in memory for instant recall. To store such a page, the TV must be in List mode, and the programme position must be from 1 - 25. Press the Blue button, select the page number, then press and hold the OK button. The page number is now stored. Press the F.P.
Teletext operation MENU Blue Alternatively, if you know which sub page you require, press the MENU button (to display special functions) followed by the Blue button; T**** will be displayed where the page number is normally found. Enter desired sub page number before the T**** disappears. e.g., to select page 6 enter 0, 0, 0 and 6. Press the Yellow button to view the TV picture whilst waiting for more sub pages to be found. The sub pages found will be displayed across the top of the screen.
Stereo / Bilingual Sound Selection When you receive the stereo / bilingual sound system, sound output modes can be selected by pressing the Stereo / Bilingual Sound Selection button. Audio Signal Mode Indicator STEREO MAIN I SUB II I II MONO NICAM .......Used in New Zealand, Singapore, Hong Kong etc. Type of broadcast Mode Indicator Regular broadcast (Standard Audio) No Indicator Regular + NICAM MONO I (MAIN I ) NICAM STEREO II I I A2(German) .......Used in Australia, Malaysia etc.
VCR / DVD operation The Remote Control is capable of operating some functions of selected Panasonic VCRs and DVD (Digital Versatile Disc) equipment. Some VCR and DVD equipment have different functions, so to ensure compatibility please refer to the equipment’s instruction book or consult your dealer for details. MULTI PIP SD REC VCR DVD ASPECT SURROUND TV/AV N Standby Press to switch the VCR, DVD or DVD recorder to Standby mode. Press again to switch back on.
Troubleshooting If there is a problem with your TV, please refer to the table below to determine the symptoms, then carry out the suggested check. If this does not solve the problem, please contact your local Panasonic dealer, quoting the model number and serial number (both found on the rear of the TV).
Troubleshooting CAUTION: Symptoms Some parts of the screen do not light up. After-images appear ABCDEF Check The plasma TV panel is manufactured using an extremely high level of precision technology, however, sometimes some parts of the screen may be missing picture elements or have luminous spots. This is not a malfunction. Do not allow a still picture to be displayed for an extended period, as this can cause a permanent after-image to remain on the Plasma TV.
Specifications TH-42PV500A Power Source Power Consumption Plasma Display panel Drive method Aspect Ratio Contrast Ratio Screen size (Number of pixels) Sound Speaker Audio Output Headphones Applicable signals Colour System Scanning format PC signals Average use : 341 W Standby condition : 0.
WARRANTY - Australia only 1. The product is warranted for 12 months from the date of purchase. Subject to the conditions of this warranty Panasonic or it’s Authorised Service Centre will perform necessary service on the product without charge for parts or labour if, in the opinion of Panasonic, the product is found to be faulty within the warranty period. 2.
Customer’s Record The model number and serial number of this product can be found on its rear panel. You should note this serial number in the space provided below and retain this book, plus your purchase receipt, as a permanent record of your purchase to aid in identification in the event of theft or loss, and for Warranty Service purposes. Model Number Serial Number Matsushita Electric Industrial Co., Ltd. Web Site : http://www.panasonic.co.jp/global/ © 2005 Matsushita Electric Industrial Co., Ltd.