
Operating Instructions
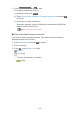
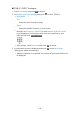

4. Select LNB / Satellite and set.
●
Select IN 1 / IN 2 in Signal Input to set for each tuner.
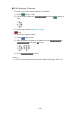
1) Set LNB first.
– If you set to One LNB, LNB is not selectable.
– If you set to MiniDiSEqC or Single Cable, select from LNB AA and
AB.
– If you set to DiSEqC 1.0, select from LNB AA, AB, BA and BB.
2) Set Satellite for the selected LNB.
– Select No Satellite if you do not know the connected satellite.
(Available satellite is searched in Auto Setup.)
– Select User defined to set Test Transponder Frequency manually.
– If you set to Single Cable, additional settings are required. Set
SingleCable Version, User Band, User Band Frequency and PIN
(depending on the Single Cable router you use). For details, read
the manual of the Single Cable router.
Watching > Tuning and editing channels > Selectable satellites
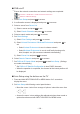
5. Press BACK/RETURN to store.
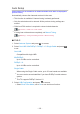
6. Select Auto Setup and press OK to access.
7. Select Search Mode / Scan Mode and press OK to access.
8. Set the item and press OK to store.
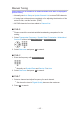
●
Scan Mode
Full:
Scans the whole frequency range.
Quick:
Scans the suitable frequency for the selected satellite.
●
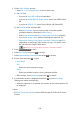
After settings, select Start scan and press OK to search.
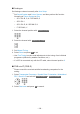
9. A confirmation screen is displayed and press OK to start Auto Setup.
(Settings are made automatically.)
●
When the operation is completed, the channel at the lowest position will
be displayed.
= Note =
●
Set Dual Tuner Mode to On to select DVB-S signal for DVB-via-IP server
function.
- 124 -