
Manual

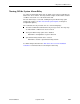

Table Of Contents
- Contents
- About This Guide
- 1. About the FrameSaver SLV
- 2. User Interface and Basic Operation
- 3. Configuration Procedures
- 4. Configuration Options
- Using the Easy Install Feature
- Using RIP with FrameSaver SLV CSU/DSUs
- Entering System Information and Setting the System Clock
- Setting Up the Modem
- Setting Up Auto-Configuration
- Setting Up Dial Backup
- PVC Backup Over the Network Interface
- Setting Up Back-to-Back Operation
- Configuration Option Tables
- Configuring the Overall System
- Configuring Physical Interfaces
- Assigning Time Slots/Cross Connections
- Configuring Frame Relay for an Interface
- Manually Configuring DLCI Records
- Configuring PVC Connections
- Configuring the IP Path List
- Setting Up Management and Communication Options
- Configuring the Criteria for Automatic Backup
- 5. Configuring the FrameSaver SLV Router
- FrameSaver SLV Router Overview
- IP Routing
- Address Resolution Protocol
- Proxy ARP
- Interface Configuration
- Network Address Translation
- Network Address Port Translation
- Dynamic Host Configuration Protocol Server
- DHCP Relay Agent
- Router Security
- Provisioning the Router Interface
- Configuring the Router Using Terminal Emulation
- 6. Security and Logins
- 7. Operation and Maintenance
- 8. Troubleshooting
- 9. Setting Up OpenLane for FrameSaver Devices and Activating SLM Features
- 10. Setting Up NetScout Manager Plus for FrameSaver Devices
- 11. Setting Up Network Health for FrameSaver Devices
- A. Menu Hierarchy
- B. SNMP MIBs and Traps, and RMON Alarm Defaults
- C. Router CLI Commands, Codes, and Designations
- D. Router Command Line Summaries and Shortcuts
- E. Connectors, Cables, and Pin Assignments
- F. Technical Specifications
- G. Equipment List
- Index
8. Troubleshooting
8-4
September 2002 9128-A2-GB20-80
Restoring Communication with an Improperly Configured Unit
Configuring the unit improperly could render the menu-driven user interface
inaccessible. If this occurs, connectivity to the unit can be restored via a directly
connected asynchronous terminal.
Procedure
To reset COM port settings:
1. Configure the asynchronous terminal to operate at 19.2 Kbps, using character
length of 8 bits, with one stop-bit, and no parity. In addition, set Flow Control to
None.
2. Reset the unit, then hold the Enter key down until the System Paused screen
appears. (See
Resetting the Unit and Restoring Communication
on page 8-3
for other methods of resetting the unit.)
3. Tab to the desired prompt, and type
y
(Yes) at one of the prompts.
If no selection is made within 30 seconds, or if No (
n
) is entered, the unit
resets itself and no configuration changes are made.
Once the unit resets itself, connectivity is restored and the Main Menu screen
appears.
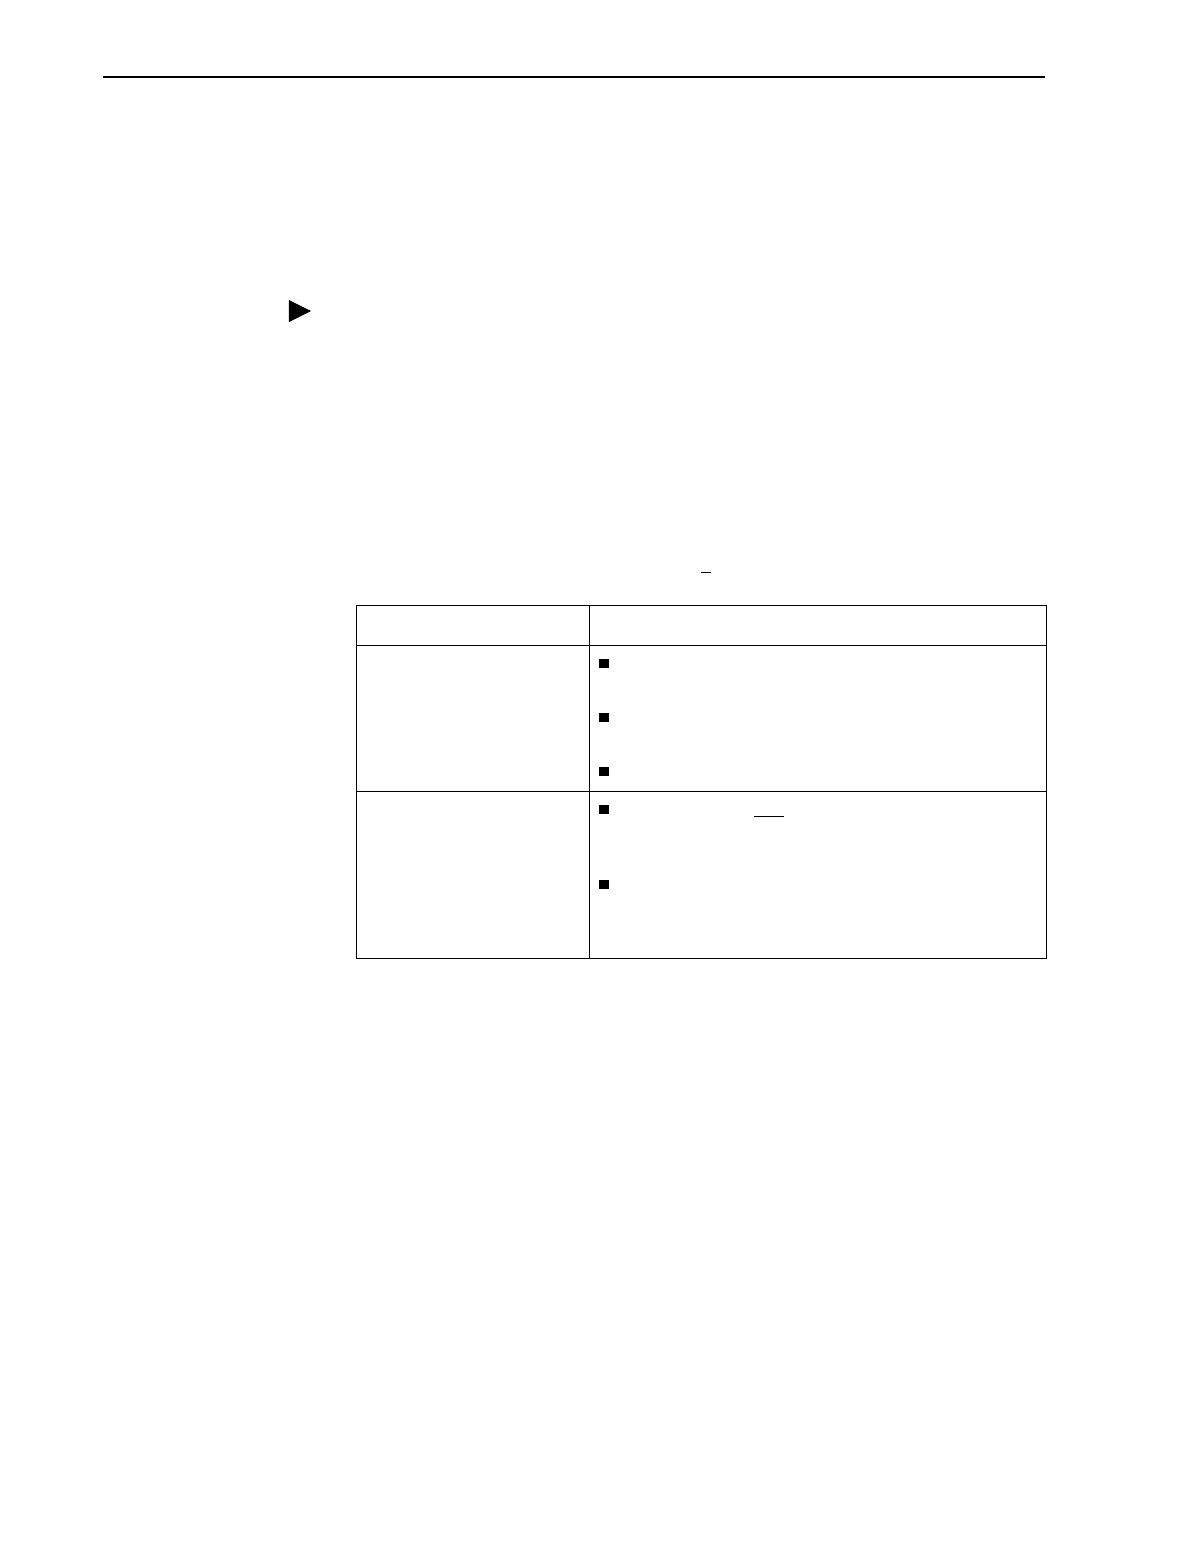
If selecting . . . The following occurs . . .
Reset COM Port usage Port Use is set to Terminal so the asynchronous
terminal can be used.
Data Rate (Kbps), Character Length, Stop Bits, and
Parity are reset to the factory defaults.
Unit resets itself.
Reload Factory Defaults
All configuration and control settings are reset to the
Default Factory Configuration, overwriting the
current configuration.
Unit resets itself.
CAUTION
: This causes the current configuration to be
destroyed and a self-test to be performed.