Ka-8 Instruction Manual / Bedienungsanleitung Manuel d’utilisation / Manuale di Istruzioni
EN NOTICE All instructions, warranties and other collateral documents are subject to change at the sole discretion of Horizon Hobby, Inc. For up-to-date product literature, visit www.horizonhobby.com and click on the support tab for this product.
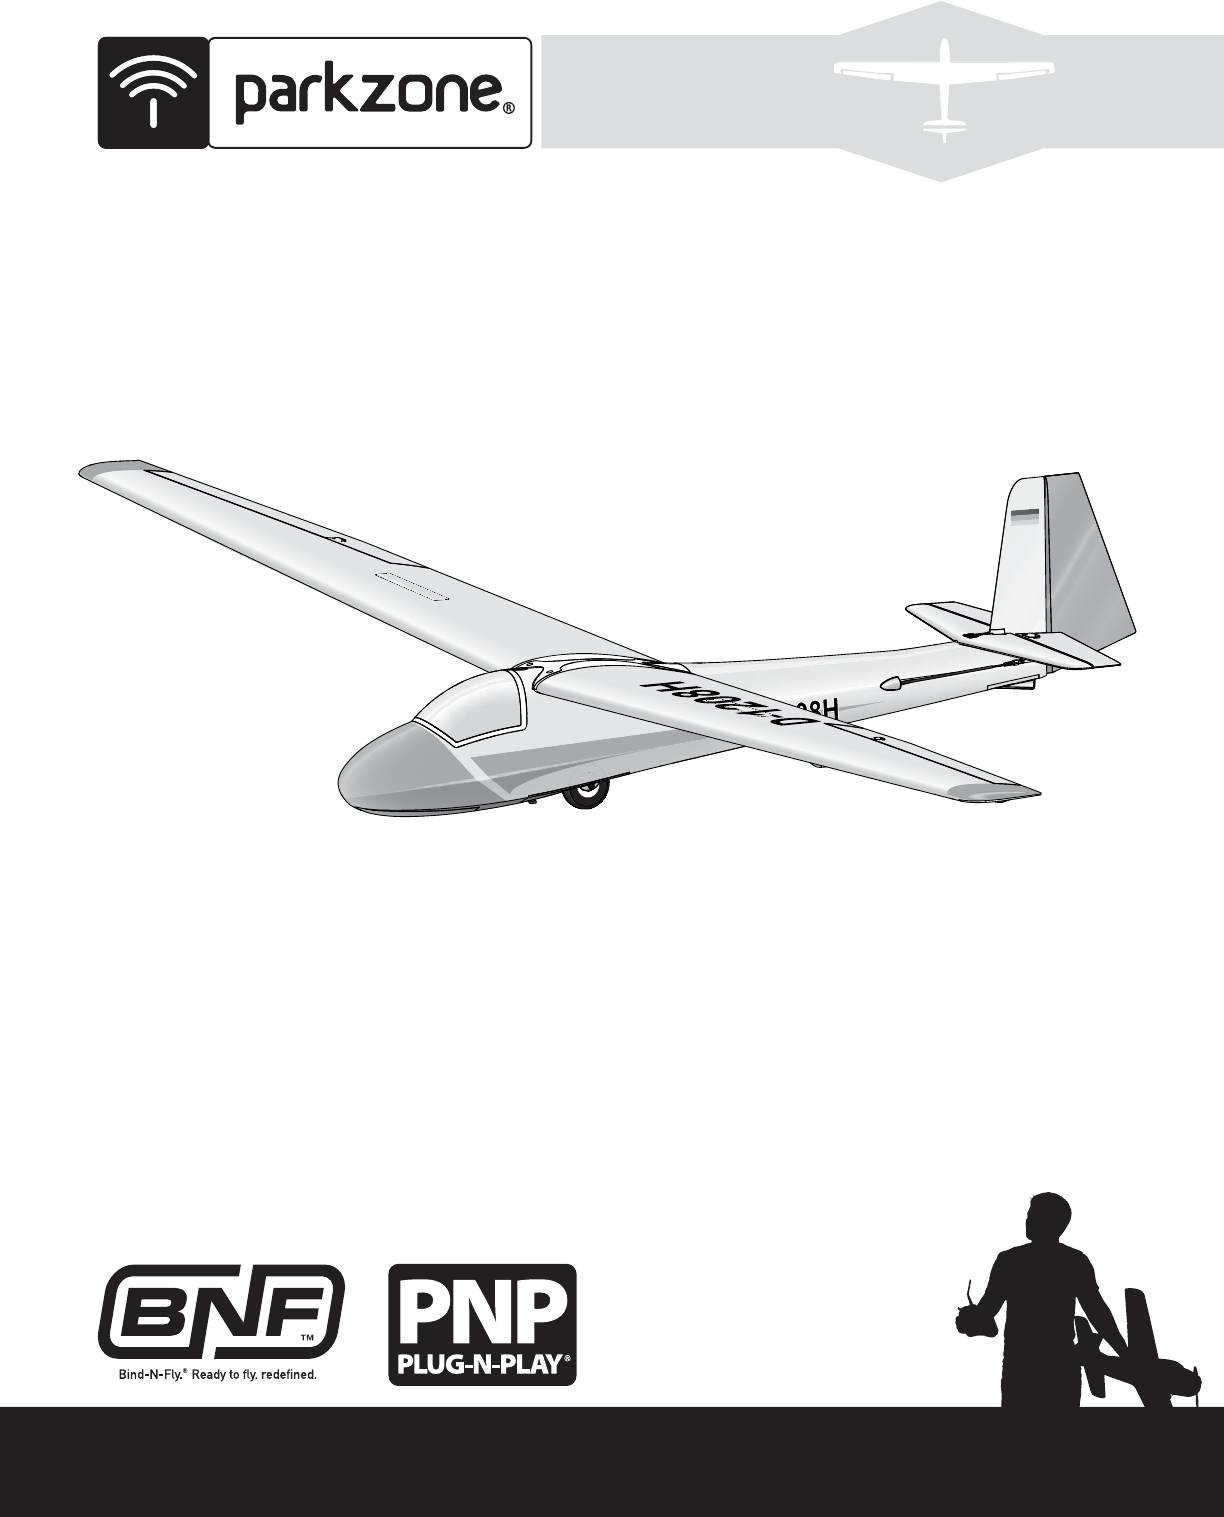
EN The Ka-8 Thank you for purchasing the ParkZone® Ka-8 sailplane. Many a full-scale pilot has taken their first single-seat sailplane flight at the controls of a Ka-8. Its friendly flight characteristics and impressive thermal performance make it the perfect next step for newly licensed pilots eager to stretch their wings. The ParkZone Ka-8 sailplane brilliantly captures the grace of this pre-composite era beauty. Like the full-scale Ka-8, it delivers a relaxing flying experience free of any bad habits.
EN Battery Charging Your aircraft comes with a DC balancing charger and 2S Li-Po battery. You should only charge your battery with the included charger. Never leave the battery and charger unattended during the charge process. Failure to follow the instructions properly could result in a fire. When charging, ensure the battery is on a heat-resistant surface. Charge the flight battery while assembling the aircraft. Install the fully charged battery to perform control tests and binding.
EN Transmitter and Receiver Binding “Binding” is the process of programming the receiver to recognize the GUID (Globally Unique Identifier) code of a single specific transmitter. You need to bind your chosen Spektrum™ DSM2®/DSMX® technology equipped aircraft transmitter to the receiver for proper operation (please visit www.bindnfly.com for a complete list of compatible transmitters). CAUTION: When using a Futaba® transmitter with a Spektrum DSM® module, you must reverse the throttle channel and rebind.
EN Receiver Selection and Installation • • • • • Before installing the wing, install your full range receiver in the fuselage using hook and loop tape or double-sided servo tape. Connect the elevator and rudder servo to the appropriate channels of the receiver. Connect the aileron Y-harness to the aileron channel of the receiver. Connect the voltage regulator to the AUX 1 channel of the receiver prior to binding. Once bound, move the regulator to the BND port.
EN Wing Assembly and Installation IMPORTANT: Bind the aircraft to your transmitter before wing installation for easier spoiler adjustment. A Before flying, bind the aircraft to your transmitter again to correctly set failsafe. Assembly 1. Slide the wing tube (A) in the hole in the left wing. 2. Slide the other end of the wing tube into the hole in the right wing until both wings meet. Ensure the aileron servo wires exit the wing through the forward slot in the bottom of the wing as shown. B 3.
EN Horizontal Tail Installation A 1. Install the horizontal tail (A) in the slot (B) in the vertical tail. Ensure the elevator control horn faces down. 2. Secure the horizontal tail on the fuselage using a screw (C). 3. Attach the clevis to the elevator control horn (see instructions for clevis connection). When needed, disassemble in reverse order. B Clevis Installation • • • • Turn the clevis on the linkage to change the length of the linkage between the servo arm and the control horn.
EN Decal Installation All aircraft carry a unique alphanumeric string that identifies civil or military aircraft. Your ParkZone® Ka-8 sailplane includes two alphanumeric decal options. Option A (N15343) represents an aircraft registered in the U.S., while Option B (D54332) represents an aircraft registered in Germany. A Application 1. Ensure the fuselage is clean. 2. Lift a decal from a sheet and carefully apply it to the aircraft. 3. Rub out from the center of the self-adhesive decal to remove bubbles.
EN Control Direction Test Move the controls on the transmitter to make sure the aircraft control surfaces move correctly and in the proper direction. After performing the Control Test, correctly set the failsafe. Make sure the transmitter controls are at neutral and the throttle and throttle trim are in the low position, then rebind the aircraft to your transmitter. If the receiver loses its link to the transmitter, the failsafe will drive the servos to these settings made at binding.
EN Flying Tips and Repairs Consult local laws and ordinances before choosing a flying location. Maintenance and Storage NOTICE: This is not a high-speed sailplane. Avoid prolonged high speed dives or damage may result. Extreme and/or prolonged heat decreases the life of rubber cord. Store the assembly in a cool, dry place, loosely wound on a spool. Range Check your Radio System NOTICE: Avoid leaving the assembly in an automobile. After final assembly, range check the radio system with the aircraft.
EN Flying Tips and Repairs (continued) Towing Towing is only recommended for advanced pilots. While towing, be sure to fly in a large, open space. Also be sure that you have two pilots, one for the sailplane, and one for the towplane. Recommended Aircraft Alignment for Takeoff This sailplane is designed to be towed from a smooth runway by a sport plane (300 watt or greater), such as the E-flite® Apprentice® S. A tow line (approximately 40 feet (12.2 m) long) is available separately (PKZ6623). Wind 1.
EN Flying Tips and Repairs (continued) Flying Spoilers/Air Brakes Thermal Flying Your sailplane can ascend on thermals and other updrafts to prolong its flight far beyond the flight time one would expect. The Schempp-Hirth style of spoiler (air brake) on this aircraft gives you increased drag without the additional lift of flaps. A thermal is simply a column of rising warm air. Once you get your aircraft into the air using the Hi-Start or aero-tow, watch your aircraft for a response to thermals.
EN OPTIONAL Servoless Tow Release Installation (EFLA405, sold separately) 1. Remove the battery hatch from the fuselage using the latch button. 2. Under the fuselage, remove 2 screws (A) and the cover (B) from the nose. 3. Insert the connector of the servoless payload release (C) in the hole in the fuselage. 4. Install the optional servoless payload release (D) in the fuselage using 2 screws (E) as shown. B 5. Install the cover on the nose of the fuselage using 2 screws. 6.
EN Post Flight Checklist 1. Disconnect the flight battery from the voltage regulator (Required for Safety and battery life). 2. Power OFF the transmitter. 3. Remove the flight battery from the aircraft. 4. Recharge the flight battery. 5. Repair or replace all damaged parts. 6. Store the flight battery apart from the aircraft and monitor the battery charge. 7. Make note of the flight conditions and flight plan results, planning for future flights.
EN Troubleshooting Guide Problem Reduced flight time Aircraft will not Bind (during binding) to transmitter Aircraft will not connect (after binding) to transmitter Possible Cause Flight battery charge is low Completely recharge flight battery Flight battery damaged Replace flight battery and follow flight battery instructions Flight conditions may be too cold Make sure battery is warm before use Spoilers not fully retracted Center throttle trim and adjust clevises on spoiler servo so spoiler fully r
EN Limited Warranty What this Warranty Covers Horizon Hobby, Inc. (“Horizon”) warrants to the original purchaser that the product purchased (the “Product”) will be free from defects in materials and workmanship at the date of purchase.
EN Warranty and Service Contact Information Country of Purchase Horizon Hobby Horizon Service Center (Repairs and Repair Requests) United States of America Horizon Product Support (Product Technical Assistance) Sales United Kingdom Germany France China Service/Parts/Sales: Horizon Hobby Limited Horizon Technischer Service Sales: Horizon Hobby GmbH Service/Parts/Sales: Horizon Hobby SAS Service/Parts/Sales: Horizon Hobby – China Phone Number/Email Address servicecenter.horizonhobby.
IT Replacement Parts • Ersatzteile • Pièces de rechange • Pezzi di ricambio Part # | Nummer Numéro | Codice Description Beschreibung Description Descrizione PKZ6602 Decal Sheet: Ka8 Parkzone Ka8: Derkorbogen Planche de décalcomanies: Ka-8 Foglio con decalcomanie: Ka-8 PKZ6607 Replacement Wheel: Ka8 Parkzone Ka8 : Austauschbugrad Roue Ka-8 Ruota di ricambio Ka-8 PKZ6609 Spoiler: Ka8 Parkzone Ka8:Störklappen Aérofrein Ka-8 Aerofreno Ka-8 PKZ6612 Hatch W/Pilot: Ka8 Parkzone Ka8: Kabinenh
© 2013 Horizon Hobby, Inc. ParkZone, E-flite, Apprentice, Celectra, EC2, DSM, DSM2, DSMX, Z-Foam, Bind-N-Fly, Plug-N-Play and ModelMatch are trademarks or registered trademarks of Horizon Hobby, Inc. The Spektrum trademark is used with permission of Bachmann Industries, Inc. Futaba is a registered trademark of Futaba Denshi Kogyo Kabushiki Kaisha Corporation of Japan. All other trademarks, service marks and logos are property of their respective owners. www.parkzone.