
User Guide
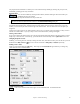

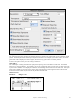

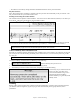


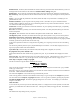

Table Of Contents
- PG Music Inc. License Agreement
- Table of Contents
- Chapter 1: Welcome to Band-in-a-Box!
- Chapter 2: QuickStart Tutorial
- Chapter 3: Band-in-a-Box 2010.5 for Macintosh
- Welcome to Band-in-a-Box 2010.5
- New Features in Band-in-a-Box 2010
- More New RealTracks
- QuickStart Tutorial
- Quick Song Settings
- Save Default Mix
- Improved Audio Rendering
- DAW Plug-in Mode
- Freeze Tracks
- RealTracks Enhancements
- New Favorite Songs/Styles Dialog
- Rendering Tracks
- StylePicker Enhancements
- New in the StyleMaker
- Chapter 4: The Main Screen
- Chapter 5: Guided Tour of Band-in-a-Box
- Chapter 6: Band-in-a-Box PowerGuide
- RealTracks
- RealDrums
- Song Settings
- The Chordsheet
- Chord Preview/Builder
- MIDI file “Chord Wizard”
- Applying Styles
- The StylePicker
- Playing, Pausing, and Stopping Songs
- Changing Volume, Panning, Reverb, Chorus, Bank
- Freeze Tracks
- Saving Songs
- Preferences – User Settings
-
- Show Chords with push/rest chars
- Metronome During Recording
- Harmony Volume Adjust
- OK to Load Style with songs
- Write Guitar part on 6 channels
- Turn External Keyboard’s Local On at end of session
- OK to beep with messages
- OK to prompt to reduce/expand
- For Roman Numerals in minor keys, use relative major
- Save Button on main screen works as Save As
- Name MIDI files with .MID extension
- Allow larger fonts on Chordsheet
- Color for Chordsheet Area
-
- Other Editing Features
- MIDI Setup
- The JukeBox
- Chapter 7: Notation and Printing
- Chapter 8: Automatic Music Features
- Chapter 9: Recording Tracks
- Chapter 10: Audio Features
- Chapter 11: Wizards, Tutors, and Fun
- Chapter 12: User Programmable Functions
- Chapter 13: CoreMIDI and Apple DLS Synth
- Chapter 14: Reference
- PG Music Inc.
- Index
- Registration Form
Chapter 7: Notation and Printing
141
The purpose of auto-durations is to allow you to enter a lead sheet style melody by clicking only once per note,
dramatically speeding up the entry of notation.
Inserting Rests.
You can Insert a REST by clicking the Rest button, and then clicking at the location where you
would like the rest to be inserted.
This automatically chops off the duration of the previous note.
Note: Band-in-a-Box dislikes rests less than a quarter note, so if it is important to you to see rests less than a quarter note,
make sure to de-select the “Minimize Rests” check box in the Notation Window Settings dialog box.
Notes can be moved via drag and drop. To move a note, place the mouse cursor over an existing note and then click
and hold the mouse button down. While keeping the mouse button pressed, move the mouse cursor over to the
location you wish to drop the note and then let go of the mouse button. The note will be moved to the place you
dropped it.
Certain areas of the screen are not valid locations to drop a note. The mouse cursor will change to a busy cursor to
indicate an invalid location. If you try to drop a note in an invalid location, nothing will happen.
Moving a note in time.
If you want to change the start time of a note, drag the note with the left mouse button to the new location. This is a
simple way to move the note. Alternatively, you could edit the note numerically with an option click on the note.
Changing the pitch of a note.
Similarly, you can drag the note vertically to change the note value, and release it when you're on the note you want.
Hold down the shift, control, or
key to have the note inserted as a sharp, flat, or natural respectively.
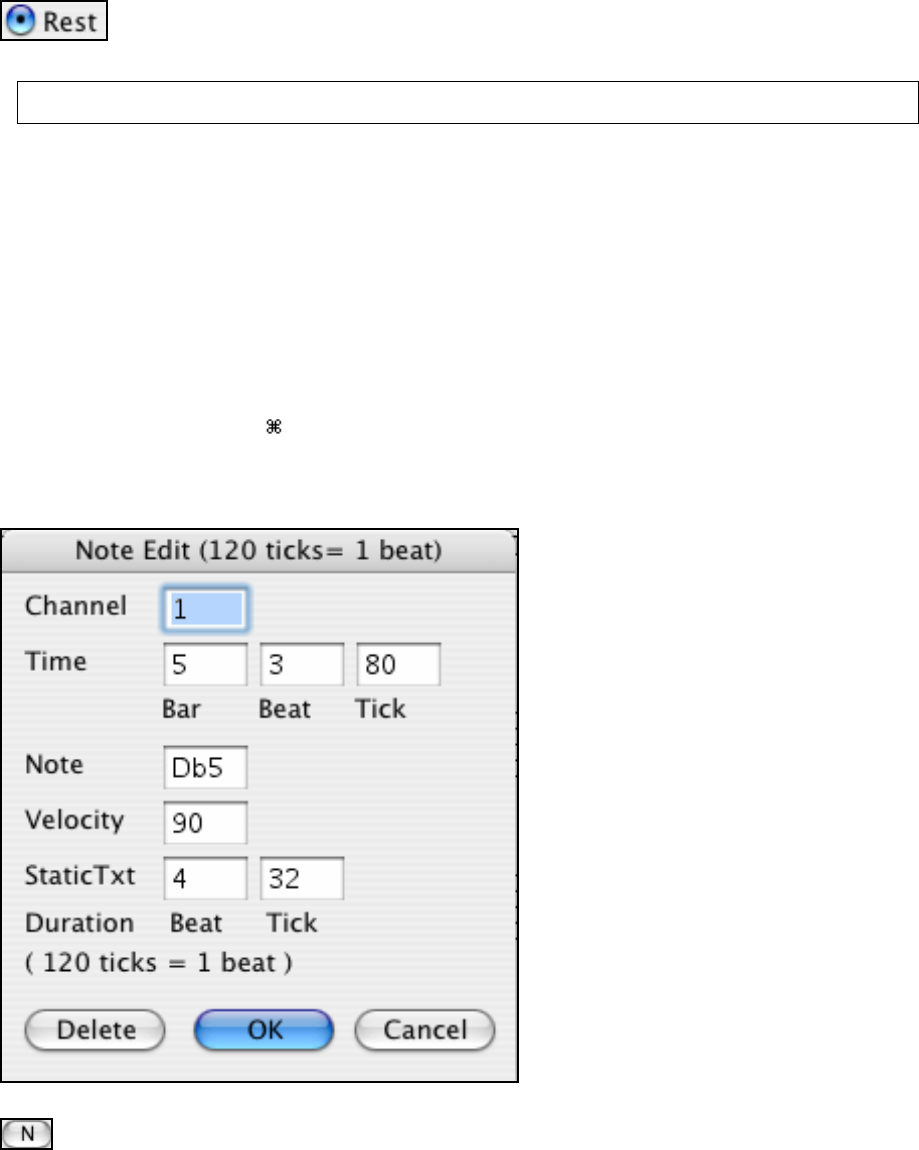
Editing a note's values.
Click on a note while holding the option key. This brings up the Note Edit dialog box that lets you change any
values about the note in numerical data.
Staff Roll Notation Mode
Click on the Notation Mode button again to enter Staff Roll mode. It will look like this.