
User Guide


Content Security Gateway User’s Manual
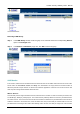
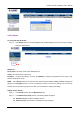
The following items are displayed in this window:
Name: the name assigned to the schedule
Configure: modify or remove
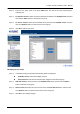
Adding a new Schedule
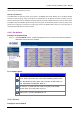
Step 1. Click on the New Entry button and the Add New Schedule window will appear.
Schedule Name: Fill in a name for the new schedule.
Period: Configure the start and stop time for the days of the week that the schedule will be
active.
Step 2. Click OK to save the new schedule or click Cancel to cancel adding the new schedule.
NOTE: In setting a Schedule, the value in Start time must be less than the value in Stop Time, or you cannot
add or configure the setting.
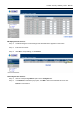
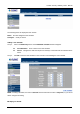
Modifying a Schedule
- 65 -