
User manual

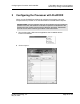
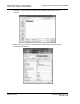
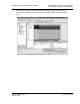


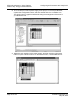
Table Of Contents
- Start Here
- Configuring the Processor with Concept
- Configuring the Processor with ProWORX
- Configuring the Processor with UnityPro XL
- To build (compile) the project:
- To verify address and driver settings in UnityPro XL:
- Setting Up the ProTalk Module
- Configuring the Module
- Diagnostics and Troubleshooting
- Reading Status Data From the Module
- The Configuration/Debug Menu
- Required Hardware
- Required Software
- Using the Configuration/Debug Port
- Main Menu
- Opening the Data Analyzer Menu
- Viewing Block Transfer Statistics
- Viewing Module Configuration
- Opening the Database Menu
- Opening the Backplane Menu
- Transferring the Configuration File from PC to PTQ module
- Transferring the Configuration File from PTQ module to PC
- Viewing Version Information
- Warm Booting the Module
- Viewing Port Communication Status
- Viewing Port Configuration
- Exiting the Program
- Database View Menu
- Viewing Register Pages
- Displaying the Current Page of Registers Again
- Moving Back Through 5 Pages of Registers
- Viewing the Previous 100 Registers of Data
- Skipping 500 Registers of Data
- Viewing the Next 100 Registers of Data
- Viewing Data in Decimal Format
- Viewing Data in Hexadecimal Format
- Viewing Data in Floating Point Format
- Viewing Data in ASCII (Text) Format
- Returning to the Main Menu
- Backplane Menu
- Data Analyzer
- Data Analyzer Tips
- LED Status Indicators
- Reading Status Data From the Module
- Reference
- Index
Configuring the Processor with Concept PTQ-LNG ♦ Quantum / Unity Platform
Landis & Gyr Telegyr Interface Module
ProSoft Technology, Inc. Page 23 of 103
May 29, 2007
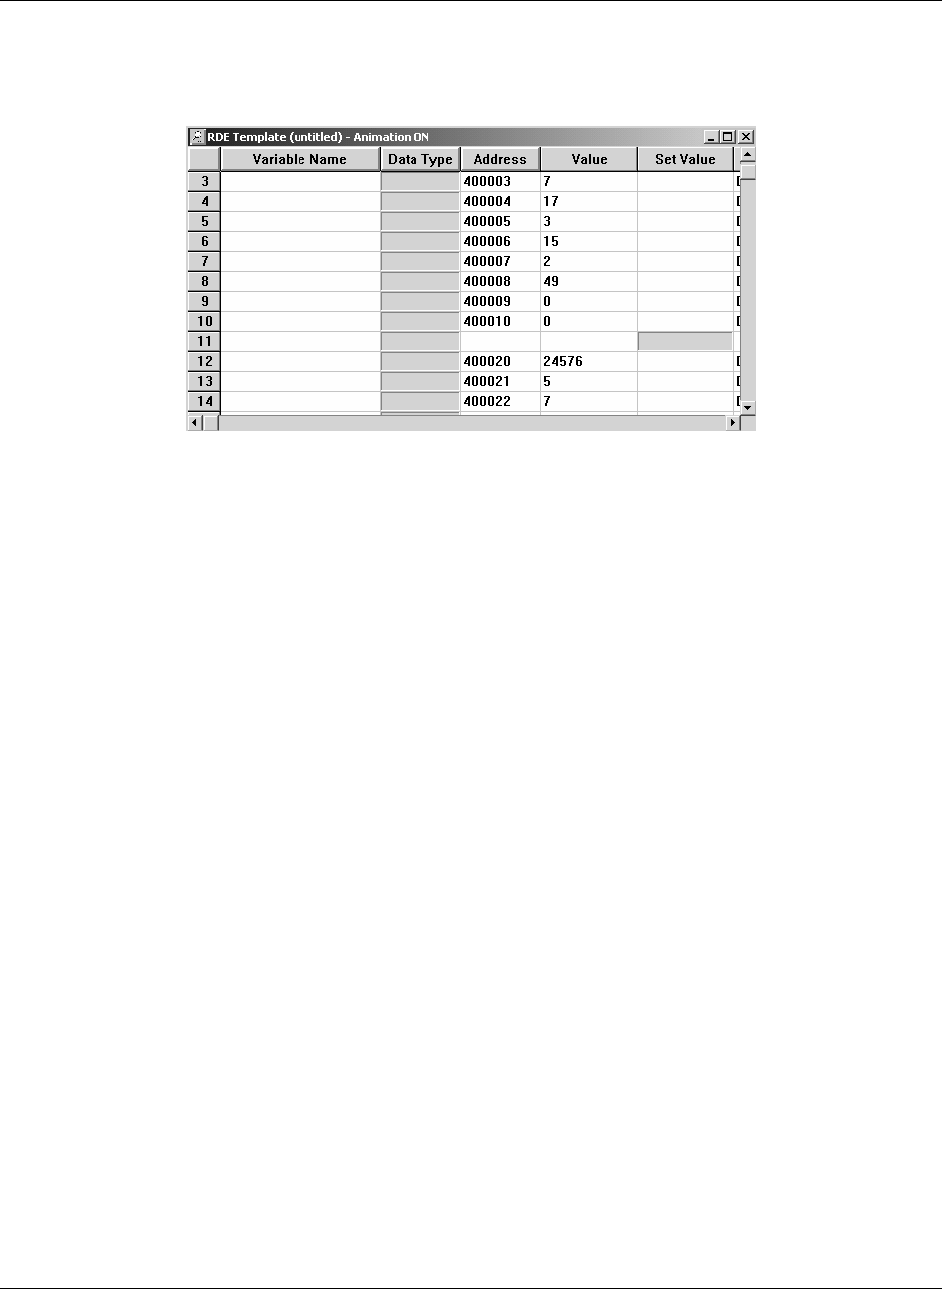
11 In the PLC Configuration window, open the Online menu, and then choose
Animate. This action opens the RDE Template dialog box, with animated
values in the Value field.
12 Verify that values shown are cycling, starting from address 400008 on up.
13 In the PLC Configuration window, open the Templates menu, and then
choose Save Template As. Name the template ptqclock, and then click OK to
save the template.
14 In the PLC Configuration window, open the Online menu, and then choose
Disconnect. At the disconnect message, click Yes to confirm your choice.
At this point, you have successfully
Created and downloaded a Quantum project to the PLC
Preset values in data registers that will later be monitored in the ProTalk
module.
You are now ready to complete the installation and setup of the ProTalk module.