Magnetic Rower
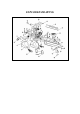
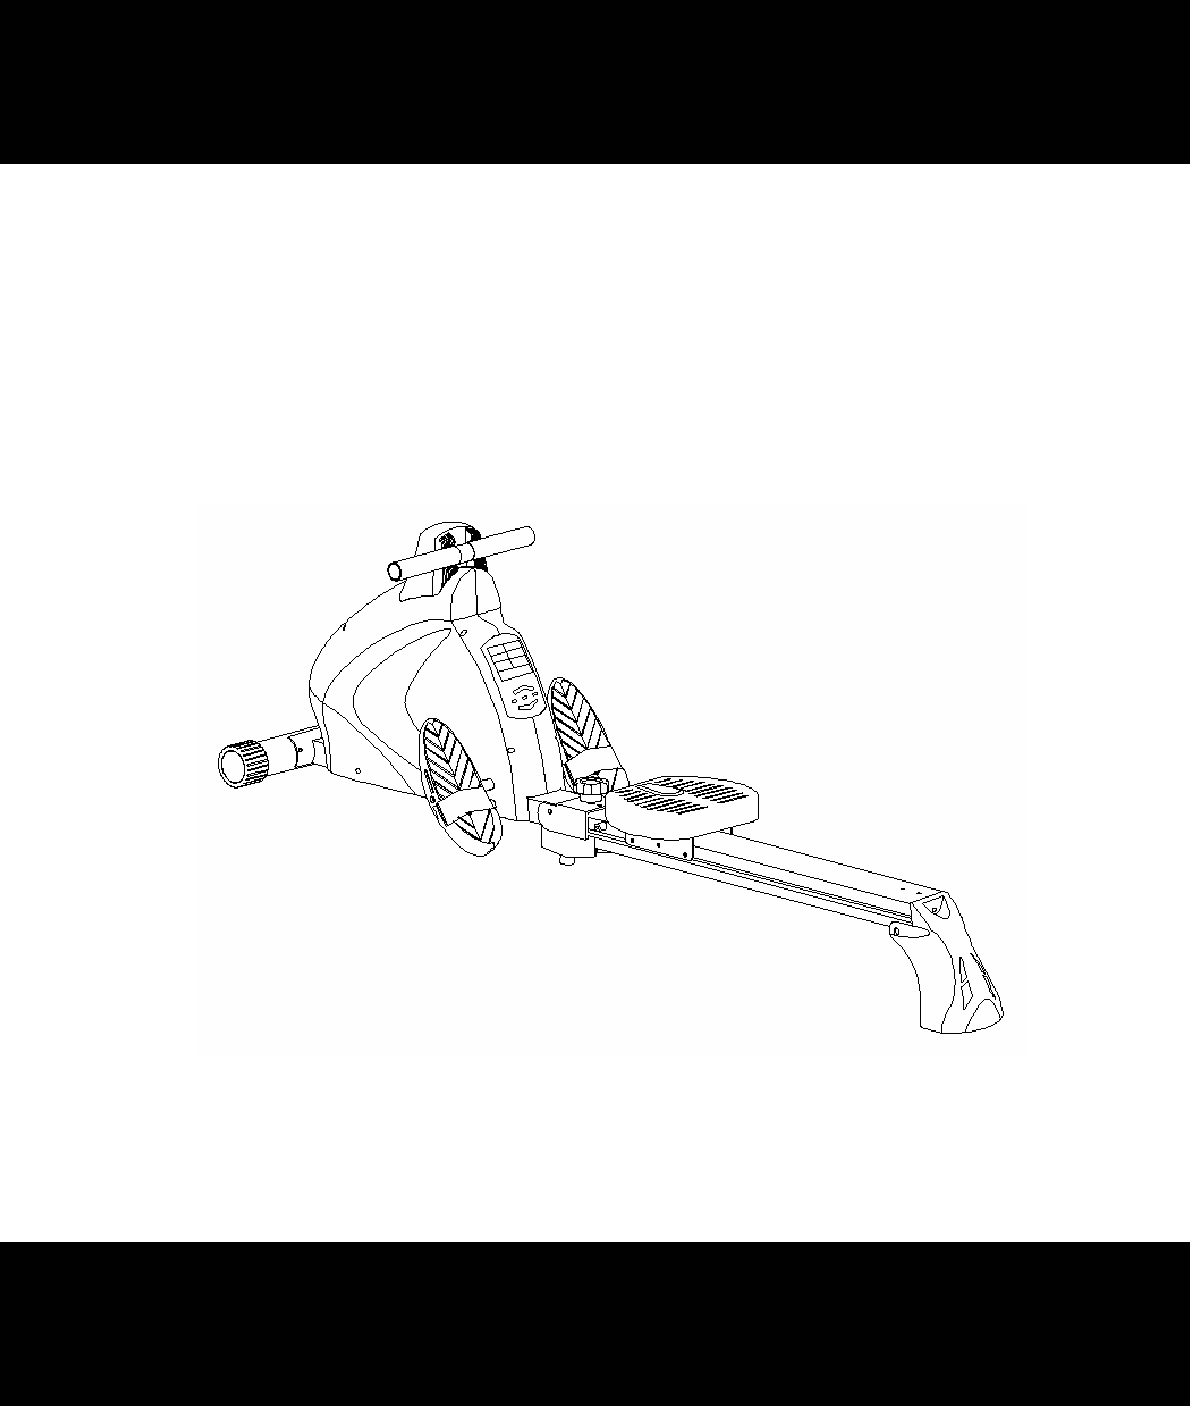
EXPLODED DRAWING
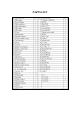
PARTS LIST
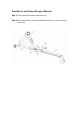
Assembly front stabilizer with main frame Step 1. Secure the front stabilizer (A2) and main frame(A1) using carriage bolt(1) & Nut(2).
Assembly for main frame with upper slide track Step 1. Connect cable (D8) & wireless pulse receiver (C5). Step 2. Secure main frame (A1) with upper slide track(A4) using bolt(11), Nut(12) and tight it by knob (C2).
Assembly for saddle with slide track Step 1. Fold down back cover(B7). Step 2. Equip saddle (B9) and using fixed knob to tight it.
Assembly for the pedals Step 1. Insert shaft (10) into pedal (B3) and fix it. Step 2. Secure screw (24) tightly. How to fold the machine. Loosen out the fix knob to fold up the slide track, then screw the fixed knob tightly for folding. At this time, the machine can be stored or moved.
PROGRAMMABLE MAGNETIC ROLLER MONITOR BC-8186 WITH LCD DISPLAY SUMMARY: This system is designed for programmable magnetic bike. There are 3 parts to this system the monitor (BC-81186), motor & controller and magnetic braking system. A. Power up: a. Connect all of the cables to the monitor. b. After power up, all LCD segments will light up for 2 seconds and CPU will be reset the resistance into level 1. The monitor will go to initial mode. 1.
b. START/PAUSE/ RESET: 1. To start or pause exercising. 2. Hold this button for 2 seconds can enter initial mode & reset all value to zero. c. ♁ ▲ : 1. During the pause mode, Select Program or increase the setting value of TIME, COUNT, DISTANCE, CALORIES, PULSE in the heart rate control program 8, and PROGRAM PROFILE in the User setting program. 2. During the exercise mode, Press this button to increase the load level. d. \▼ : 1.
Count down: Setting the calorie consumption, the monitor will count down from your setting values. Once reach setting value, monitor will produce bi sounds, and then the value of count becomes counting up form 0.0. DISTANCE The distance will be displayed on the window. The monitor begins to calculate from 1 meter to 999meter and the measure unit is 1 meter. After reach 1 KM, the measure unit become to 0.1 KM (100meter). The monitor will display from 1.1KM to 99.9KM.
1. setting value. 2. The distance display will flash, and then press the “ up or down” button to set up the desired distance you would like to reach. Press ENTER button to confirm your setting value. 3. The calorie display will flash, and then press the “ up or down” button to set up the desired calorie you would like to reach. Press ENTER button to confirm your setting value. 4. Press the start/stop to begin exercise. Note: 1.
7. 8. The calorie display will flash, and then press the “ up or down” button to set up the desired calorie you would like to reach. Press ENTER button to confirm your setting value. Press the start/stop button to begin exercise. Note: 1. 2. 3. 4. You must set up the pulse value in this program, because is a heart rate control program. If you do not set the pulse value, the initial setting value is 90 bpm (heart beats per minute).
8. Press the Enter button to confirm your first column of your exercise profile. 9. The column 2 will flash, and then turn the “ MODUS” button to create your personal exercise profile. 10. Press the Enter button to confirm your second column of your exercise profile. 11. Follow the above descriptions to finish your personal exercise profile. 12. Press the START/ST0P to begin exercise. NOTE: 1. 2. 3. Your personal exercise profile will be stored in the memory of the monitor.
PROGRAM PROFILE: 1. PROGRAM 1 (MANUAL): 2. PROGRAM 2 (POLLING): 3. PROGRAM 3 (VALLEY): 4.
5. PROGRAM 5 (RAMP): 6. PROGRAM 6 (MOUNTAIN): 7. PROGRAM 7 (INTERVALS): 8. PROGRAM 8 (TRAGET H.R.
9. PROGRAM 9 (user setting): 10. PROGRAM 10 (user setting): 11.
12.