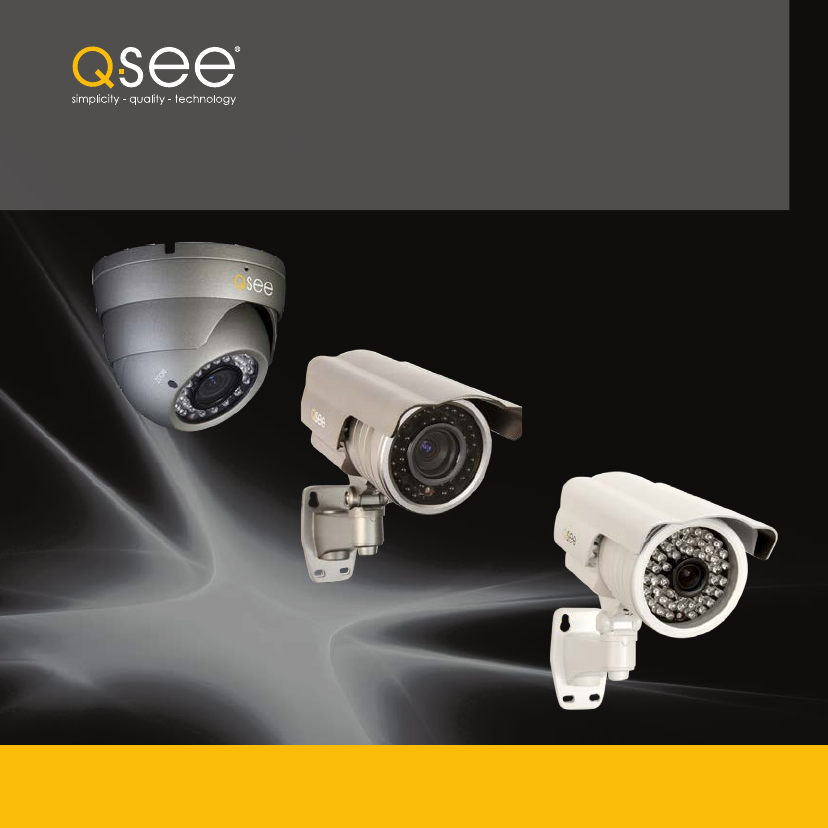
User Manual EFFIO-E CAMERAS High-Resolution Security Cameras 1
Thank You for Choosing a Q-See Product! All of our products are backed by a conditional service warranty covering all hardware for 12 months from the date of purchase. Additionally, our products also come with a free exchange policy that covers all manufacturing defects for one month from the date of purchase. Permanent upgrading service is provided for the software and is available at www.Q-See.com. Be certain to make the most of your warranty by completing the registration form online.
About this Manual This manual is written for the Q-See’s line of high-resolution cameras using Sony’s EFFIO-E image processor and was accurate at the time it was completed. However, because of our ongoing effort to constantly improve our products, additional features and functions may have been added since that time and on-screen displays may change. We encourage you to visit our website at www.Q-See.com to check for the latest firmware updates and product announcements.
TABLE OF CONTENTS INTRODUCTION 5 INSTALLATION 6 Mounting Your Camera 6 Connecting the Camera to a Security DVR System 8 Connecting the camera to a TV or Monitor 9 Controlling Your Camera 9 OPERATION Setup Menu Lens Shutter/AGC White Balance Backlight Picture Adjust ATR Motion Detection Privacy Day/Night Mode NR (Noise Reduction) Camera ID SYNC Language Camera Reset 4 10 10 11 11 12 12 13 13 14 14 15 15 16 16 16 16 TROUBLESHOOTING 17 Q-SEE PRODUCT WARRANTY 18
INTRODUCTION For your safety To prevent damage to your Q-See product or injury to yourself or to others, read and understand the following safety precautions in their entirety before installing or using this equipment. WARNING! ELECTRIC SHOCK RISK! n Care should be taken during transportation, storage and installation of this camera to avoid rough handling, dropping, or other abuse in order to prevent damage to the optics or components inside the camera.
INSTALLATION MOUNTING YOUR CAMERA When installing your camera, it is important to select a proper site not only for field of view, but for other considerations as well: Distance from viewing/recording device. The further the camera is from the DVR or monitor, the higher the chances of signal degradation. Typical 75Ω Video Cable provides acceptable signal at distances up to 200’ (30m). At greater distances, UL-Listed shielded RG59 should be used.
BULLET CAMERAS STEP 1. At the desired location, use the included mounting template to drill the holes for the mounting screws STEP 2. Insert the plastic expanders into the holes STEP 3. Mount the camera using the included screws. BOX CAMERAS These indoor cameras gnerally require a screw-type mounting rod (available separately) STEP 1. Install the rod mount as directed. STEP 2. Attach the included mounting bracket to the underside or top of the camera as needed with the included screws STEP 3.
CONNECTING THE CAMERA TO A SECURITY DVR SYSTEM STEP 1. Connect the BNC and power leads from the camera to the matching connectors on one end of the power and video cable. CAMERA Some box cameras require a special adapter with bare wire leads. The ends of the wires must be inserted into the Positive (+) and Negative (-) ports on the power input box at the back of the camera. The power cable plug connects to the attached female power jack on this adapter.
CONNECTING THE CAMERA TO A TV OR MONITOR A single camera can be connected directly to a monitor or TV with an RCA input using the included cable and a separately available adapter if needed. CAMERA TV or MONITOR STEP 1. Connect the camera to the cable and power supply as described in Steps 1, 2 and 5 above before connecting it to your video display. STEP 2. Connect the camera to the “Video In” port on the monitor or television. For Television: You may need to tune or select the correct INPUT (i.e.
OPERATION The On Screen Display (OSD) built into your camera allows you to control almost every aspect of how it captures images. Using the built-in menus, you can control brightness, contrast, white balance, shutter speed and other functions. It should be noted that these settings must be made at the camera itself and they cannot be set remotely. When used with a security DVR system, what you see on the screen will be what is recorded - including the OSD menu.
LENS This turns the auto iris feature on or off. The iris controls the amount of light entering the lens, or exposure. This requires the camera to be equipped with an automatic lens. At present, this option is only available on box-type cameras. With such a lens attached, you can select; AUTO IRIS TYPE - DC (direct current) or VIDEO (video control) of the TYPE DC iris. MODE AUTO MODE - AUTO (automatically adjusts), OPEN (always opened) or CLOSE (always closed).
WHITE BALANCE There are seven modes available for determining how your camera processes and displays color: ATW - Automatic Tracking White Balance. This is the default the camera constantly analyses and adjusts to create a neutral white balance. Colors may be slightly underexposed but generally accurate. Several settings can be modified, but the most significant is the Environment setting which adjusts the white balance based on the light source.
PICTURE ADJUST HLC Off HLC On This setting allows you to adjust the way the picture is displayed on your screen. Changes made will not affect what the camera captures. You can adjust brightness, contrast, sharpness, hue and gain with values from 0-255. You can also flip the image horizontally using the Mirror setting. ATR Adaptive Tone-curve Reproduction (ATR) attempts to show details in both the well-lit and shaded areas simultaneously for a more complete view.
MOTION DETECTION Unlike most security cameras, your camera is capable of detecting motion by itself. If you are connecting your camera to a Q-See security DVR, you will not need to enable this feature as the DVR itself has motion detection capabilities. Enabling motion detection on the camera while connected to a security DVR can produce adverse results by obscuring the recorded video or generating artifacts which the DVR will interpret as motion causing it to record unnecessarily.
DAY/NIGHT MODE This allows you to set the camera to switch automatically from day to night mode (the default) or to permanently set it to Color or B/W operation. Please note that even when the camera is set to Color mode, it will switch to black and white night vision when there is no longer enough ambient light to support color video. DAY/NIGHT You can adjust the automatic settings. BURST - This is a signal sent out by the camera even when no color information is available.
CAMERA ID You can enter an identifying name for your camera that will appear over the video image if you so choose. This will appear in addition to any similar identification made using a DVR. You can enter two lines of text with up to 26 characters each. Currently, only one such identification field - CHR1 - is supported. To enter text, use the multi-function button to navigate to the desired character and then press the button to enter it and the cursor will advance to the next position in the name.
TROUBLESHOOTING Problem Solution No picture or unstable image Check both the power and video connections to the camera. The on-screen image is blurry. 1. Check the camera focus. 2. Check for fingerprints or dirt on the lens. 3. Check menu settings. The on-screen image is dim. 1. Check for fingerprints or dirt on the lens. 2. Check monitor settings 3. Check camera SHUTTER/AGC settings. The on-screen image is dark. 1. Adjust the monitor contrast settings. 2. Adjust camera SHUTTER/AGC settings.
Q-SEE PRODUCT WARRANTY Q-See is proud to back all of our products with a conditional service warranty covering all hardware for 12 months from the date of purchase. Additionally, our products also come with a free exchange policy that covers all manufacturing defects for one month from the date of purchase. Permanent upgrading service is provided for the software.
QUESTIONS OR COMMENTS? CONTACT US PRODUCT SUPPORT, DOWNLOADS, FIRMWARE UPDATES & MANUALS 24/7 Technical Resource Data Base Live Chat (M-F, 6am - 7pm Sat & Sun 9am - 5pm PST) www.Q-See.
Digital Peripheral Solutions, Inc. 8015 E.