Analog quick-start GUIDE QT SERIES ANALOG DVRS
Test cameras and connections prior to mounting. If specialty camera(s), such as a PTZ, are included in your package, please review instructions for specialty camera(s) before proceeding to Step 1. STEP 1 CONNECT YOUR CAMERAS B • Plug the camera’s power connector into the extention cable. • Repeat for the video connector, twisting the end to lock it. C • Plug the video connector on the other end of the extension cable into an available video-in port on the back of the DVR. • Twist to lock.
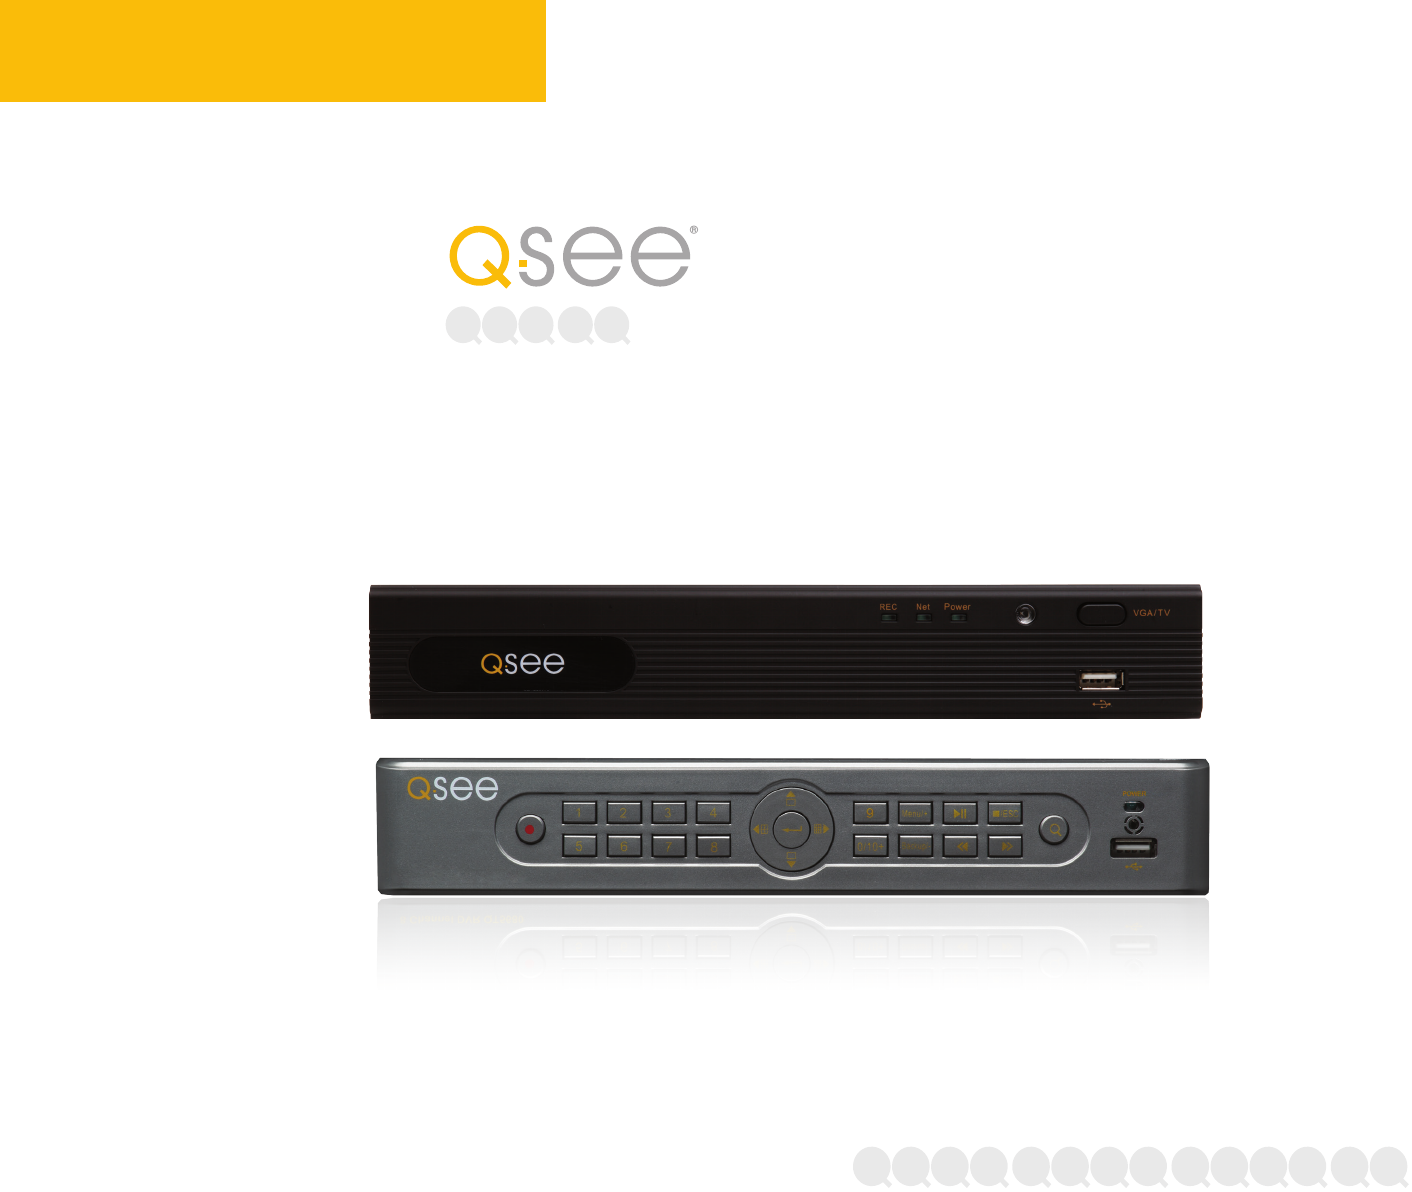
VIDEO IN 1 3 DISPLAY 5 STEP 2 CONNECT TO VIDEO 3 4 1 7 9 11 13 15 AUDIO OUT VIDEO OUT Choose video display option A or B: RS485 11 12 11 12 13 2 15 13 OPTION15 14 14 16 16 2 AUDIO OUT AA OPTION 4 6 8 10 VIDEO 14 3 STEP 4 STEP 5 16 HDMI VIDEO OPTION AUDIO OUT OUT OPTION OUT BB STEP 3 CONNECT MOUSE Plug the mouse into the USB port 3 on the back of the DVR.
STEP 6 START UP WIZARD When the startup wizard appears, follow the on-screen instructions to complete the DVR setup and connect to the internet using Q-See’s Scan N’ View service. WIZARD GLOSSARY DST (Daylight Savings Time): Set DST to change where applicable. Click Set to enter the start and end dates. Make sure the box is checked. NTP (Network Time Protocol): Maintains the accuracy of the DVR’s clock. Check the box to turn on.
STEP 8 REGISTER YOUR PRODUCT Register NOW at www.Q-See.com/Register to be eligible for live Q-See support and product news. Q-See never shares or sells registration information! CAMERA TROUBLESHOOTING If you do not see video from a camera: 1. Check to ensure that the camera is connected to a Video-In port. Q-SEE QT VIEW ON YOUR COMPUTER To access your DVR over the Internet on a computer (Mac or PC) go to www.QTView.com A.