
User Guide


A. Tap on the QR Code Scan icon
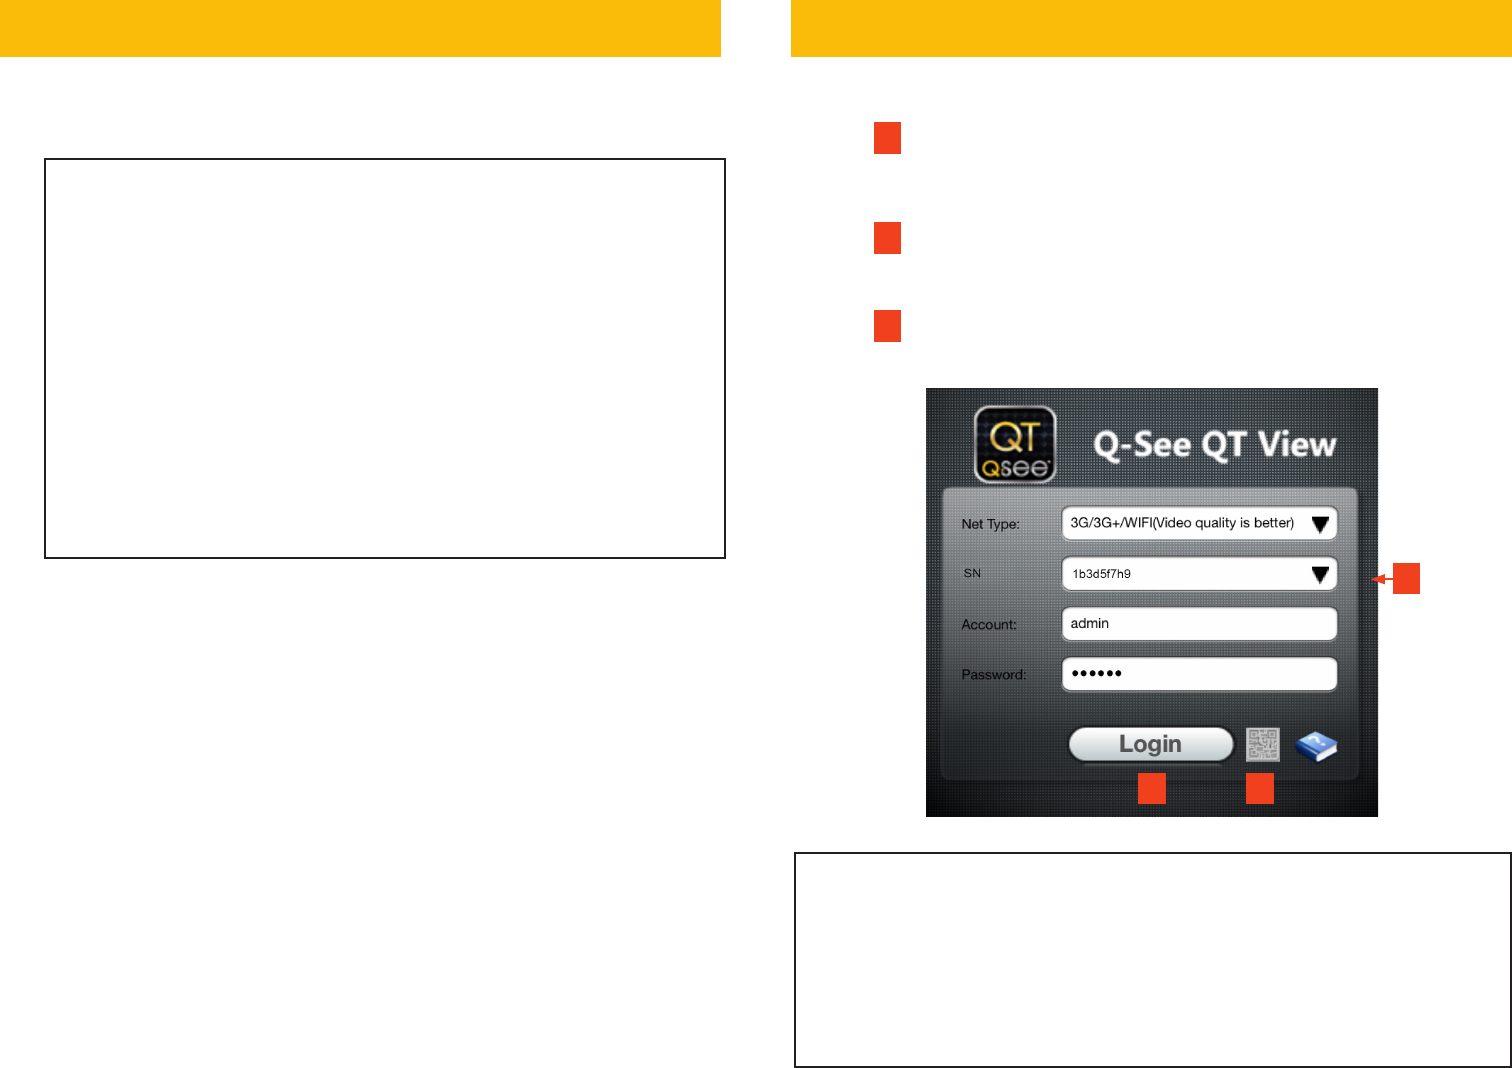
B. When the QR code has been scanned, the app will return
to the Login Screen.
C. The DVR’s ID will appear in the SN section. Enter the
Account (User Name) and Password that you created in
the Startup Wizard.
D. Tap Login to begin viewing your cameras.
STEP 6 START UP WIZARD
STEP 7 QT VIEW MOBILE APP
To view cameras, you need to add your DVR to the app.
QT VIEW GLOSSARY
SN: This is the DVR’s serial number. It appears on the label with the QR code, in
the QR code window and in the Startup Wizard.
Account: Your User Name (“admin” is the default user name)
Password: Password selected during DVR setup (“123456” is the default
password)
AD
C
When you can view live video from the cameras, they
are tested and ready to be installed.
When the startup wizard appears, follow the on-screen instructions
to complete the DVR setup and connect to the internet using Q-See’s
Scan N’ View service.
WIZARD GLOSSARY
DST (Daylight Savings Time): Set DST to change where applicable.
Click Set to enter the start and end dates. Make sure the box is checked.
NTP (Network Time Protocol): Maintains the accuracy of the DVR’s
clock. Check the box to turn on.
Language: This is the language the DVR will use.
NOTE: If a new language is selected, the DVR will restart. The wizard will
continue in English but menus will be in the selected language.
Local IP Address (LAN): The DVR’s address on the network. Write the
address on the line below. To access the DVR from a computer on the
same network, enter this address into the web browser.
To complete setup, launch QT View App on your mobile device.
Local Address (LAN):____________________________________________
To prevent the wizard from running again, uncheck the startup option.