
User manual


30
Follow the steps below to perform system migration.
Cautio n:
To avoid system damage or serious injuries, the system migration procedure should
be performed by an authorized server manager or IT administrator.
1. Turn off the source NAS and unplug the hard drives.
2. Remove the hard drives from the old trays and install them to the hard drive trays of the new
NAS.
3. Plug the hard drives to the destination NAS (new model). Make sure the hard drives are installed
in the original order.
4. Follow the instructions of the Quick Installation Guide (QIG) to connect the power supply and
network cable(s) of the new NAS.
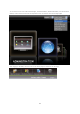
5. Turn on the new NAS. Login the web administration interface as an administrator (default login:
admin; password: admin).
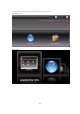
6. If you are informed to update the firmware of the new NAS, follow the instructions to download
and install the firmware.
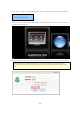
7. Click “Start Migrating”. The NAS will restart after system migration. All the data and settings will
be retained.
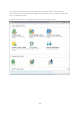
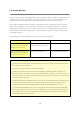
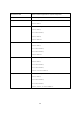
Some system settings will be removed after system migration due to different system design.
Configure the following settings again on the new NAS.
Windows AD
Some QPKGs need to be resintalled (e.g. XDove)