
User guide
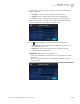
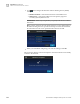
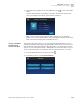

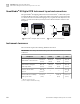
Table Of Contents
- QuantStudio 3D Digital PCR System User Guide (Pub. no. MAN0007720 Rev. C.0)
- Copyright Page
- Contents
- About this guide
- Chapter 1. Getting Started
- About the QuantStudio® 3D Digital PCR System
- Operating the instrument
- Prepare the QuantStudio® 3D Digital PCR System for use
- Connect the QuantStudio® 3D Instrument to a network
- Connect the QuantStudio® 3D AnalysisSuite™ Software
- Chapter 2. Prepare Samples and Load Reactions
- Chapter 3. Perform the PCR
- Chapter 4. Analyze the Prepared Chips
- Chapter 5. Troubleshooting
- Appendix A. Maintenance
- Appendix B. Networking
- Appendix C. Parts and Materials
- Appendix D. Specifications and Layout
- Appendix E. Safety
- Documentation and support
- Back Cover
7.
In the Network Complete screen, touch OK, then touch to return to the Main
Menu.
After the instrument has successfully connected to the network, the Network
Setup screen displays the details of the network connection.
Note: If your wireless hotspot performs MAC filtering, you can obtain the
Media Access Control (MAC) address of the QuantStudio
®
3D Instrument on the
label of the wireless dongle that you installed in step 1.
The following procedure allows you to create network data destinations to receive
experiment (.eds) files generated by the QuantStudio
®
3D Instrument. You can create
data destinations for the QuantStudio
®
3D AnalysisSuite
™
Cloud Software for direct
upload, or for local Windows
®
-based or SAMBA file servers for later import. You can
create an unlimited number of destinations and select from them prior to each run.
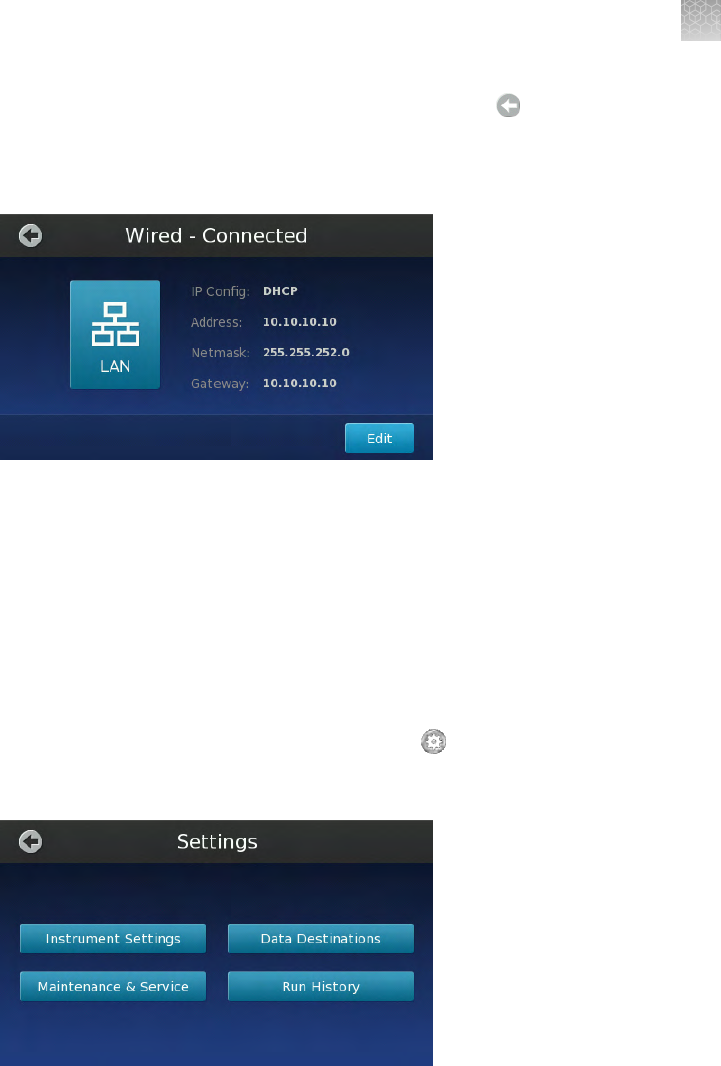
1.
From the Main Menu of the touchscreen, touch .
2.
In the Settings menu, touch Data Destinations.
Create a network
destination to
receive run data
Appendix B Networking
Connect the instrument to the network
B
QuantStudio
®
3D Digital PCR System User Guide
103