
User guide
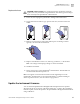
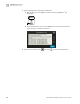
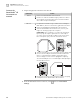
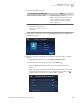
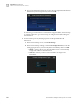
Table Of Contents
- QuantStudio 3D Digital PCR System User Guide (Pub. no. MAN0007720 Rev. C.0)
- Copyright Page
- Contents
- About this guide
- Chapter 1. Getting Started
- About the QuantStudio® 3D Digital PCR System
- Operating the instrument
- Prepare the QuantStudio® 3D Digital PCR System for use
- Connect the QuantStudio® 3D Instrument to a network
- Connect the QuantStudio® 3D AnalysisSuite™ Software
- Chapter 2. Prepare Samples and Load Reactions
- Chapter 3. Perform the PCR
- Chapter 4. Analyze the Prepared Chips
- Chapter 5. Troubleshooting
- Appendix A. Maintenance
- Appendix B. Networking
- Appendix C. Parts and Materials
- Appendix D. Specifications and Layout
- Appendix E. Safety
- Documentation and support
- Back Cover
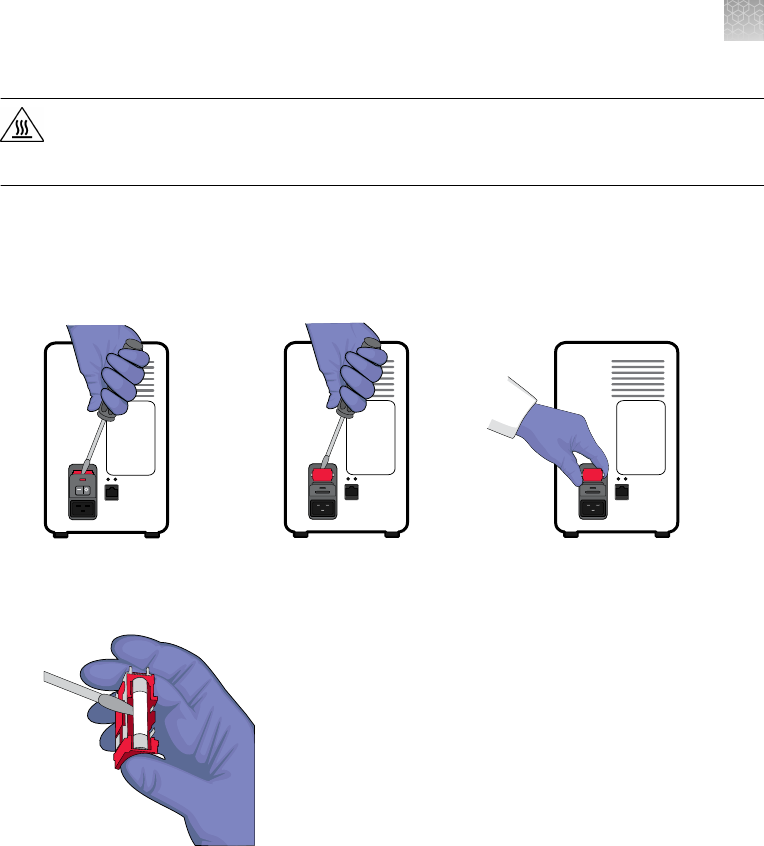
CAUTION! FIRE HAZARD. For continued protection against the risk of fire,
replace fuses only with listed and certified fuses of the same type and rating as
those currently in the QuantStudio
®
3D Instrument.
1.
Power off, then unplug the QuantStudio
®
3D Digital PCR Instrument.
2.
Using a flat-head screwdriver, pry open the fuse door, and remove the fuse
holder.
3.
Remove each fuse from its fuse holder and inspect it for damage. Carbon
typically coats the inside of failed fuses.
4.
Replace each failed fuse with a 1.6A, Time-Lag T, 250VAC, 5 × 20-mm Fuse.
Note: The voltage and amperage ratings are on the fuse holder.
5.
Install the fuse holder.
6.
Plug in, then power on the
QuantStudio
®
3D Instrument. The installation is
successful if the instrument powers on.
Note: Fuse failure can result from fluctuations in the supplied power to the
QuantStudio
®
3D Instrument. To prevent further failures, consider installing an
electrical protective device, such as a UPS or surge protector.
Update the instrument firmware
You can download QuantStudio
®
3D Digital PCR Instrument firmware updates
directly from the service section of the Life Technologies
™
website. After obtaining a
firmware update, transfer the update to the QuantStudio
®
3D Digital PCR Instrument
using a USB drive.
Replace the fuses
Appendix A Maintenance
Update the instrument firmware
A
QuantStudio
®
3D Digital PCR System User Guide
91