
User manual


User Manual
Chapter 2. Installation
Page 2-26 P/N 2349-72712-01
NOTE
The System XML files must be created in the Designer before using the
GeoBuilder.
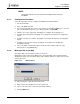
2.4.1. Configuration Procedure
Follow the instructions below to configure the NMS-4000 using GeoBuilder:
1. Run the GeoBuilder.
2. Choose the New command.
3. Select all System XML files from the ‘open’ dialog. Use the Ctrl or Shift keys to select all
files. The default directory in the ‘open’ dialog should be Scopus\XML
4. Mark the sites on the region map. Paragraph 2.4.2 explains the marking process.
5. Configure the Central Server. Paragraph 2.4.3 explains the Central Server configuration
dialog.
6. Configure a Supervisor computer. Paragraph 2.4.4 explains the Supervisor Configuration
dialog.
7. Configure a site manager computer. Paragraph 2.4.5 explains the Site Manager
Configuration dialog.
8. Choose the Save command. Accept the default file name and directory in the Save
dialog and press the [Save] button.
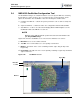
2.4.2. Marking a Site on the Map
The Region Map section contains a marker for each site.
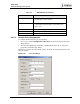
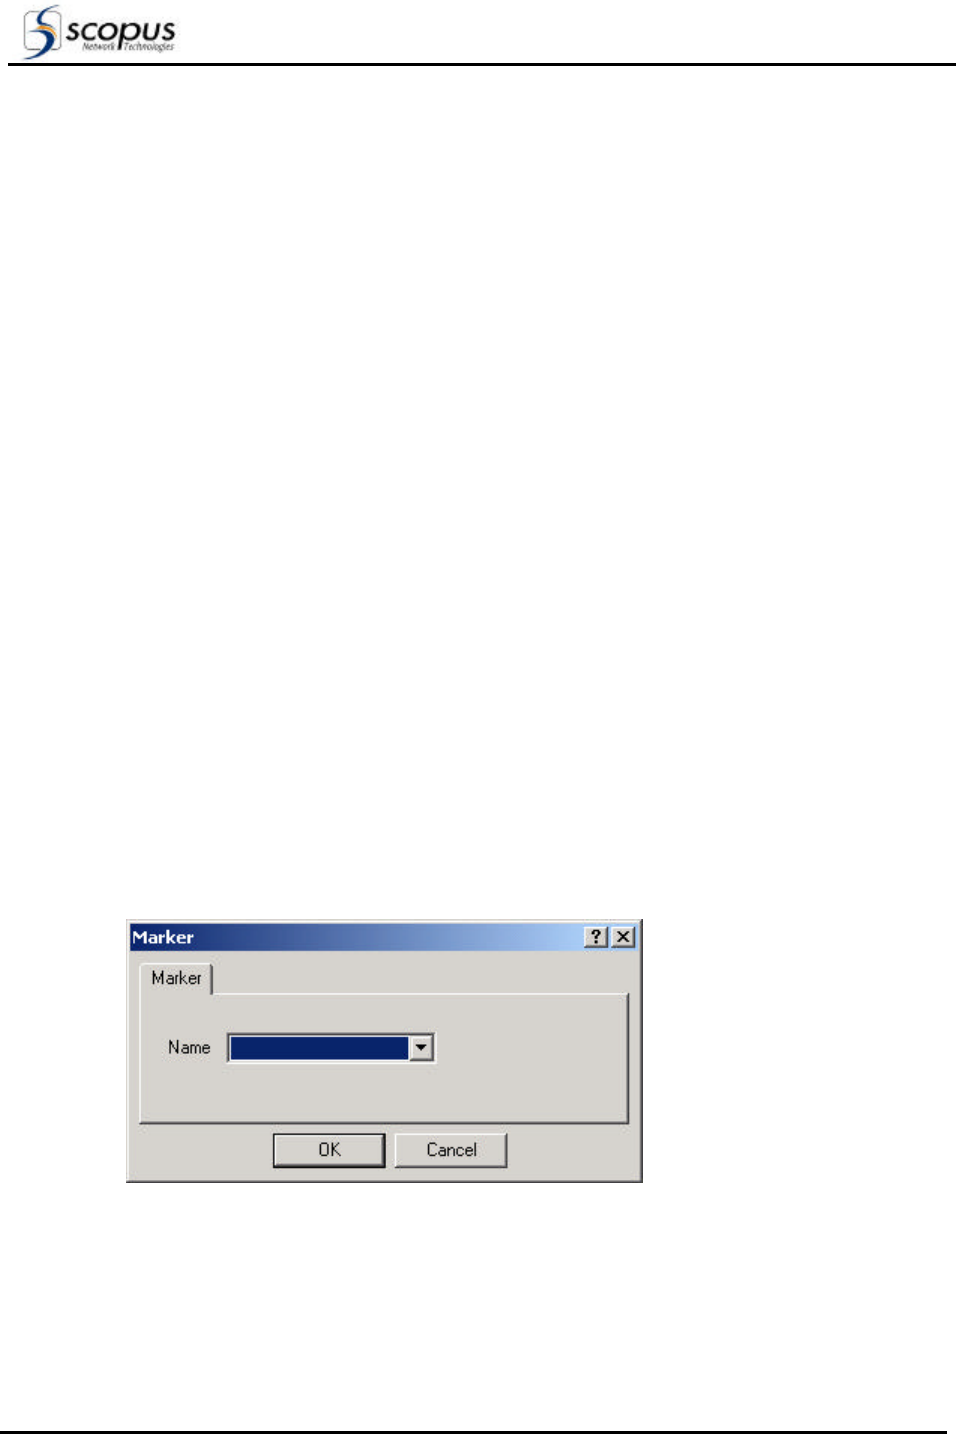
Dragging the marker sign from the Marker bar to the Region Map opens the Marker dialog,
displayed on Figure 2-23. The Marker dialog adds a marker and chooses which sites the new
marker represents.
Figure 2-23: Marker Dialog
To add a new marker, follow the instructions below:
a. Drag a marker from the Marker bar to the region map.
b. Select a site in the name combo box on the Marker dialog.
c. Click the [OK] button.