
Owner's manual


Table Of Contents
- Chapter 1: Introduction
- Chapter 2: Accessing CC-SG
- Chapter 3: Configuring CC-SG with Guided Setup
- Chapter 4: Creating Associations
- Chapter 5: Adding Devices and Device Groups
- Chapter 6: Configuring Nodes and Interfaces
- Chapter 7: Adding and Managing Users and User Groups
- Chapter 8: Policies
- Chapter 9: Configuring Remote Authentication
- Chapter 10: Generating Reports
- Audit Trail Report
- Error Log Report
- Access Report
- Availability Report
- Active Users Report
- Locked Out Users Report
- User Data Report
- Users in Groups Report
- Group Data Report
- AD User Group Report
- Asset Management Report
- Node Asset Report
- Active Nodes Report
- Node Creation Report
- Query Port Report
- Active Ports Report
- Scheduled Reports
- CC-NOC Synchronization Report
- Chapter 11: System Maintenance
- Chapter 12: Advanced Administration
- Appendix A: Specifications (G1, V1, and E1)
- Appendix B: CC-SG and Network Configuration
- Appendix C: User Group Privileges
- Appendix D: SNMP Traps
- Appendix E: Troubleshooting
- Appendix F: Two-Factor Authentication
- Appendix G: FAQs
- Appendix H: Keyboard Shortcuts
CHAPTER 10: GENERATING REPORTS 121
• If you want to limit the report to a particular IP address’s activities, type the user’s IP address
in the User IP address field.
4. Click OK to run the report. The report is generated, displaying data about activities that
occurred during the designated time period that also comply with any additional parameters
specified.
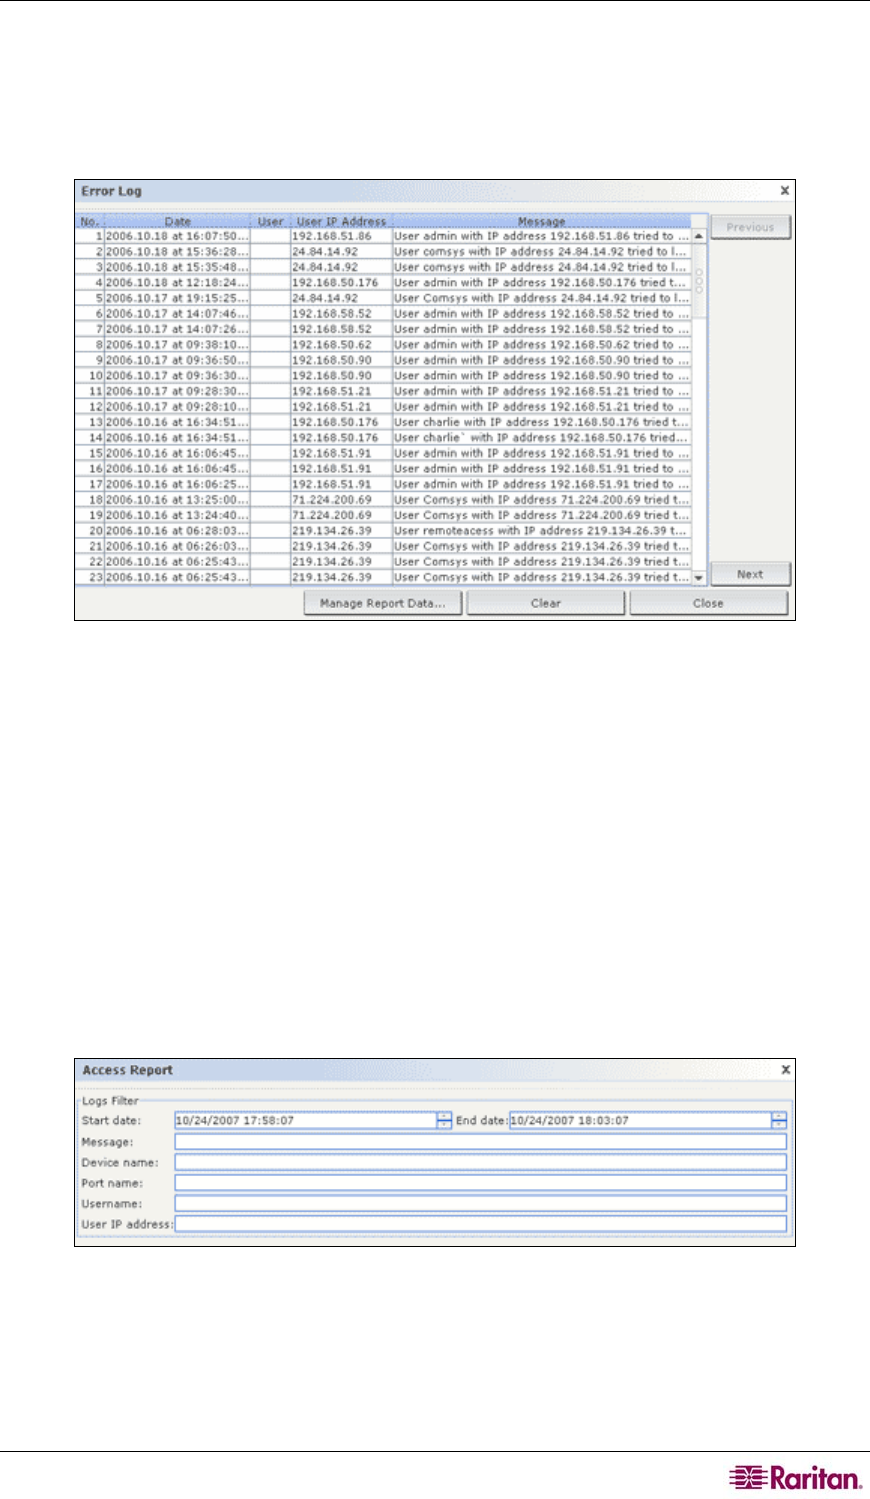
Figure 115 Error Log Report
• Click Next or Previous to navigate through the pages of the report.
• Click Manage Report Data… to save or print the report. Click Save to save the records that
are displayed in the current report page to a CSV file or click Save All to save all records.
Click Print to print the records that are displayed in the current report page or Print All to
print all records. Click Close to close the window.
• Click Clear to clear the log files used in the report.
• Click Close to close the report.
Access Report
Run the Access report to view information about accessed devices and ports, when they were
accessed, and the user who accessed them.
1. On the Reports menu, click Accessed Report. The Access Report screen appears.
Figure 116 Access Report Screen
2. Set the date range for the report in the Start Date and End Date fields. Click each
component of the default date (month, day, year, hour, minute, second) to select it, and then
click the up and down arrows to reach the desired number.