
Owner's manual


Table Of Contents
- Chapter 1: Introduction
- Chapter 2: Accessing CC-SG
- Chapter 3: Configuring CC-SG with Guided Setup
- Chapter 4: Creating Associations
- Chapter 5: Adding Devices and Device Groups
- Chapter 6: Configuring Nodes and Interfaces
- Chapter 7: Adding and Managing Users and User Groups
- Chapter 8: Policies
- Chapter 9: Configuring Remote Authentication
- Chapter 10: Generating Reports
- Audit Trail Report
- Error Log Report
- Access Report
- Availability Report
- Active Users Report
- Locked Out Users Report
- User Data Report
- Users in Groups Report
- Group Data Report
- AD User Group Report
- Asset Management Report
- Node Asset Report
- Active Nodes Report
- Node Creation Report
- Query Port Report
- Active Ports Report
- Scheduled Reports
- CC-NOC Synchronization Report
- Chapter 11: System Maintenance
- Chapter 12: Advanced Administration
- Appendix A: Specifications (G1, V1, and E1)
- Appendix B: CC-SG and Network Configuration
- Appendix C: User Group Privileges
- Appendix D: SNMP Traps
- Appendix E: Troubleshooting
- Appendix F: Two-Factor Authentication
- Appendix G: FAQs
- Appendix H: Keyboard Shortcuts
CHAPTER 12: ADVANCED ADMINISTRATION 197
2. Enter the IP address or hostname of the target you wish to check in the Traceroute Target
field.
3. Optionally, select:
OPTION DESCRIPTION
Verbose Verbose output, which lists received ICMP packets other
than TIME_EXCEEDED and UNREACHABLEs.
No DNS Resolution Does not resolve addresses to host names.
Use ICMP (vs. normal UDP) Use ICMP ECHO instead of UDP datagrams.
4. Optionally, type values for how many hops the traceroute command will use in outgoing
probe packets (default is 30), the UDP destination port to use in probes (default is 33434),
and the size for the traceroute packets. If left blank, defaults will be used.
5. Click Traceroute in the bottom right-hand corner of the window.
6. Press CTRL+C or CTRL+Q to terminate the traceroute session. A Return? prompt appears;
press ENTER to return to the Traceroute menu. The Return? prompt also appears when
Traceroute terminates due to “destination reached” or “hop count exceeded” events occur.
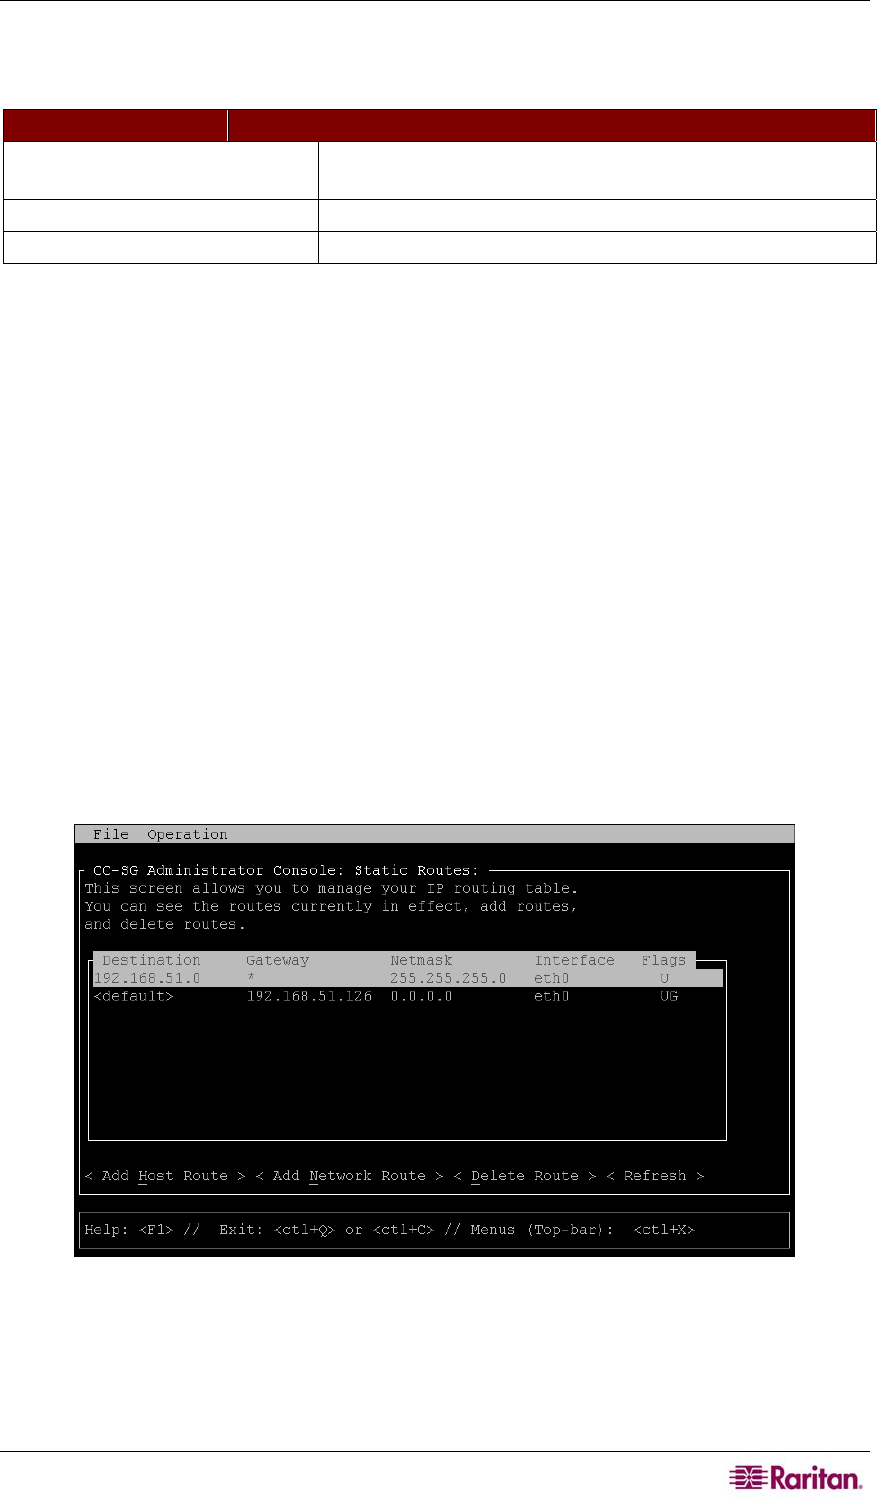
Editing Static Routes (Network Interfaces)
In Static Routes, you can view the current IP routing table and modify, add, or delete routes.
Careful use and placement of static routes may actually improve the performance of your network,
allowing you to conserve bandwidth for important business applications and may be useful for
Active/Active network settings where each interface is attached to a separate IP domain-see
section
Network Configuration in Chapter 12: Advanced Administration for additional
information. Click with the mouse or use the TAB, ↓↑ keys to navigate and press the Enter key
to select a value.
To view or change static routes:
1. Click Operation, Network Interfaces, and then click Static Routes.
2. The current IP routing table is displayed. You can add a host or network route, or delete a
route. The <Refresh> button updates the routing information in the above table.
Figure 196 Editing Static Routes
Viewing Log Files (Admin)
You can view one or more log files simultaneously via LogViewer, which allows browsing
through several files at once, to examine system activity.
To view log files: