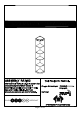
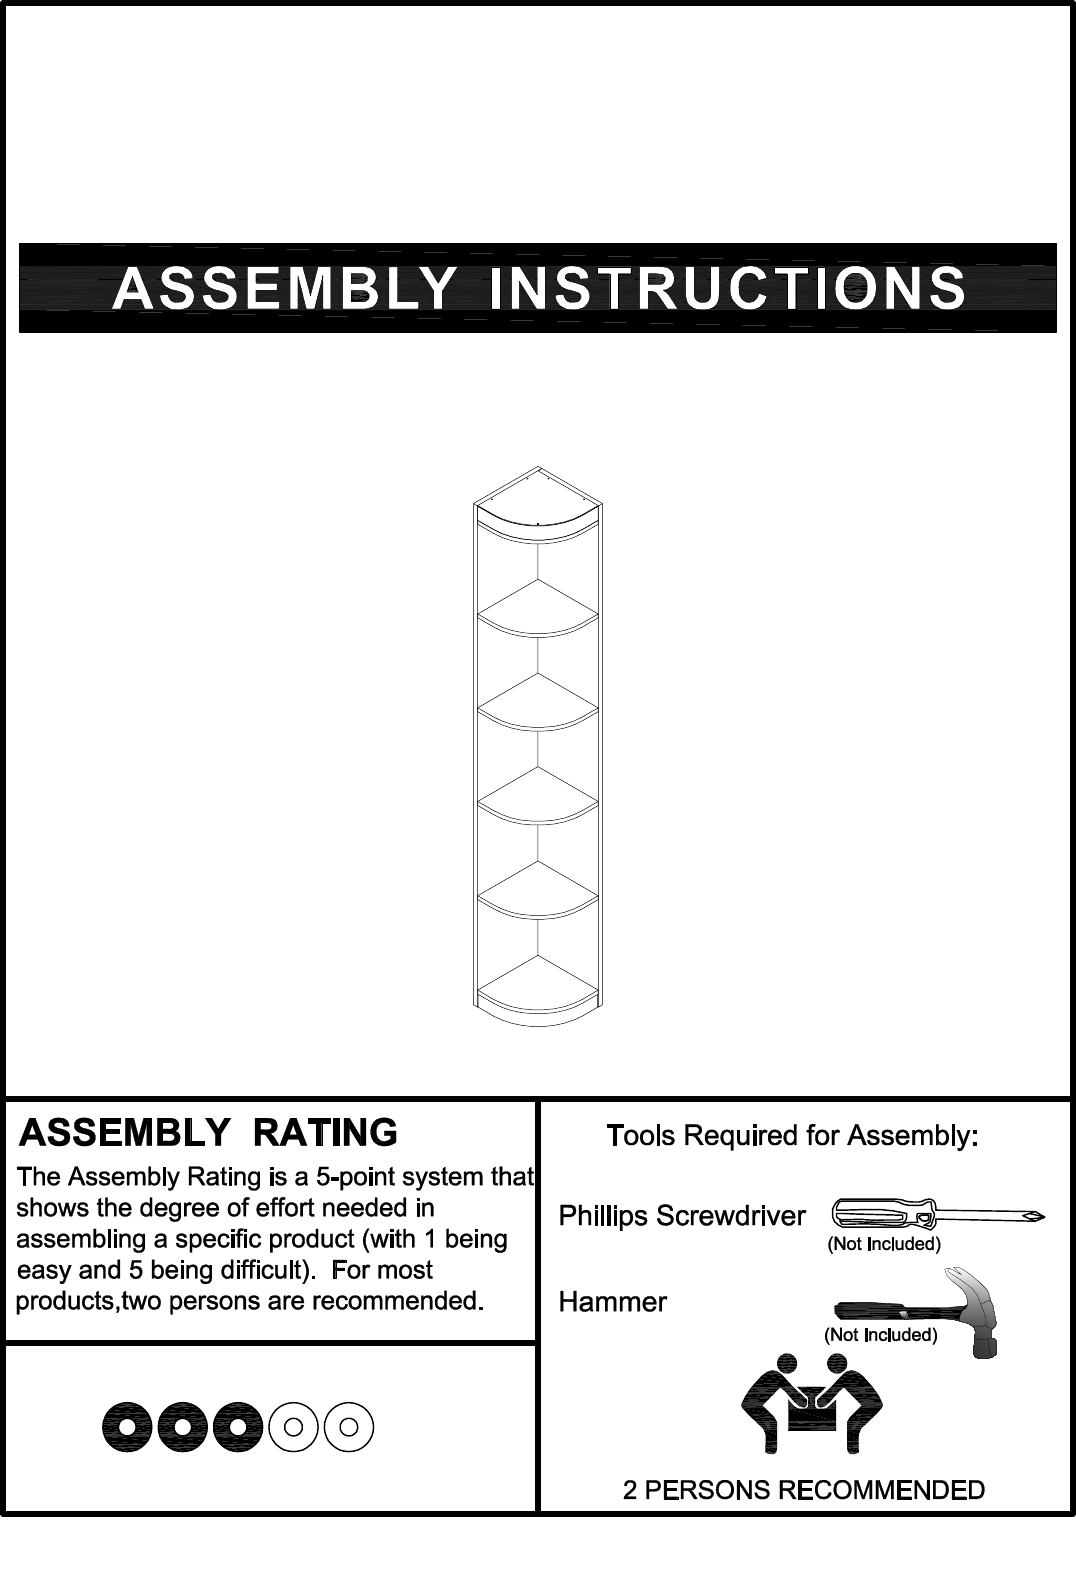
EASY DIFFICULT Page 1 of 11
Page 2 of 11
Page 3 of 11
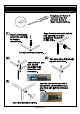
Unless you are particularly adept at assembling flat-pack/knock-down furniture, we understand building ready-to-assemble furniture can be a frustrating experience for some. To help avoid confusion and to make the assembly process quicker and smoother, we have provided some helpful tips.
Page 5 of 11
Page 6 of 11
Page 7 of 11
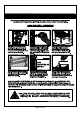
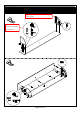
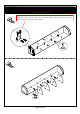
The opening of panel (#6) should be facing away from panel (#2). 6 Refer to step 5 on how to secure cam locks (#B) to Hx2 cam bolts (#A).
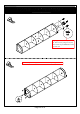
Align panel (#4) to the bottom of the unit, then align brackets (#E) to the panel (#4) and the bottom of the unit. Secure by using screws (#F). There will be no pre-drilled holes to align the brackets (#E) to. Align the brackets (#E) according to the diagram below.
5 Align top panel (#5) to the top of the unit, then secure by using screws (#G). There will be no pre-drilled holes on the top of the unit. Tap the floor protectors (#I) to the bottom of the unit by using the hammer.