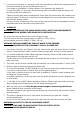
REDRING EXPRESSIONS 550S SMART TECHNOLOGY ELECTRIC SHOWER Installation and User Guide IMPORTANT: This booklet should be left with the user after installation and demonstration
CONTENTS Section Page Introduction _ _ _ _ _ _ _ _ _ _ _ _ _ _ _ _ _ _ _ _ _ _ _ _ _ _ _ _ _ _ _ _ _ _ _ _ _ _ _ _ _ 2 Important Safety Information _ _ _ _ _ _ _ _ _ _ _ _ _ _ _ _ _ _ _ _ _ _ _ _ _ _ _ _ _ _ _ _ 2 How to use your Expressions 550S Shower (Detailed) _ _ _ _ _ _ _ _ _ _ _ _ _ _ _ _ _ _ _ _ 3 How your Expressions 550S Shower Works _ _ _ _ _ _ _ _ _ _ _ _ _ _ _ _ _ _ _ _ _ _ _ _ _ _ 4 How to maintain your Expressions 550S Shower _ _ _ _ _ _ _ _ _ _ _ _ _ _ _ _ _ _ _ _ _ _ _ 5 What to do if thing
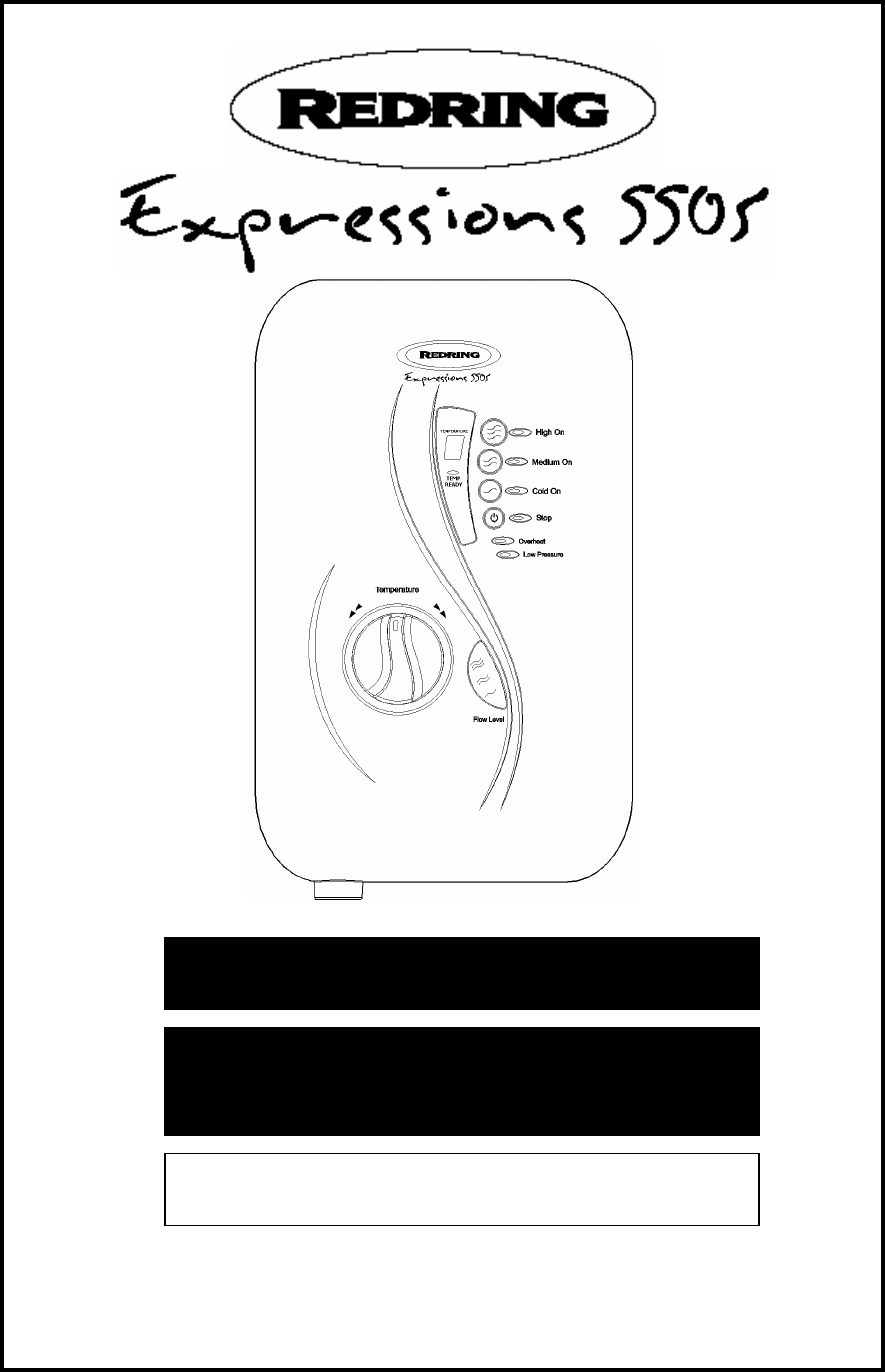
HOW TO USE YOUR EXPRESSIONS 550S SHOWER (DETAILED) 1. Ensure the electricity and water are turned on to the unit. 2. Your shower can be turned on by pressing either Button “A”, Button “B” or Button “C” (see diagram 1). Button “A” - Starts shower on “High” power. Button “B” - Starts shower on “Medium” power. Button “C” - Starts shower on “Cold”. Once pressed, a light will illuminate next to the button confirming that power selection has been made.
HOW YOUR EXPRESSIONS 550S SHOWER WORKS 1. Water is heated instantaneously as it flows over the heating elements in the copper cylinder (diagram 2). 2. The heaters are only switched on when sufficient water is flowing. This is done automatically with a switch which works on water pressure and is indicated by the “High” or “Medium” light illuminating, depending on whether Button “A” or “B” has been pressed. 3. The water is turned on and off by the solenoid valve built into the shower.
HOW TO MAINTAIN YOUR EXPRESSIONS 550S SHOWER It is recommended that the shower unit and hose etc. be cleaned using a soft cloth and that the use of abrasive or solvent cleaning fluid be avoided. We recommend that before any cleaning, the isolating switch be turned off, thus avoiding accidentally switching on the shower.
WHAT TO DO IF THINGS GO WRONG (2) PROFESSIONAL SERVICE If the previous “Self Help” checks fail to restore the performance, you should seek professional help. The person who installed the shower is probably the best one to repair it and is certainly the person to contact if you have had a problem in the guarantee period. The following additional checklist is provided for the benefit of the qualified service person.
HOW TO INSTALL YOUR EXPRESSIONS 550S SHOWER WARNING: ALL WIRING AND INSTALLATION MUST BE SUPERVISED BY A SUITABLY QUALIFIED PERSON. WARNING: DO NOT INSTALL THIS SHOWER WHERE IT MAY BE SUBJECTED TO FREEZING CONDITIONS We recommend that the installation is done in the following sequence. a. Fixing the shower to the wall b. Plumbing c. Electrical connections a. FIXING THE SHOWER TO THE WALL 1.
7. If you have not yet done so, remove the front cover assembly by undoing the retaining screws at the top and bottom of the unit and lifting the cover off. Your shower is provided with 2 fixing positions in the backplate (see diagram 4). The top-fixing hole is a “key-hole” slot (another key-hole is provided for alternate fixing), and should be marked and drilled first. Tighten top screw with head protruding about 10mm from the wall and hook the backplate over the screw head.
c) ELECTRICAL WARNING: THIS SHOWER MUST BE EARTHED. The electrical installation must be in accordance with the current BS.7671 (IEE Wiring Regulations) and “Part P” of the Building Regulations and/or local regulations 1. The SHOWER is designed for a single phase AC electrical supply. Please check the rating plate on the unit to see what details apply to your unit. AS A GUIDE ONLY (* Only applies if external earth impedance is less than 0.35 Ohms) Rating 7.2 / 6.6kW 240 / 230V 8.5 / 7.8kW 240 / 230V 9.
5. Re-Fit the front cover (see diagram 9) a. Ensure Knob “E” is aligned at the “6 o’clock” position. b. In the main body of the shower, turn the “Drive Gite” fully clockwise until it is at the position shown. Please note that this instruction should be used if the “Drive Gite” becomes accidentally dislodged, whilst attention should also be paid to the position of the “Flow Mask alignment mark”. c. Fit the front cover of the shower to the main body.
: GUARANTEE AND CONTACT DETAILS Full details of terms and conditions are available on request from:- APPLIED ENERGY PRODUCTS LIMITED MORLEY WAY, PETERBOROUGH PE2 9JJ TEL: +44 (0) 1733 456789 FAX: +44 (0) 1733 310606 Website: www.redring.co.
HOW TO USE YOUR EXPRESSIONS 550S SHOWER (SUMMARY) 1. Ensure the electricity and water are turned on to the unit. 2. Your shower can be turned on by pressing either Button “A”, Button “B” or Button “C” (see diagram 1). Button “A” - Starts shower on “High” power. Button “B” - Starts shower on “Medium” power. Button “C” - Starts shower on “Cold”. Once pressed, the water will flow, and a light will illuminate next to the button confirming that power selection has been made. 3.