FLX™ UC 1500 IP & USB Conference Phone, Extended Quick Start Guide Conference with Confidence
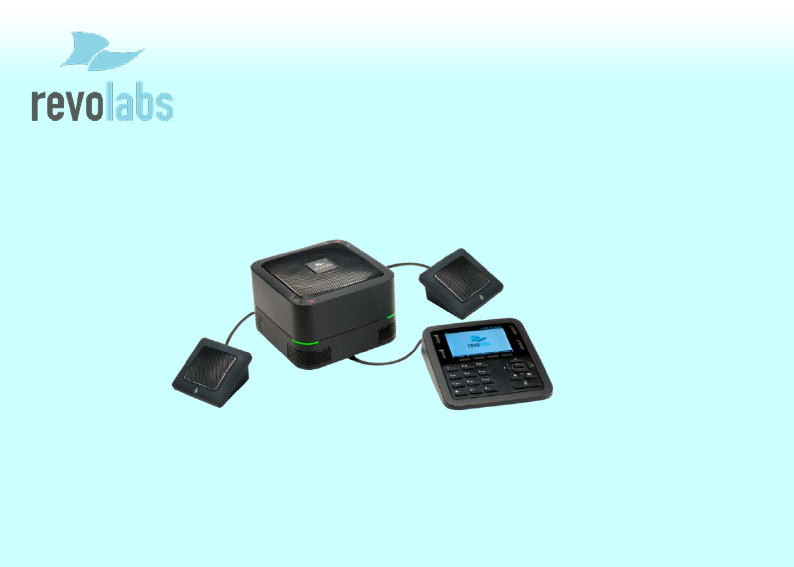
Connecting your UC 1500 1. Take the UC 1500 Base Unit and Dialer out of the box. Contents 2. Connect the Dialer to the Base Unit, making sure to connect the • 1 Base Unit cable in the dialer only port on the bottom of the UC 1500. • 1 Dialer Unit 3. Using the provided Ethernet cable, connect the UC 1500 to an • 1 USB Cable, 6.56ft (2.0m) Ethernet jack providing power over Ethernet (PoE) and the bottom • 1 Ethernet Cable, 25ft(7.62m) of the UC 1500.
2. Via Web Interface: a. Press the Menu Button on the Dialer b. Navigate to and Select the Info Option c. Note the IP Address for the UC 1500 d. Using a computer, open an internet browser and type in the IP address e. For initial login, the password is 7386. f. Navigate to VoIP Settings g. Configure the items in this menu per your call manager configuration. h. Click the Save button. No reboot of the system is required.
Connecting the UC 1500 to the Computer: 1. Connect one end of the USB cable to your computer, and the other end to the connector on the bottom of the UC 1500. 2. For call control functionality of supported 3rd party applications on your computer, download and install the FLX Device Manager from: http://revolabs.com/support/product-line/uc-1500 Safety Warnings: • Do not expose any of the UC 1500 components to water, moisture, or high humidity.