
Owner's Manual


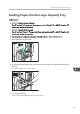


Table Of Contents
- TABLE OF CONTENTS
- How to Read the Manuals
- Model-Specific Information
- Names of Major Features
- 1. What You Can Do with This Machine
- I Want to Save Paper
- I Want to Convert Documents to Electronic Formats Easily
- I Want to Register Destinations
- I Want to Operate the Machine More Effectively
- You Can Customize the [Home] Screen as You Like
- You Can Make Copies Using Various Functions
- You Can Print Data Using Various Functions
- You Can Utilize Stored Documents
- You Can Connect Two Machines for Copying
- You Can Send and Receive Faxes without Paper
- You Can Send and Receive Faxes Using the Internet
- You Can Send and Receive Faxes by Using the Machine without Fax Unit Installed
- You Can Use the Facsimile and the Scanner in a Network Environment
- You Can Prevent Information Leakage (Security Functions)
- You Can Monitor and Set the Machine Using a Computer
- You Can Prevent an Unauthorized Copy
- 2. Getting Started
- 3. Copy
- 4. Fax
- 5. Print
- 6. Scan
- Basic Procedure When Using Scan to Folder
- Basic Procedure for Sending Scan Files by E-mail
- Basic Procedure for Storing Scan Files
- Specifying the File Type
- Specifying Scan Settings
- 7. Document Server
- 8. Web Image Monitor
- 9. Adding Paper and Toner
- 10. Troubleshooting
- Indicators
- When an Indicator for the [Check Status] Key Is Lit
- Panel Tone
- When You Have Problems Operating the Machine
- When Messages Are Displayed on the Control Panel
- When Messages Are Displayed on Your Computer Screen
- 11. Appendix
- INDEX
5. Press [OK].
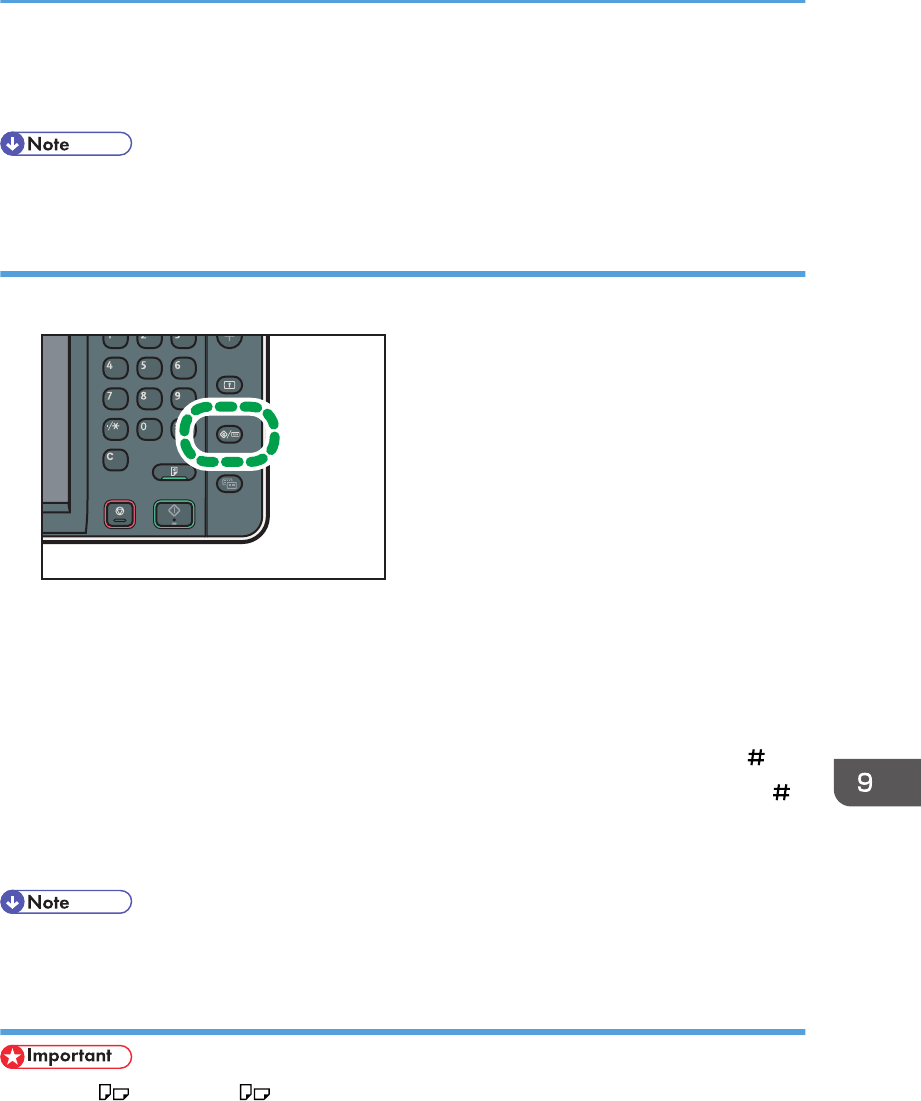
6. Press the [User Tools/Counter] key.
• When loading thick paper or OHP transparencies, specify the paper size and the paper type.
Setting custom size paper using the control panel
1. Press the [User Tools/Counter] key.
CJS039
2. Press [Tray Paper Settings].
3. Press [Printer Bypass Paper Size].
4. Press [Custom Size].
If a custom size is already set, press [Change Size].
5. Press [Vertical], enter the size of the paper using the number keys, and then press [ ].
6. Press [Horizontal], enter the size of the paper using the number keys, and then press [ ].
7. Press [OK] twice.
8. Press the [User Tools/Counter] key.
• When loading thick paper or OHP transparencies, specify the paper size and the paper type.
Setting thick paper or OHP transparencies using the control panel
• Use A4 or 8
1
/
2
× 11 size OHP transparencies, and specify their size.
• When you load OHP transparencies, check the front and back of the sheets, and place them
correctly.
• When printing onto OHP transparencies, remove printed sheets one by one.
Loading Paper into the Bypass Tray
131