
Connecting to a Personal Computer

48
Saving the Image
This operation is for saving the image displayed on the screen on the PC disk
(hard disk, etc.). When saving the non-compressed still images, follow the
procedure explained on page 52, ‘Shooting Text Files/Saving the Image’.
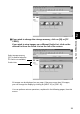
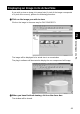
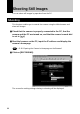
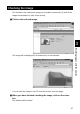
A If the image is displayed in reduced size, click on the image you
want to save and display it in its actual size.
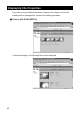
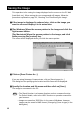
B [For Windows] Move the mouse pointer to the image and click the
right mouse button.
[For Macintosh] Move the mouse pointer to the image, and click
while pressing the [control] key.
The menu will be displayed where you click the mouse pointer.
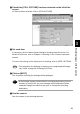
C Click on [Save Picture As...].
If you are using Netscape Communicator, click on [Save Image As...].
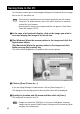
The dialog box for specifying the location and file name will be displayed.
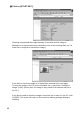
D Specify the location and file name and then click on [Save].
The image is now saved in the PC.
Note
• The [Save] function is a browser function and not a camera function.
For further details, refer to the HELP function or operation manual for
your browser.
• Images are saved as JPEG files. In the case of Windows, however,
images can be saved in BMP format. (Change by [Save as type] in the
dialog box.)