
Owner`s manual


10
Tracking the Saw Blade
Unplug the bandsaw. Make sure the upper
and lower blade guides are adjusted away from the blade
and the tension scale is set to correspond to the width of
the blade you are using.
Note: The blade tension scale may read differently due to cut
specications of the blade manufacturer. It might be necessary to
increase/decrease tension up/down one size on blade tension scale to
achieve proper blade tension.
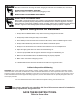
Open both doors. Loosen the lock lever (A-Fig.9) by
turning it counter clockwise and turn the blade tracking
knob (B-Fig.9) clockwise/counterclockwise while turning
the upper wheel by hand at least three rotations until the
blade tracks centered on the wheel. Finally, tighten the lock
lever and close the doors.
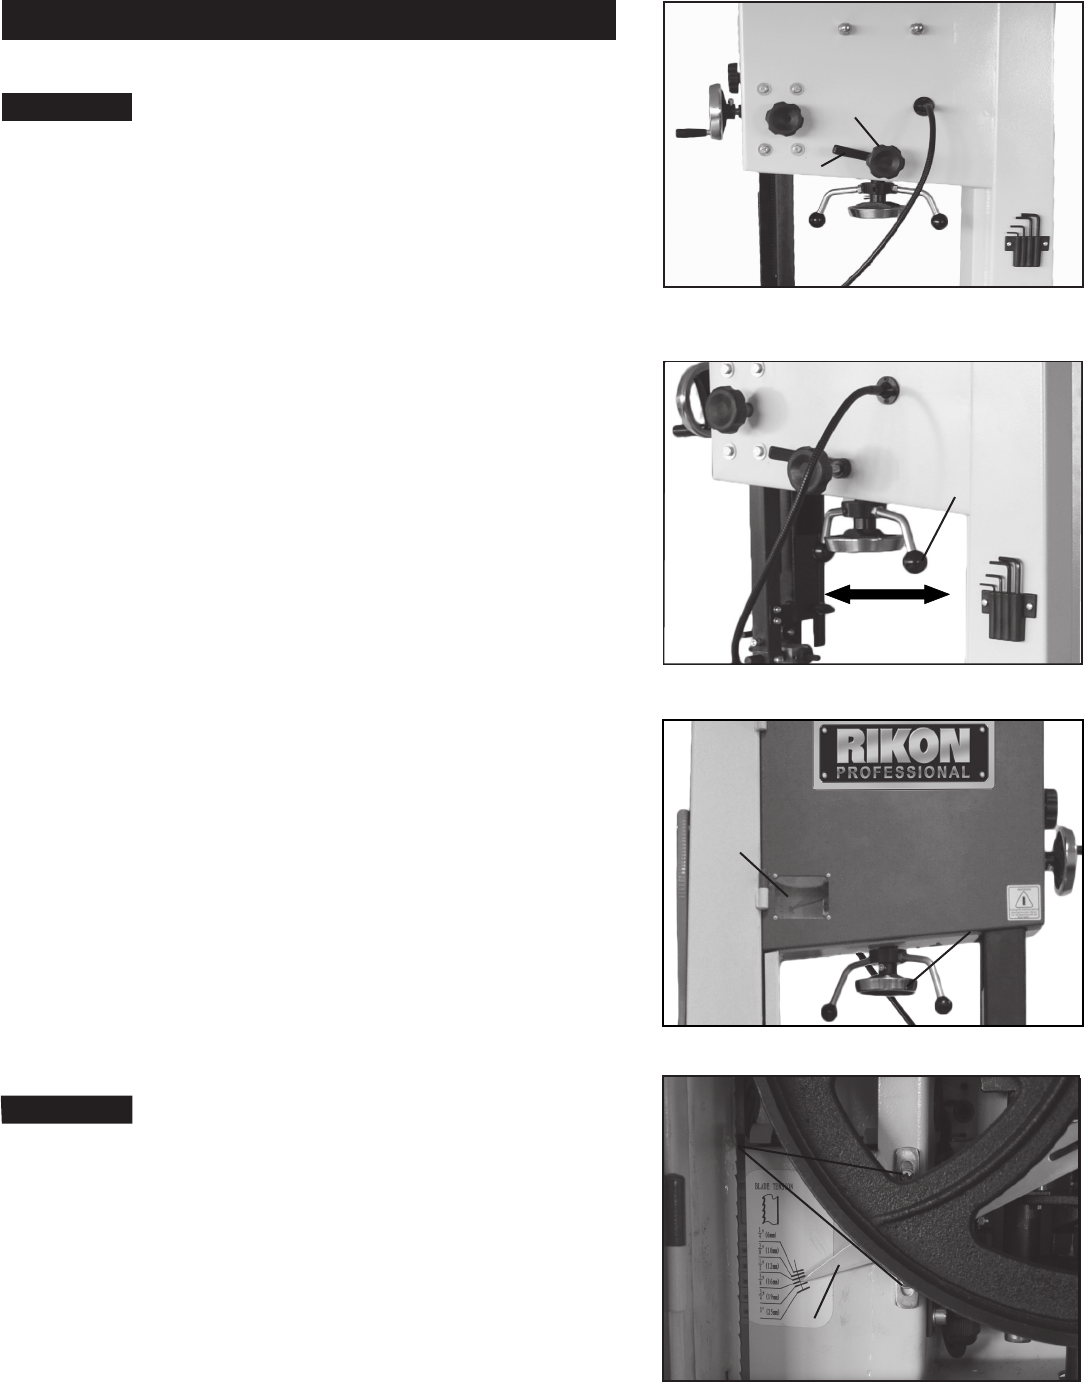
Adjusting the Blade Tension
The 10-350 has a quick release blade function which
allows for fast blade changing and tensioning. The quick
release lever is shown in gure 10.
To loosen the tension of the blade, turn the blade tension
handwheel (A-Fig.11) counter clockwise. To tighten the
tension of the blade, turn the blade tension handwheel
clockwise.
Tension the blade until the tension readings correspond
to the width of blade you are using by viewing through the
tension indicator window (B-Fig.11).
Note: The blade tension scale may read differently due to cut
specications of the blade manufacturer. It might be necessary to
increase/decrease tension up/down one size on blade tension scale to
achieve proper blade tension.
Always tension the blade with the quick
release lever in the “On” position. Failure to do so could
result in lack of blade tension or tension failure.
Blade Tension Indicator Adjustment
The blade tension indicator can be adjusted for
blades known to be cut over/under length by different
manufacturers. With moderate tension on the blade loosen
the two adjusting screws with a Phillips-head screw driver
(A-Fig.12). Adjust the blade indicator bracket up/down as
needed (B-Fig.12) and re-tighten the two adjusting screws.
Adjustments
Figure 9
Figure 10
Quick Release
Warning!
OnOff
Caution!
Figure 11
Figure 12
A
B
A
B
A
B
Quick Release
OnOff