Issue 3 Description: Robinhood 9 Function Fan Forced Stainless Steel 60cm Oven Model Numbers: OBA609C56SS, OBB609K56SS, OBS609C56SS OBB609K56SS OBA609C56SS OBS609C56SS
Warning and safety information This appliance is not intended for use by persons (including children) with reduced physical, sensory or mental capabilities, or lack of experience and knowledge, unless they have been given supervision or instruction concerning use of the appliance by a person responsible for their safety. Children should be supervised to ensure that they do not play with the appliance. Do not leave this oven unattended or unsupervised whilst children or infirmed are present.
Installation- continued Fastening the oven Insert the appliance into the compartment; open the oven door and fasten the oven to the cabinet using the four screws “A”, remembering to place the special spacers provided between the hole and the screw itself.
Installation- continued Electric connection Cookers with a three-pole power supply cable are designed to operate with single phase alternated current at the supply frequency and voltage indicated on the data plate (at the rear of the oven). The earthing conductor of the cable is the yellow-green conductor.
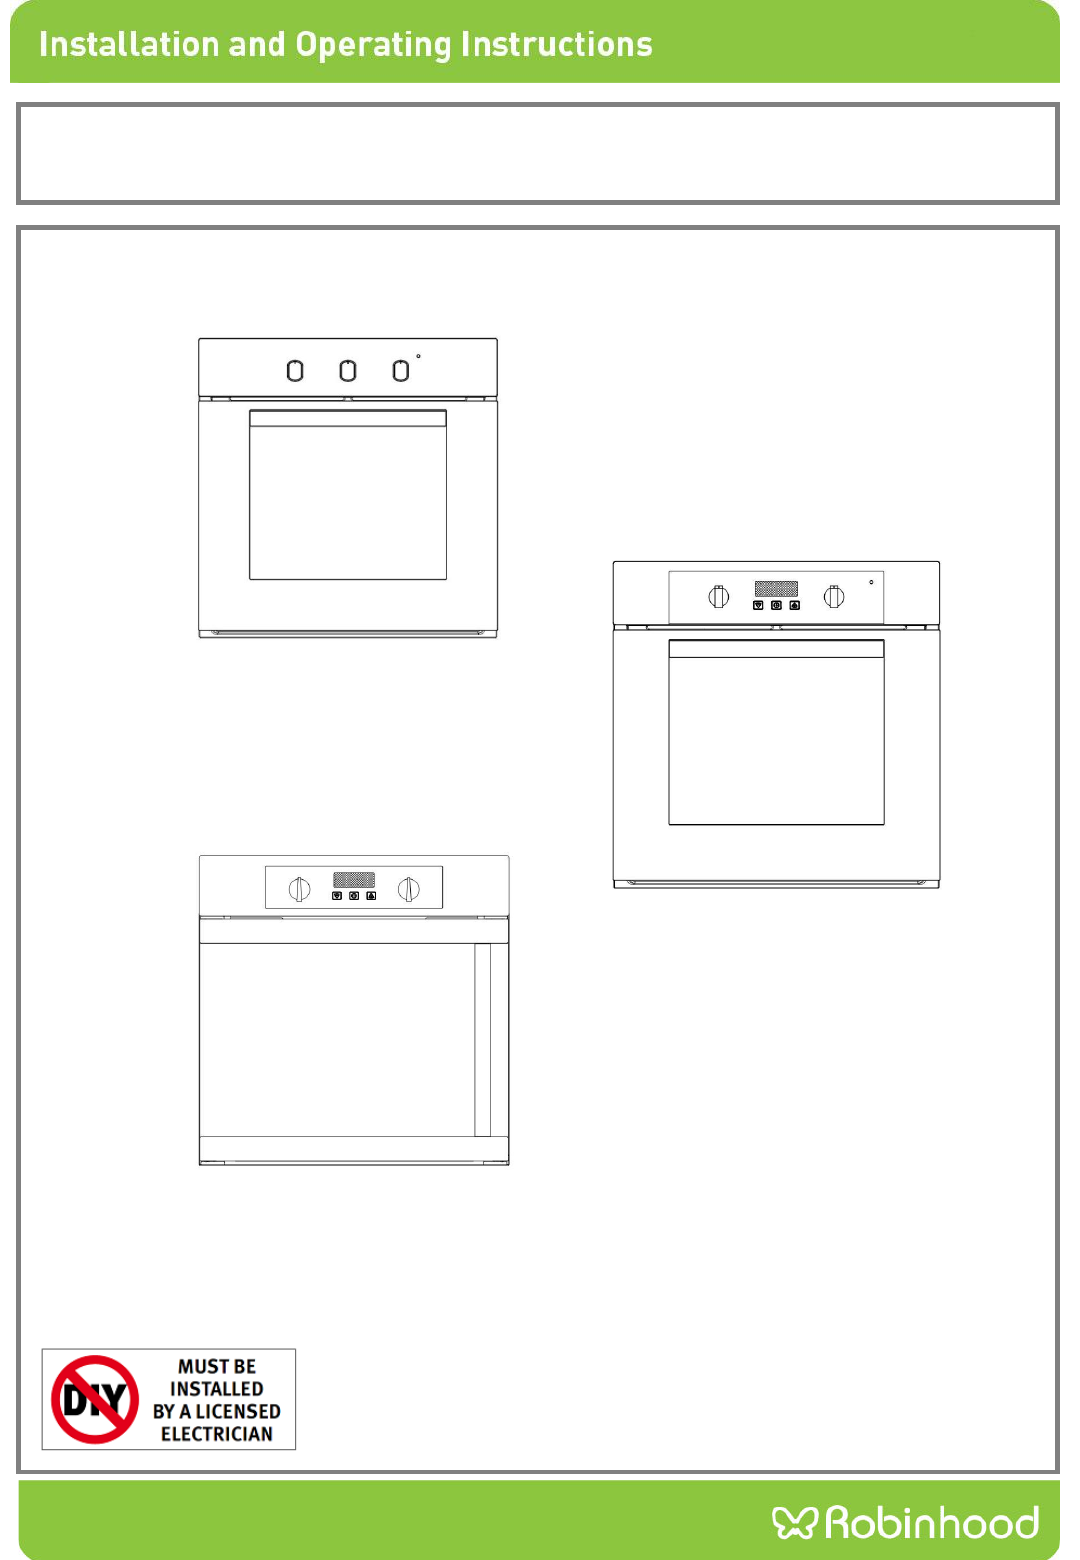
Instruction on use Control panel features This oven combines in a single appliance the advantages of traditional convection ovens with those of modern forced air ventilation ovens. It is an extremely versatile appliance that allows you to easily and safely choose between 9 different cooking modes.
Instructions on use - continued Oven light When the selector knob is in any position other than the “0”position, the oven light comes on. Attention: The first time you use the oven we recommend that you set the thermostat on the highest setting and leave the oven on for about a half an hour with nothing in it. Then, open the oven door and let the room air.
Instructions on use - continued Fan assisted the central heating elements Important: do not set thermostat knob (C) to over 175℃. During grilling, keep the oven door closed. The central heating elements of the top are activated as well as the fan. This combination of features increases the effectiveness of the thermal radiation of the heating elements through forced air circulation of the air throughout the oven.
Instructions on use - continued Multi-Skewer Rotisserie This oven is equipped with a removable multiple skewer rotisseries positioned on the sides , after fitting the food to the spit (S), block it with the two forks (F) and then proceed as follows. • • • • • • • • • Fit the knob protection as shown in figure 1 below.
Instructions on use - continued LED programmer Features 24 hours clock with automatic program and minutes counter Functions cooking time, cooking end time, manual position, clock, minutes counter, times to be set up to 23 hours 59 minutes. Display 4-figures, 7 segments display for cooking times and time of day.
Instructions on use - continued Automatic use with cooking time and end time setting Press the cooking time button and select the length of the cooking time with +or –button. The AUTO and cooking time symbols light up continuously. The relay switches on. By pressing the cooking end time button the next cooking end time appears on the display. Set the cooking end time with +button. The relay and the cooking time symbol switch off .
Instructions on use - continued Manual mode The timer remains in manual mode if no cooking time or end of cooking time is selected. The relay contact is closed and the symbol Man is displayed. The time of day is shown on the 7-segment display units the timer is active. Automatic mode If a cooking time or a end of cooking time is selected, the timer switches to automatic mode. The relay contact is closed during the set cooking time.
Instructions on use - continued Time of day Select time of day mode Step through the sequences of function with Touchpad SELECT until the symbol flashes. Set time of day Set time of day by SET (+) or SET (-) as described in this manual Display: 0…..24h Format: h: min Set acoustic signal volume Step through the sequences of function until the display shows the chosen acoustic signal L1, L2 or L3. The signal volume can be increased res. Decreased with Touchpad SET (+) or SET (-).
Instructions on use - continued End of cooking time Set end of cooking time Selection as described earlier. Until the symbol end of cooking is flashing. The end of cooking can be set with Touchpad SET (+) or SET (-). The display shows the current time of day plus the set cooking time. The end of cooking time can be set with Touchpad SET (+) or SET (-). The cooking time can be modified, the latest end of cooking time is limited to the current time of day plus 23:59 h: min.
Instructions on use - continued Activation of child lock Child lock To avoid unwanted selection, setting resp. change of functions, the unit disposes a child lock function. Activation of child lock The child lock function can be activated while time of day is displayed in manual mode, regardless whether a cooking time or an end of cooking time runs down in automatic mode.
Maintenance How to keep your oven in good condition Important: Before cleaning your oven, or performing maintenance, disconnect it from the power supply. To extend the life of your oven, it must be cleaned frequently, keeping in mind that: • Do not use steam equipment to clean the appliance • The enamelled or stainless steel parts should be washed with lukewarm water without using any abrasive powders or corrosive substances which could ruin them; Stainless steel could get stained.
Maintenance- continued If you choose our self-cleaning oven, you can observe the following instructions: Inside the oven door: Clean the surface with a cloth moistened with hot water and non abrasive liquid detergent, then rinse and dry thoroughly.
Maintenance- continued Disassembling/assembling the oven door To make it easier to clean the inside of your oven, the oven door can be removed, by proceeding as follows (fig. 1-2): • • Open the door completely and lift the 2 levers “B” (fig.1); Now, shutting the door slightly, you can lift it out by pulling out the hooks “A” as shown in figure 2.
Important information The appliance may be built-in and connected to the power supply only by a qualified technician. Particular areas of the cooktop surface (adjacent to the hotplates) are hot during operation. Hot oil ignites readily, so be sure have the preparation of such food (fries) under constant control. Hotplates may not be left in operation empty, without any dishes on top. Never use the appliance as a room heater. Never use the ceramic-glass cooktop as a working surface.
Warranty Certificate (Australia) Terms and Conditions If you are a consumer under the Australian Consumer Law, our goods come with guarantees that cannot be excluded under the Australian Consumer Law. You are entitled to a replacement or refund for a major failure and for compensation for any other reasonably foreseeable loss or damage. You are also entitled to have the goods repaired or replaced if the goods fail to be of acceptable quality and the failure does not amount to a major failure 1.
Warranty Certificate (New Zealand) Terms and Conditions The following conditions apply in respect of the warranty given in this certificate: 1. Parbury Pty Limited (“Parbury”) warrants the following Robinhood products against manufacturing defects and faulty materials, under normal use and subject to the exclusions in this certificate, for a period of: Rangehood, Oven, Cooktop - 24 months from date of original purchase for domestic use. Uniduct – 12 months from date of original purchase for domestic use.