
Specifications
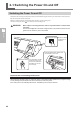

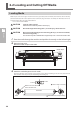
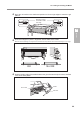
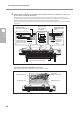
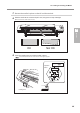
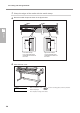
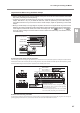
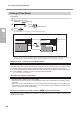
Table Of Contents
- Contents
- Chapter 1 Introduction
- Chapter 2 Operation
- Chapter 3 Maintenance and Adjustment
- Chapter 4 Feature Reference
- 4-1 Pausing or Canceling Output
- 4-2 Setting the Location for Starting Output
- 4-3 Saving the Printer Settings to Match the Media
- 4-4 Optimizing Printing or Cutting to Match Media Thickness
- Adjusting Head Height to Match Media Thickness (54-inch Model Only)
- Correcting for Misalignment in Bidirectional Printing
- Correcting for Misalignment in Bidirectional Printing More Precisely
- Performing Feed Correction to Alleviate Horizontal Bands and the Like
- Performing Distance Correction During Cutting
- 4-5 Accommodating Various Kinds of Media
- 4-6 Changing How the Printer Operates
- 4-7 Changing the Ink-drying Method
- 4-8 Making Various Adjustments for Cutting
- 4-9 Performing Printing and Cutting Separately
- 4-10 Making the Network Settings
- 4-11 Viewing Information about the Media and the System
- 4-12 Performing Maintenance
- 4-13 Menu List
- Chapter 5 What to Do If
- Chapter 6 Specifications
2-2 Loading and Cutting Off Media
36
2
Operation
3.
Clamp the edges of the media with the media clamp.
Move the media clamps as shown in the gure below.
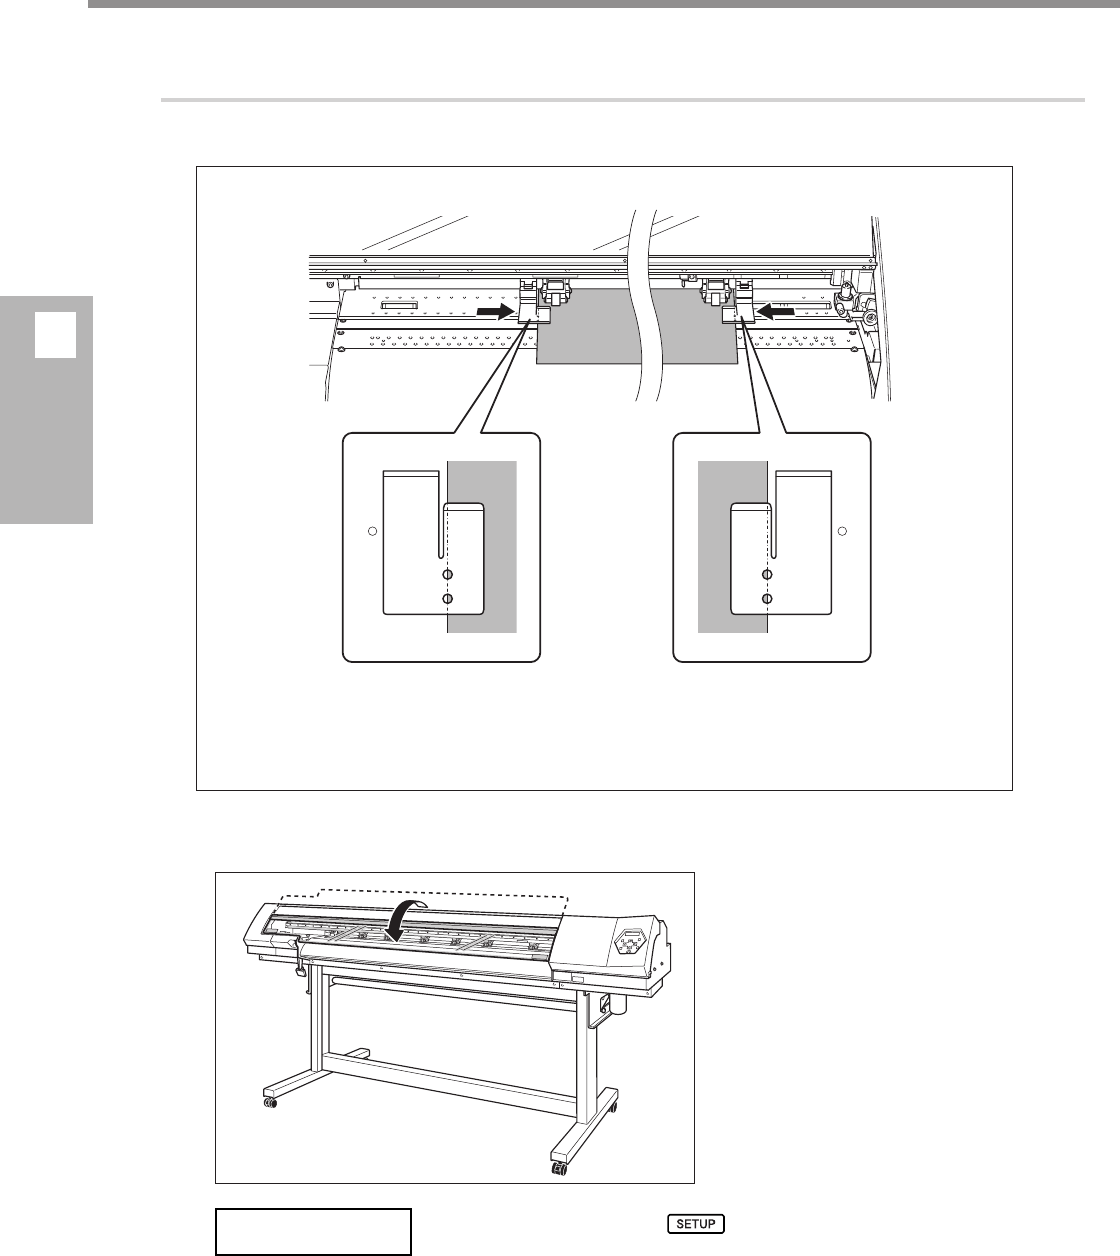
Close the front cover.
When initialization ends, remains steadily lighted, and the printable
width is displayed.
This completes loading of the media.
W1200mm
Line up the edge of the
media with the centers of
the holes.
Left media clamps
Line up the edge of the
media with the centers of
the holes.
Right media clamps