
User Manual

13
ENG
JPN
DEU
FRA
ITA
ESL
POR
NLD
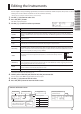
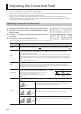
Naming a Kit
Here’s how to assign a name to a kit.
1.
Use the [-] [+] buttons to select a kit.
2.
Press the [INST] button.
3.
Use the [>] button to select “UTILITY,” and press the [+] button.
4.
Press the [+] button once again.
The KIT NAME screen will appear.
5.
Use the [<][>] buttons to select a character, and use the [-][+]
buttons to change the character.
The selected character blinks.
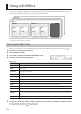
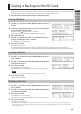
Copying a Kit/Instrument Settings
You can copy a kit, or change the order of kits. You can also copy or exchange instruments between pads.
1.
Press the [INST] button.
2.
Use the [>] button to select “UTILITY” and press the [+]
button.
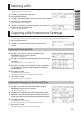
Copying/Exchanging Kits
3.
Use the [<] [>] buttons to select “KIT COPY” or “KIT
EXCHANGE,” and press the [+] button.
The SRC screen will appear.
4.
Use the [-] [+] buttons to select the copy-source (exchange-
source) kit.
* By selecting “EMPTY KIT” you can initialize the kit.
5.
Press the [>] button to access the DST screen, and use the
[-] [+] buttons to select the copy-destination (exchange-
destination) kit.
6.
Press the [>] button.
A conrmation screen will appear.
To cancel the operation, press the [INST] button to return.
7.
Press the [+] button.
The kit will be copied or exchanged.
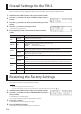
Copying/Exchanging Instrument Settings
3.
Use the [<] [>] buttons to select “INST COPY” or “INST
EXCHANGE,” and press the [+] button.
The SRC screen will appear.
4.
Strike a pad to select the copy-source (exchange-source).
5.
Press the [>] button to access the DST screen, and strike a
pad to select the copy-destination (exchange-destination).
6.
Press the [>] button.
A conrmation screen will appear.
To cancel the operation, press the [INST] button to return.
7.
Press the [+] button.
The instrument setting will be copied or exchanged.