
Instruction manual


Introduction Getting Ready
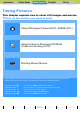
Taking Pictures
Playback Set Up
GB-24
Inserting the Batteries | Inserting the Memory Card | Turning the Camera On | Setting the Date and Time | Using the
Accessories
NEXTBACK
Contents (Top page) Detailed Contents Index Nomenclature Menus and Settings Troubleshooting
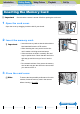
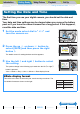
Turning the Camera On
1
Press the POWER button H.
The startup screen is displayed for a few seconds and then the normal
screen for the selected camera mode appears.
A Important
• Check that a memory card is inserted in the camera before turning the camera on.
• Remove the lens cap before turning the camera on.
BNote
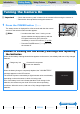
• In modes other than "G" mode, you can
choose whether the camera starts up with the
LCD panel used as an EVF (electronic
viewfinder) or as an LCD monitor. (Æ
p.159)
• Press the POWER button H again to turn
the camera off.
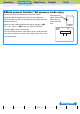
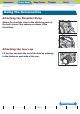
Guide to viewing the low battery warnings and replacing
the batteries
When the low battery warning shown below appears on the screen, immediately load new or fully charged
batteries.
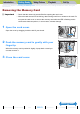
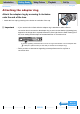
When the battery charge is completely depleted, the "LOW BATTERY"
message appears on the LCD monitor.
The amount of power consumed by a digital camera varies considerably
depending on the environment in which it is being used.
Even if the battery level icon indicates that there is still charge in the
batteries, the camera may turn itself off in some camera operating
conditions. When this occurs, load new or fully charged replacement
batteries.
Charge very low. Camera will not operate.
Insert new batteries.
LOW BATTERY