
CLD Color Keypanel Family User Manual


94
6. Using the 3(↑) or 6(↓), select the relay you want to assign to the keypanel key.
7. Press the SEL button.
A list of auto-functions appear (see Figure 88, “Auto Functions,” on page 90).
8. Using the 3(↑) or 6(↓), select the auto-function you want to assign to the relay assignment, if applicable.
9. Press the SEL button.
Tap Key appears.
10. Press down on the keypanel key position where you want the Relay assignment to appear.
The key color changes to magenta and the alpha appears on the key.
Key Assign Menu, Camera ISO
Camera ISO assigns an ISO (isolate) assignment type to the key. By default, all ISOs are restricted. To see ISOs you must
select the appropriate scroll enable check box in AZedit.
To assign a Camera ISO to the keypanel key, do the following:
1. On the KP 32 CLD keypad, press MENU.
The Top Level menu appears.
2. Using the 3(↑) or 6(↓), select Key Assign.
3. Press the SEL button.
The Key Assign submenu appears.
4. Using the 3(↑) or 6(↓), select Camera ISO.
5. Press the SEL button.
A scroll list of available ISOs appears.
6. Using the 3(↑) or 6(↓), select the ISO you want to assign to the keypanel key.
7. Press the SEL button.
A list of auto-functions appear (see Figure 88, “Auto Functions,” on page 90).
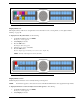
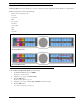
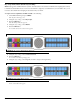
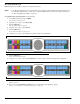
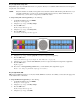
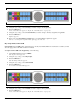
FIGURE 92. Key Assign Menu - System Relay
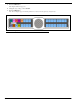
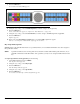
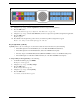
FIGURE 93. Key Assign Menu - Camera ISO