
Manual
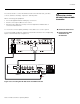
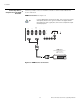

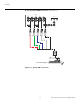
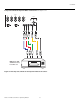
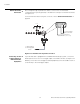

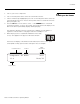
Table Of Contents
- TWO YEAR LIMITED WARRANTY
- Safety Precautions
- 1. Introduction
- 2. Controls and Functions
- 3. Installation
- 3.1 Remote Control
- 3.2 Quick Setup
- 3.3 Installation Considerations
- 3.4 Installing the Projection Lens
- 3.5 Installing the Optional CineWide Lens Mount
- 3.6 Mounting the VX-44d/-55d
- 3.7 Connections to the VX-44d/-55d and DHD Controller
- Connector Panel Access
- Connecting the DHD Controller to the VX-44d/-55d
- Connecting Source Components to the DHD Controller
- RS-232 Controller Connection
- Connecting 12-Volt Trigger Outputs to External Theater Equipment
- Connecting an External IR Receiver to the DHD Controller
- Connecting to AC Power
- 3.8 Turning on the Power
- 3.9 Adjusting the Picture Orientation
- 3.10 Primary Lens Adjustments
- 3.11 Installing and Adjusting the CineWide Anamorphic Lens
- 3.12 Calibrating Projector Input 2 (DVI)
- 3.13 Working With the Lamp
- 4. Operation
- 5. Maintenance and Troubleshooting
- 6. Serial Communications
- 7. Specifications
Installation
Runco VX-44d/-55d Owner’s Operating Manual 31
PRE
L
IMINAR
Y
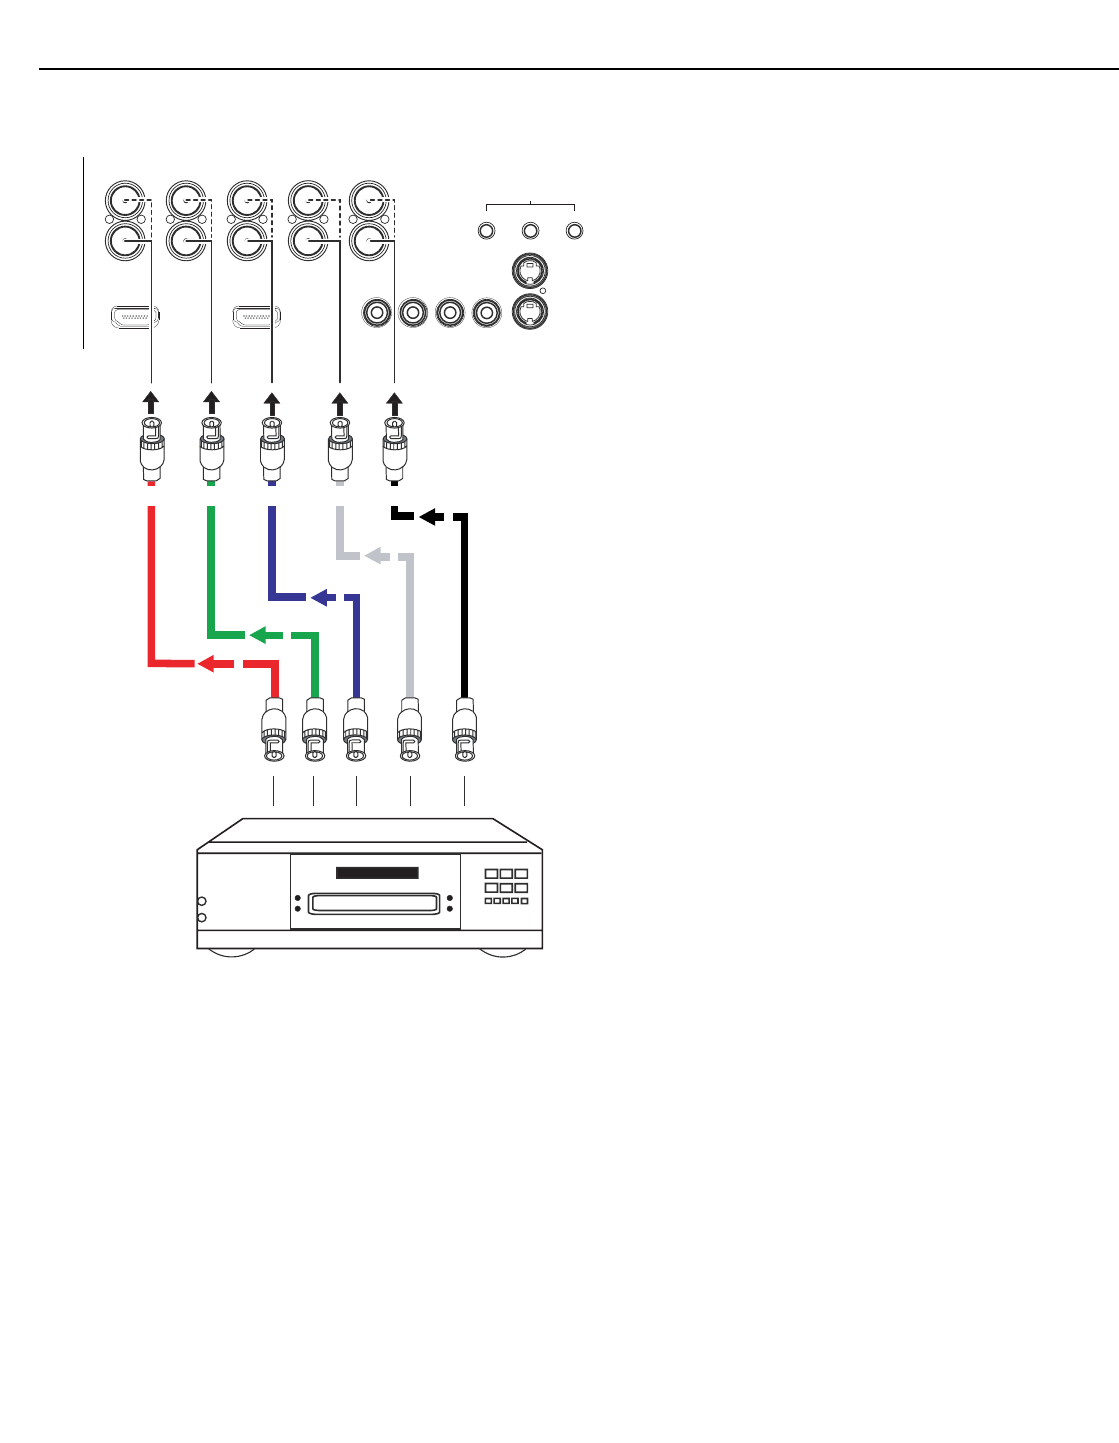
Digital (DTV) RGB or Component Video Connections: See Figure 3-10.
Figure 3-10. Digital (DTV) RGB or Component Video Connections
HD1
HD2
G/Y
INPUTS
HVR/Pr B/Pb
G/Y H VR/Pr B/Pb
Component Video
Pb
Pr Y
Video
S-Video 2
S-Video 1
12 3
TRIGGERS
HDMI 1 HDMI 2
DTV or Progressive
Component (YPbPr)
Source
Red/Pr Green/Y Blue/Pb Horiz Vert