
User`s guide


Table Of Contents
- Contents
- Introduction
- Software overview
- Getting Started
- Loading originals and print media
- Copying
- Understanding the Copy screen
- Copying originals
- Changing the settings for each copy
- Using special copy features
- ID card copying
- Copying ID with the manual ID copy option
- 2-up or 4-up copying (N-up)
- Poster copying
- Clone copying
- Book copying
- Booklet copying
- Cover copying
- Transparency copying
- Watermark copying
- Overlay copying
- Auto crop copying
- Multi-Bin
- Erasing edges
- Erasing background images
- Shifting margins
- Gray enhance copying
- Adjusting backside images
- Faxing (Optional)
- Preparing to fax
- Sending a fax from a computer
- Understanding the Fax screen
- Sending a fax
- Receiving a fax
- Adjusting the document settings
- Setting up a fax phonebook
- Using the polling option
- Using Mailbox
- Printing a report after sending a fax
- Sending a fax in toll save time
- Adding documents to a reserved delay fax job
- Forwarding a received fax to other destination
- Forwarding a sent fax to other destination by a fax
- Forwarding a received fax to other destination by a fax
- Forwarding a sent fax to other destination by an email
- Forwarding a received fax to other destination by an email
- Forwarding a sent fax to other destination by server
- Forwarding a received fax to other destination by server
- Setting up the end fax tone
- Setting up receiving faxes in color
- Scanning
- Basic printing
- Using USB flash memory
- Machine status and advanced setup
- Maintenance
- Printing a machine report
- Monitoring the supplies life
- Finding the serial number
- Sending the imaging unit reorder notification
- Sending the toner reorder notification
- Checking Document Box
- Cleaning your machine
- Maintaining the toner cartridge
- Redistributing toner
- Replacing the toner cartridge
- Replacing the imaging unit
- Replacing the waste toner container
- Maintenance Parts
- Managing your machine from the website
- Troubleshooting
- Ordering supplies and accessories
- Installing accessories
- Specifications
- Glossary
- Index
- Software section
- Software section Contents
- Installing Printer Software in Windows
- Basic Printing
- Advanced Printing
- Using Windows PostScript Driver
- Using Direct Printing Utility
- Sharing the Printer Locally
- Scanning
- Using Smart Panel
- Using Your Printer in Linux
- Using Your Printer with a Macintosh
- Software section Index
12.19 <
Troubleshooting>
Vertical repetitive
defects
If marks repeatedly appear on the printed side
of the page at even intervals:
• The imaging unit may be damaged. If a
repetitive mark occurs on the page, run a
cleaning sheet through several times to
clean the cartridge; contact a service
representative. After the printout, if you still
have the same problems, remove the
imaging unit and then, install a new one.
(Page 11.4)
• Parts of the machine may have toner on
them. If the defects occur on the back of the
page, the problem will likely correct itself
after a few more pages.
• The fusing assembly may be damaged.
Contact a service representative.
Background scatter
Background scatter results from bits of toner
randomly distributed on the printed page.
• The paper may be too damp. Try printing
with a different batch of paper. Do not open
packages of paper until necessary so that
the paper does not absorb too much
moisture.
• If background scatter occurs on an
envelope, change the printing layout to
avoid printing over areas that have
overlapping seams on the reverse side.
Printing on seams can cause problems.
• If background scatter covers the entire
surface area of a printed page, adjust the
print resolution through your software
application or in printer properties.
Misformed
characters
• If characters are improperly formed and
producing hollow images, the paper stock
may be too slick. Try different paper.
(Page 4.3)
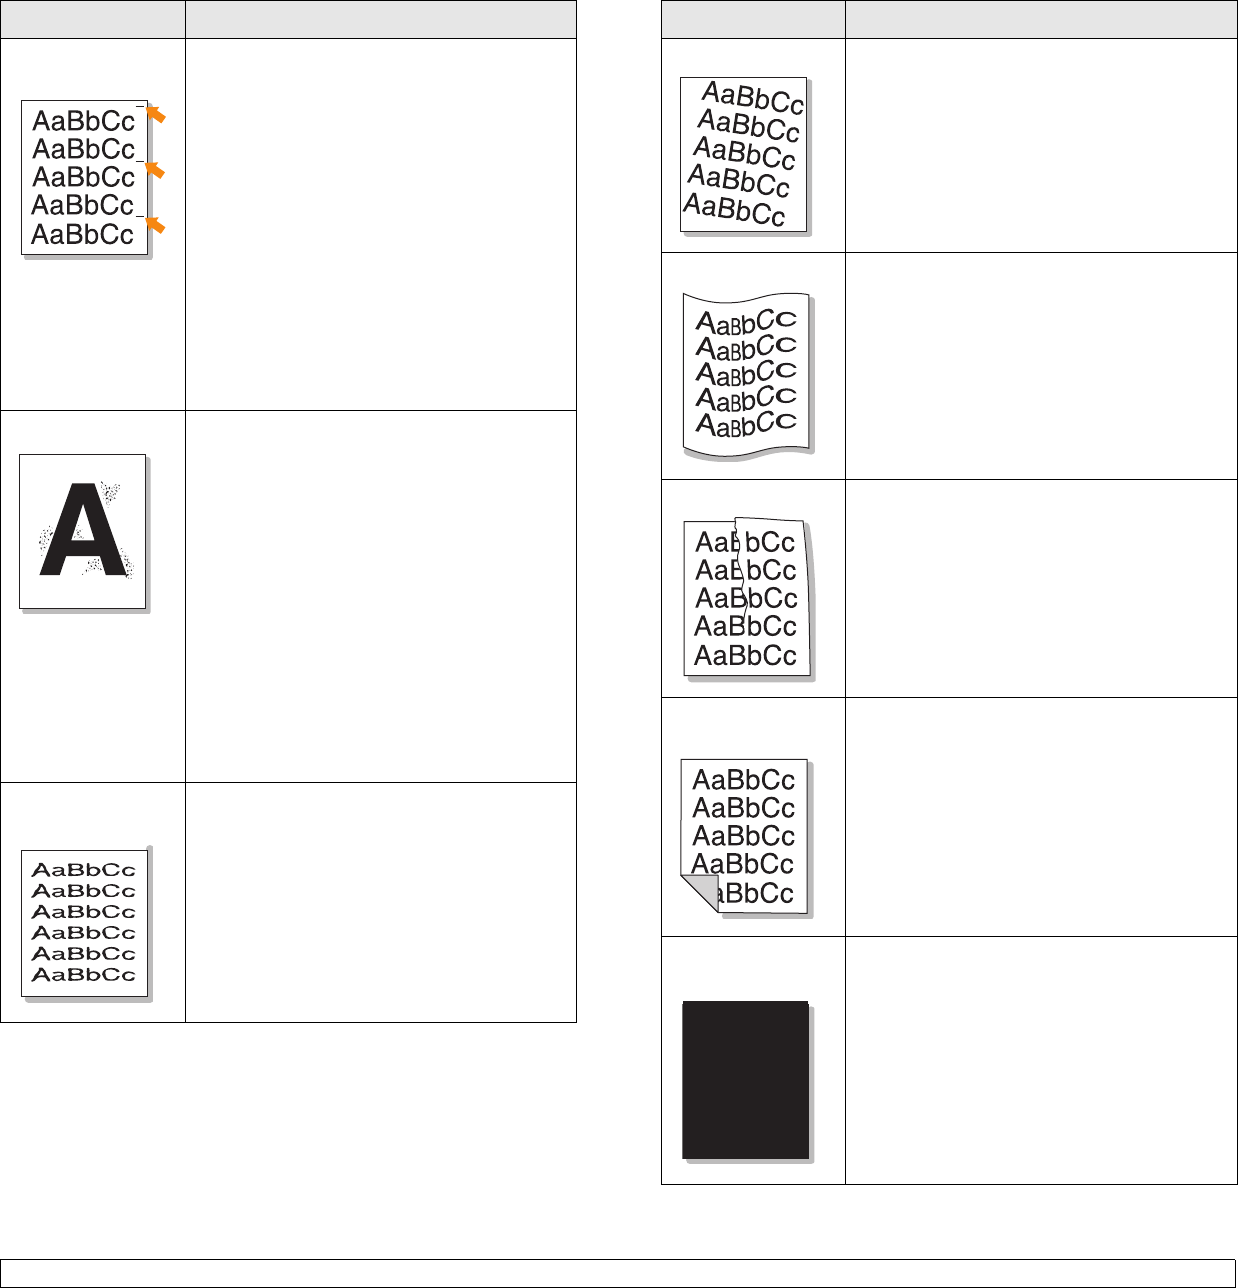
• If characters are improperly formed and
producing a wavy effect, the scanner unit
may need service. Contact a service
representative.
Condition Suggested solutions
Page skew
• Ensure that the paper is loaded properly.
• Check the paper type and quality.
(Page 4.3)
• Ensure that the paper or other material is
loaded correctly and the guides are not too
tight or too loose against the paper stack.
Curl or wave
• Ensure that the paper is loaded properly.
• Check the paper type and quality. Both high
temperature and humidity can cause paper
curl. (Page 4.3)
• Turn the stack of paper over in the tray. Also
try rotating the paper 180° in the tray.
Wrinkles or creases
• Ensure that the paper is loaded properly.
• Check the paper type and quality.
(Page 4.3)
• Turn the stack of paper over in the tray. Also
try rotating the paper 180° in the tray.
Back of printouts
are dirty
Check for leaking toner. Clean the inside of
the machine. Contact a service
representative.
Solid Color or
Black pages
• The imaging unit may not be installed
properly. Remove the cartridge and reinsert
it.
• The imaging unit may be defective and need
replacing. Remove the imaging unit and
install a new one. (Page 11.4)
• The machine may require repair. Contact a
service representative.
Condition Suggested solutions