
Digital Home Cinema System Instruction Manual


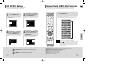
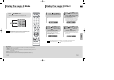
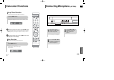
Table Of Contents
- Safety Warnings
- Precautions
- Features
- Contents
- Notes on Discs
- Description
- Connecting the Speakers
- Connecting the Video Out to TV
- P.SCAN(Progressive Scan) Function
- Connecting External Components
- Connecting the FM Antenna
- Before Using Your Home Theater
- Disc Playback
- MP3/WMA-CD Playback
- Displaying Disc Information
- JPEG File Playback
- DivX Playback
- Checking the Remaining Time
- Fast/Slow Playback
- Skipping Scenes/Songs
- Repeat Playback
- A-B Repeat Playback
- Step Function
- Zoom (Screen Enlarge) Function
- EZ VIEW Function
- Selecting Audio Language
- Selecting Subtitle Language
- Moving Directly to a Scene/Song
- Using Disc Menu
- Using the Title Menu
- Setting the Language
- Setting TV Screen type
- Setting Parental Controls (Rating Level)
- Setting the Password
- Setting the Wallpaper
- DivX (R) registration
- Setting the Speaker Mode
- Setting the Delay Time
- Setting the Test Tone
- Setting the DRC (Dynamic Range Compression)
- Setting the Audio
- AV SYNC Setup
- Sound Field (DSP)/EQ Function
- Dolby Pro Logic II Mode
- Dolby Pro Logic II Effect
- Listening to Radio
- Presetting Stations
- Convenient Functions
- Connecting Microphone (OPTION)
- Before Calling for Service
- Cautions on Handling and Storing Discs
- Language Code List
- Specifications
GB
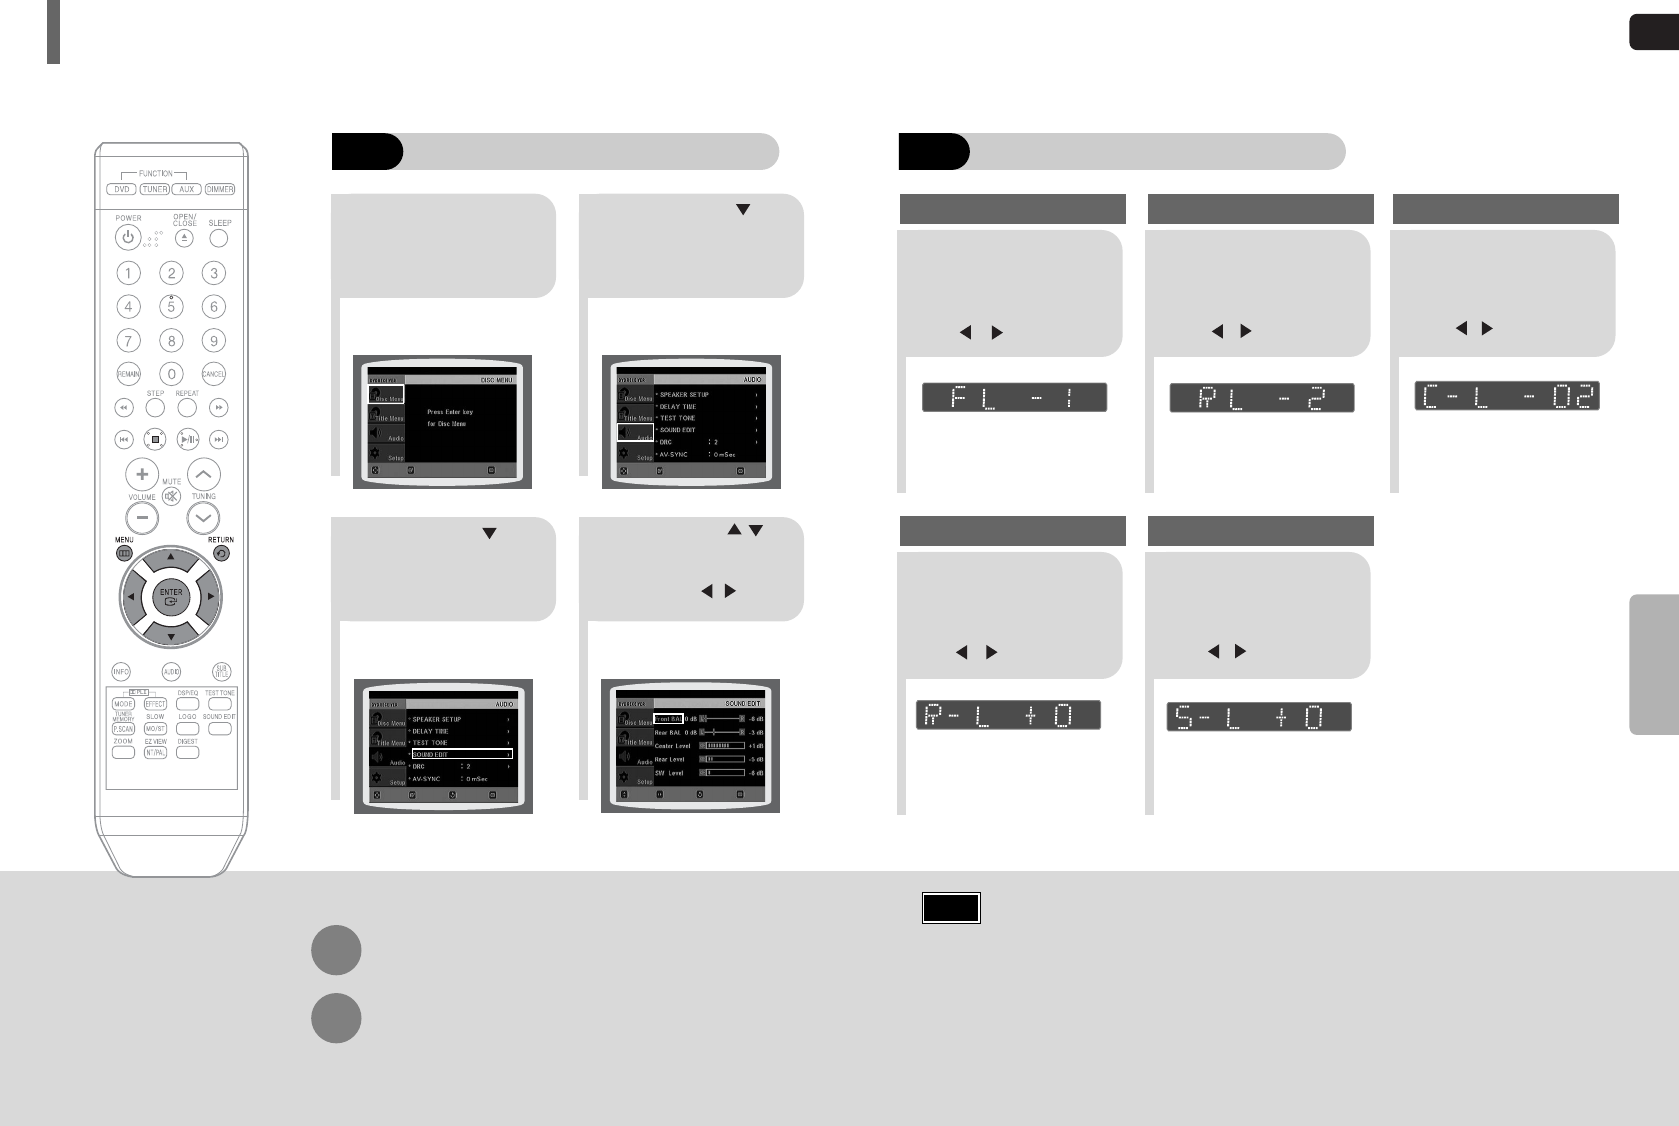
Adjusting Front/Rear Speaker Balance
•
You can select between 00 and –06 and OFF.
•
The volume decreases as you move closer to –6.
Adjusting Center/Rear/Subwoofer Speaker Level
•
The volume level can be adjusted in steps from +6dB to –6dB.
•
The sound gets louder as you move closer to +6dB and quieter as you get closer to -6dB.
Method 2
When manually adjusting with the SOUND EDIT button
21
Adjusting Front Speaker Balance Adjusting Rear Speaker Balance
Press SOUND
EDIT button and
then press Cursor
, .
3
Adjusting Center Speaker Level
4 5
Adjusting Rear Speaker Level
Adjusting Subwoofer Speaker Level
50
Press SOUND
EDIT button and
then press Cursor
, .
Press SOUND
EDIT button and
then press Cursor
, .
Press SOUND
EDIT button and
then press Cursor
, .
Press SOUND
EDIT button and
then press Cursor
, .
Note
SETUP
49
Press RETURN button to return to the previous level.
Press MENU button to exit the setup screen.
21
43
In Stop mode,
press MENU
button.
Press Cursor
button to move to
‘Audio’ and then press
ENTER button.
Press Cursor button
to move to ‘SOUND
EDIT’ and then press
ENTER button.
Method 1
When adjusting the audio quality using the setup screen
Press Cursor ,
buttons to select and
adjust the desired item.
Press the , buttons
to adjust the settings.
You can adjust the balance and level for each speaker.
Setting the Audio
MOVE ENTER
EXIT
MOVE ENTER
EXIT
MOVE ENTER RETURN
EXIT
MOVE CHANGE RETURN
EXIT
HT-Q9(41~70) GB 2006.5.8 4:08 PM Page 54