
User's Manual


Table Of Contents
- Health and safety information
- Basic troubleshooting
- Quick reference
- Contents
- Basic functions
- Extended functions
- Shooting options
- Playback/Editing
- Wireless network (DV300F/DV305F only)
- Connecting to a WLAN and configuring network settings
- Sending photos or videos to a smart phone
- Using a smart phone as a remote shutter release
- Using photo or video sharing websites
- Sending photos or videos via email
- Uploading photos to a cloud server
- Using Auto Backup to send photos or videos
- Viewing photos or videos on a TV Link-enabled TV
- Sending photos using Wi-Fi Direct
- About the Wake on LAN (WOL) feature
- Settings
- Appendixes
Basic functions
19
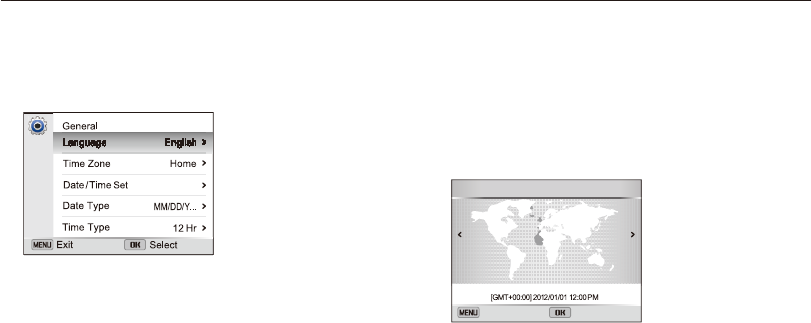
Performing the initial setup
When you turn on your camera for the first time, the initial setup screen appears. Follow the steps below to configure the camera’s basic
settings.
4
Press [
D
/
c
] to select Home, and then press [
o
].
•
When you travel to another country, select Visit, and then
select a new time zone.
5
Press [
F
/
t
] to select a time zone, and then press
[
o
] [
m
].
Cancel Set
Time Zone : Home
London
•
The screen may differ depending on the language selected.
1
Verify that Language is highlighted, and then press
[
t
] or [
o
].
2
Press [
D
/
c
] to select a language, and then
press [
o
].
3
Press [
c
] to select Time Zone, and then press
[
t
] or [
o
].