
Operation Manual


Table Of Contents
- Quick start guide
- Getting to know the camcorder
- Getting started
- Basic operation of the camcorder
- Getting ready to start recording
- Basic recording
- Basic playback
- Using the menu items
- Advanced recordings
- Special effects for recordings
- Editing videos and photos
- Other settings
- Video Resolution
- Photo Resolution
- OIS Duo
- Tele Macro
- Digital Zoom
- Thumbnail
- Video Play Option
- Slide Show Option
- LCD Brightness
- Guideline
- Date/Time Display
- TV Display
- HDMI TV Out
- Auto LCD Off
- PC Software
- USB Connect
- TV Connect Guide
- Anynet+ (HDMI-CEC)
- Card Info
- File No.
- Time Zone
- Date/Time Set
- Date Type
- Time Type
- Beep Sound
- Shutter Sound
- Auto Power Off
- Quick On STBY
- Switch Grip
- Format
- Default Set
- Language
- Demo
- Connecting to a TV
- Dubbing videos
- Printing photos
- Using with a Windows computer
- Troubleshooting
- Additional information
- Specifications
82
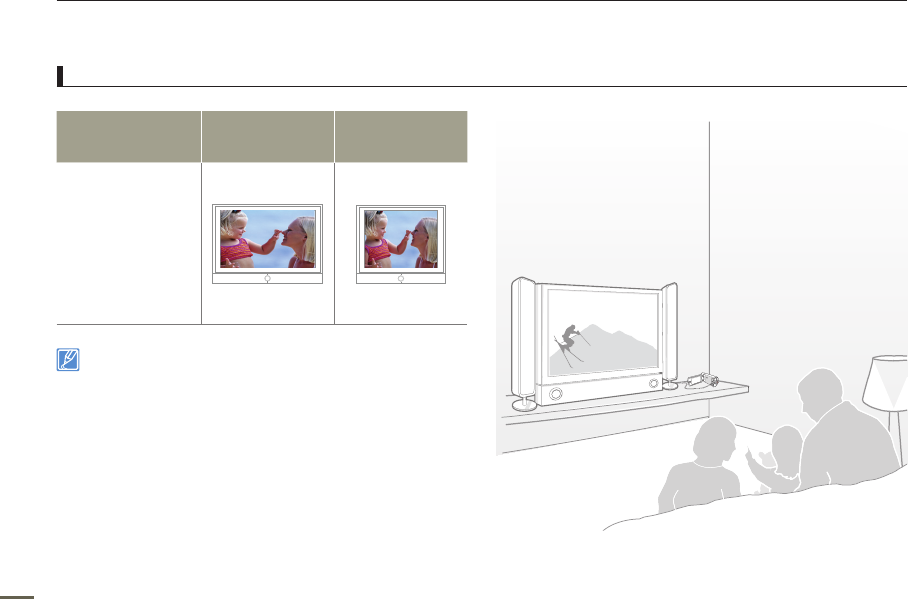
Connecting to a TV
VIEWING ON A TV SCREEN
Image appearance depends on the TV screen aspect ratio
Recording ratio
Appearance on
Wide (16:9) TV
Appearance on
4:3 TV
Images recorded in a
16:9 ratio
Adjust the volume to a moderate level. If the volume is too high, the
video information may include noise.
If “TV Display” is set “OFF”, the TV screen does not display the
camcorder’s OSD (On Screen Display) menus.
¬
page 68
•
•