
User Guide
20
Setting display
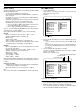
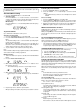
1. Press the SETUP button in the stop mode. The setup screen appears.
2. Press the a (Directional arrow) button to select “Display”, then press
the ENTER button. “Display” screen appears.
3. Press the 5 or 4 button to select the item (highlighted), then press the
ENTER button. The submenu appears.
Example: To set “TV Type”
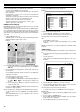
4. Press the 5 or 4 button to select the submenu (highlighted).
Example: To select “TV Type: 4:3 PS”
5. Press the ENTER button. (In this example, “TV Type: 4:3 PS”
remains.)
6. Repeat steps 3 - 5 for other items.
7. Press the 4 button to skip back to the setup screen (or press the
SETUP button).
TV Type:
Select the appropriate setting for your TV screen size.
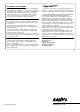
4:3 LB (Letterbox):
Select when a conventional TV set is connected.
When the wide screen disc is played, the black
bands appear at the top and bottom of screen.
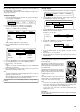
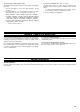
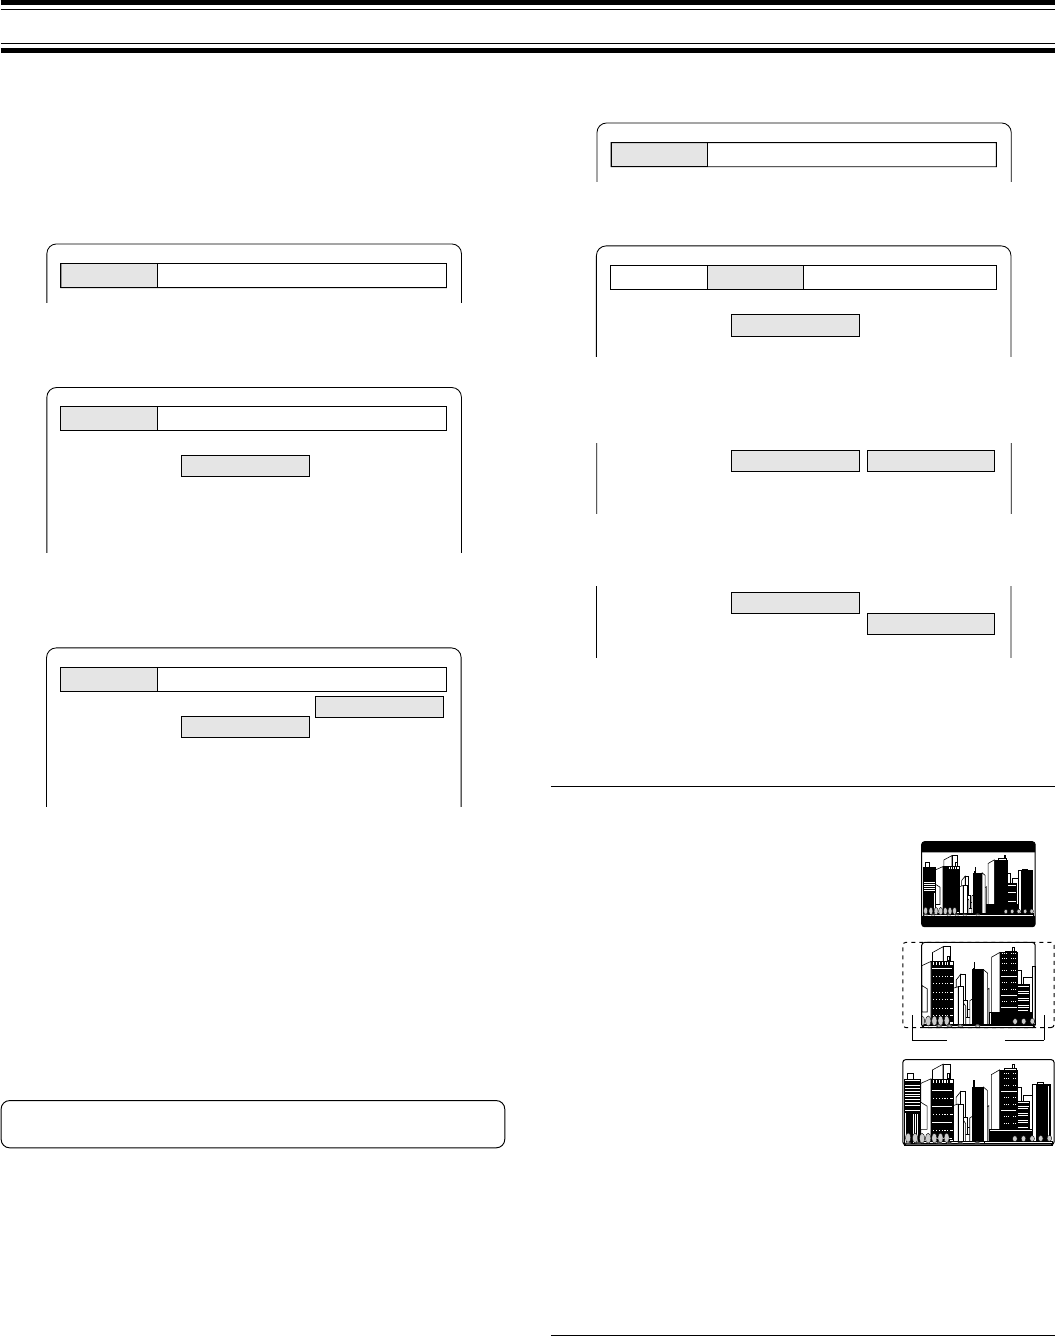
4:3 PS (Panscan):
Select when a conventional TV set is connected.
When the wide screen disc is played, it displays
pictures cropped to fill your TV screen. The left
and right edges are cut off.
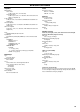
16:9 :
Select when a wide screen TV set is connected.
Played in “FULL” size. (Setting the wide screen
TV to “FULL” mode is also necessary.)
Note:
- The screen size may differ depending on the DVD discs.
- If you select “16:9” to get rid of the black bands on screen when wide
screen disc is played, picture may be slightly distorted.
- In some discs, even if “4:3 PS” is selected, the black bands may
remain on the screen.
NTSC Disc:
Select the video output signal format to “PAL 60” or “NTSC” when playing
back the NTSC discs.
Language Display Audio Parental
TV Type
NTSC Disc
4:3 LB
PAL 60
TV Type
NTSC Disc
4:3 LB
PAL 60
4:3 LB
4:3 PS
16:9
TV Type
NTSC Disc
4:3 LB
PAL 60
4:3 LB
4:3 PS
16:9
Cut off
Language Display Audio Parental
INITIAL SETTINGS FOR DVD
Once the initial settings have been completed, the unit can always be
operated under the same conditions.
The settings will be retained in the memory until they are changed, even
if the power is turned off.
Setting language
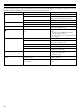
1. Press the SETUP button in the stop mode. The setup screen appears
and “Language” is highlighted.
2. Press the ENTER button. “Language” screen appears.
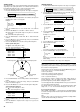
3. Press the 5 or 4 button to select the item (highlighted).
Example: To set “OSD” (On screen display)
“OSD” setting is applied also to VCD and CD.
4. Press the ENTER button. The submenu appears.
Example:
5. Press the 5 or 4 button to select the language (highlighted).
6. Press the ENTER button. The selected language remains.
7. Repeat steps 3 - 6 for other items.
Note:
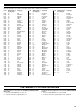
If “Others” is selected, enter the language code. (See “LANGUAGE
CODE LIST” on Page 22.)
8. Press the 4 button to skip back to the setup screen (or press the
SETUP button to quit the setup screen).
Note:
- You cannot switch audio sound track languages if there is only one
language recorded on the disc.
- When you play a DVD disc, the unit automatically displays the pre-
selected subtitle language if it is included on the disc.
For improvement, on-screen displays subject to change without
notice.
Language Display Audio Parental
Language Display Audio Parental
OSD
Audio
Subtitle
DVD Menu
English
Disc
Disc
Disc
Language Display Audio Parental
OSD
Audio
Subtitle
DVD Menu
English
Disc
Disc
Disc
English
Español
Français
Deutsch
Portugues