
Service manual

Page 2-8
Section 2. Configuration
PN 9001080
Rev. A
SATO M-8485Se Standard Print Engine
Service Manual
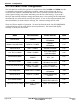
2.3 Potentiometer Adjustments
Pitch
After the pitch has been set with the LCD Control Panel, it is sometimes desirable to make
minor adjustments. This can be done using the PITCH potentiometer on the front panel.
This potentiometer is set at the factory so that it has a range of +/-3.75mm. The midpoint
setting should have no effect on the pitch. Turning the potentiometer all the way clockwise
should move the print position 3.75mm up towards the top edge of the label. turning it all
the way counterclockwise should move the print position down 3.75mm.
STEP PROCEDURE
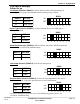
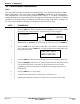
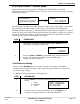
1. Press the FEED key while simultaneously turning ON the power switch. When
the printer beeps, release the keys. The following screens will appear.
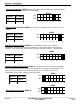
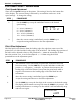
2. Press the LINE key to select the type of Test Label you want to print, BARCODE,
HEADCHECK, or MEMORY. After you make your selection press the FEED key.
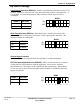
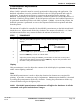
3. Press the LINE key to select the Test Label Size. The default is 12cm. After the
size is selected, press the FEED key to accept the selection and the printer will
display the next screen.
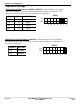
4. Press the FEED key and the printer will begin to print test labels continuously.
5. Adjust the PITCH potentiometer on the front panel until the first print position
is at the desired location on the label. If the potentiometer does not have
enough range, then you will have to change the pitch setting using the front
panel display.
6. Press the FEED key to stop printing.
7. To exit the Test Label mode, turn the power off, then back on.
Adjusting the PITCH potentiometer will affect the stop position of the label.
user test print
press feed key
initializing
test print mode
setting