
Fax Machine Operating Instruction


Quick Dial
41
3
F
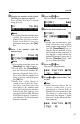
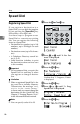
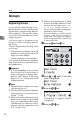
Display the number of the Quick
Dial key you want to register.
Press a Quick Dial key, or search
using 0 or 1.
Note
❒ If a Quick Dial has already been
stored, the contents are dis-
played. Press 0 or 1 to select a
Quick Dial that is not pro-
grammed, then press the {OK}
key.
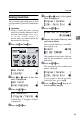
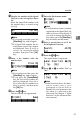
G
Enter a fax number with the
number keys.
Note
❒ If you make a mistake, press the
{Clear/Stop} key and try again.
❒ If you press the {Pause/Redial}
key, the last 10 fax numbers di-
aled are displayed. Press 0 or
1 to select the fax number you
want to specify, and then press
the {OK} key.
❒ Make sure a Dial Option is
stored in one of the User Func-
tion keys, and then enter the
other party's fax number and
press the User Function key that
contains the Dial Option. You
can specify SUB or SEP, SID and
PWD (See Chapter 3 “Transmis-
sion Features” in the Advanced
Features manual).
H
Press the {
{{
{OK}
}}
} key.
The fax number is programmed.
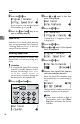
I
Enter the destination name.
Note
❒ Under rare circumstances, gar-
bled characters may appear
during name registration if you
use the {Pause/Redial} key to
display the fax number of par-
ties located in other countries. If
this happens, simply delete the
garbled characters using the 0
and the {Clear/Stop} keys, then
go on to enter the name.
J
Press the {
{{
{OK}
}}
} key.
The name is programmed.
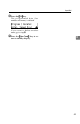
K
Press 0
00
0 or 1
11
1 to select either "Yes"
or "No".
Note
❒ Label insertion allows the re-
ceiver's name that is pro-
grammed in Quick Dial or
Speed Dial to be printed on the
fax when it is received at the
other end. See Chapter 1 “Label
Insertion” in the Advanced Fea-
tures manual.