
Installation Guide


4
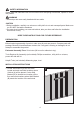
INSTALLATION INSTRUCTIONS
PREPARATION
Estimated Assembly Time: 20 minutes (24 hours for adhesive to dry).
SAFETY INFORMATION
Please read and understand this entire manual before attempting to assemble, operate or install
this product.
WARNING
KEEP THESE INSTRUCTIONS FOR FUTURE REFERENCE.
Before beginning assembly of product, make sure all parts are present. Compare parts with
package contents list and hardware contents list. If any part is missing or damaged, do not
attempt to assemble the product.
Tools Required for Assembly (not included): Phillips screwdriver, utility knife or scissors,
power drill with drill bit
Helpful Tools (not included): Measuring tape, level
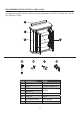
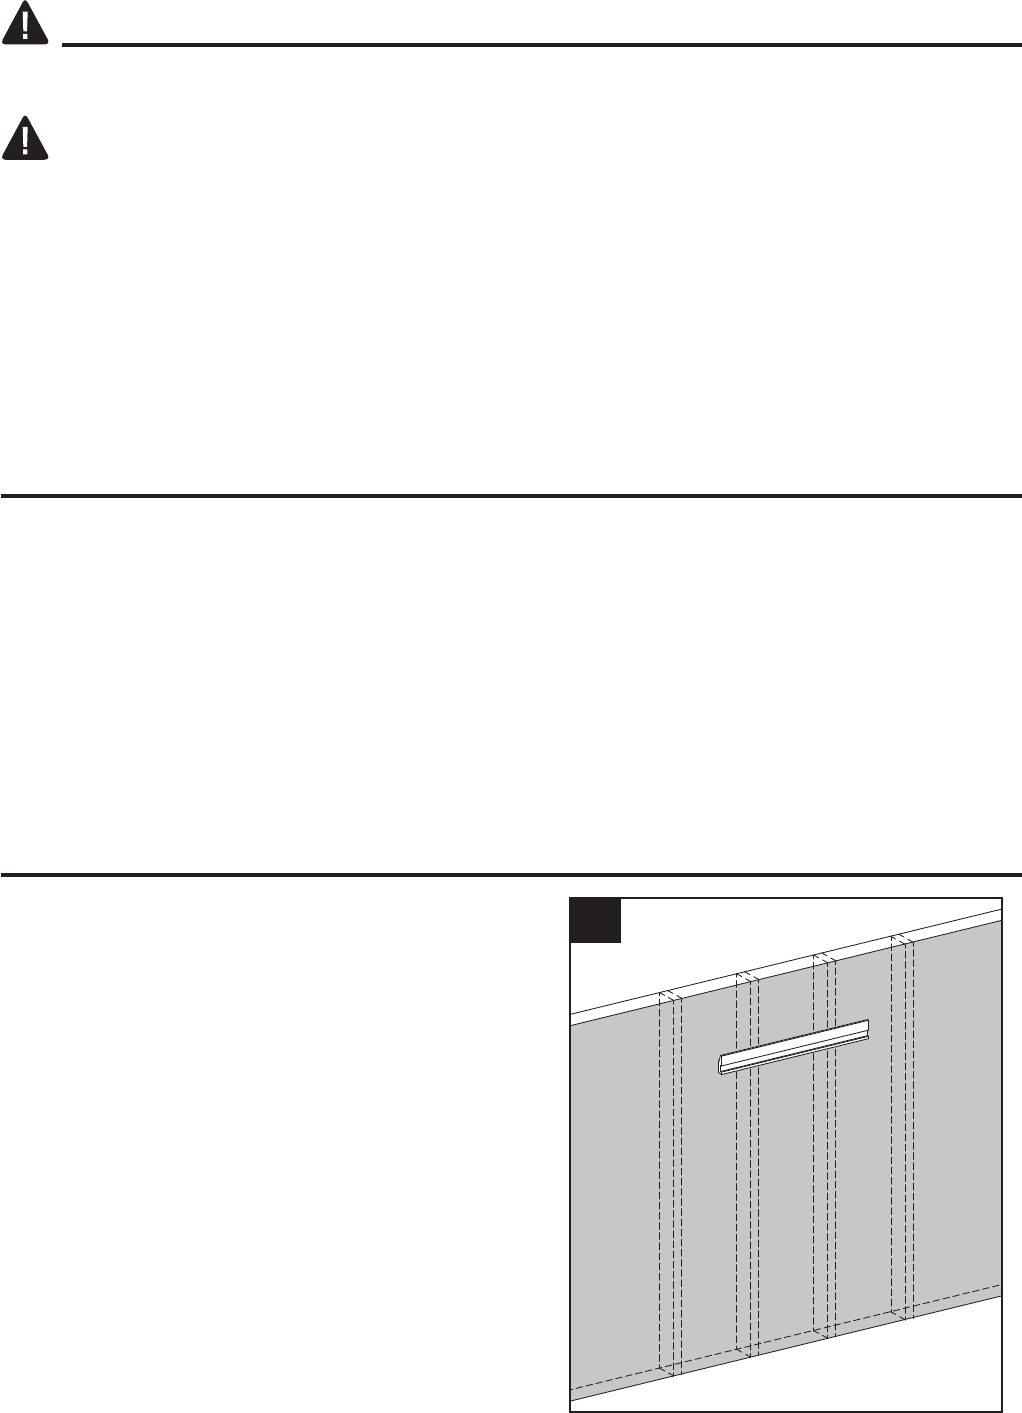
1. Locate Wall Bracket (B) and set aside.
Locate and mark wall stud locations where
Cabinet (A) will be placed. Center Wall
Bracket (B) in desired level location off the
floor and mark locations where Wall Bracket
(B) meets the location of the wall studs.
CAUTION
• Some steps are more easily handled with two adults.
• Before installation, carefully use scissors or utility knife to cut and unwrap all parts. Make sure
you DO NOT discard the hardware.
• Use care when installing your new wall cabinet; take your time and follow the installation
instructions closely.
1