Operator's Manual 7 1/4-in. Circular Saw Model No. 172.10855 12 Amp ® 12 Amp s 71 ® C LISTED US DOUBLE INSULATED ! CAUTION Read, understand and follow all Safety Rules and Operating Instructions in this Manual before using this product. Sears, Roebuck and Co., Hoffman Estates, IL 60179 U.S.A. Visit our Craftsman website: www.craftsman.
TABLE OF CONTENTS SAFETY SYMBOLS Warranty…………………………………………............................Page 2 Safety Symbols…………………………….……............................Page 3 Safety Instructions………………………………............................Pages 4 - 10 Glossary of Terms………………………………............................Pages 10 - 11 Unpacking ……………………………………................................Pages 11 - 12 Assembly.. ……………………………………................................ Pages 12 - 13 Description ………………………………………...........................
SAFETY INSTRUCTIONS SAFETY INSTRUCTIONS cont. ! WARNING: BE SURE to read and understand all instructions in this manual before using this circular saw. Failure to follow all instructions may result in hazardous radiation exposure, electric shock, fire and/or serious personal injury. WORK AREA SAFETY 1. Keep your work area clean and well lit. Cluttered workbenches and dark areas invite accidents. 2.
SAFETY INSTRUCTIONS cont. SAFETY INSTRUCTIONS cont. SAFETY INSTRUCTIONS cont. EXTENSION CORDS ELECTRICAL SAFETY ! WARNING: Do not permit fingers to touch the terminals of plug when installing or removing the plug from the outlet. 1. Double insulated tools are equipped with a polarized plug (one blade is wider than the other). This plug will fit in a polarized outlet only one way. If the plug does not fit fully in the outlet, reverse the plug.
SAFETY INSTRUCTIONS cont. SAFETY INSTRUCTIONS cont. SAFETY RULES FOR CIRCULAR SAWS ! DANGER: Keep hands away from cutting area and blade. Keep your second hand on the auxiliary handle or motor housing. If both hands are holding the saw, the blade cannot cut them. ! CAUTION: Blades coast after saw is switched off. 1. KEEP your body positioned to either side of the saw blade and not in direct line with the saw blade. Kickback could cause the saw to jump backwards.
SAFETY INSTRUCTIONS cont. GLOSSARY OF TERMS FOR WOODWORKING ADDITIONAL RULES FOR SAFE OPERATION cont. 4. PROTECT your hearing. Wear appropriate personal hearing protection during use. Under some conditions and duration of use, noise from this product may contribute to hearing loss. 5. ALL VISTORS AND BYSTANDERS MUST wear the same safety equipment that the operator of the saw wears. 6.
ASSEMBLY cont. UNPACKING cont. INSTALLING THE BLADE cont. (Figs. 2 and 2a) PARTS LIST (Fig. 1) ® ! WARNING: BE SURE to wear protective work gloves while handling a saw blade. The blade can injure unprotected hands. 12 Amps 71 3. Blade Wrench (for changing the blade) ! WARNING: A 7 1/4-inch blade is the maximum blade capacity of your saw. A larger than 71/4-inch blade will come in contact with the blade guards.
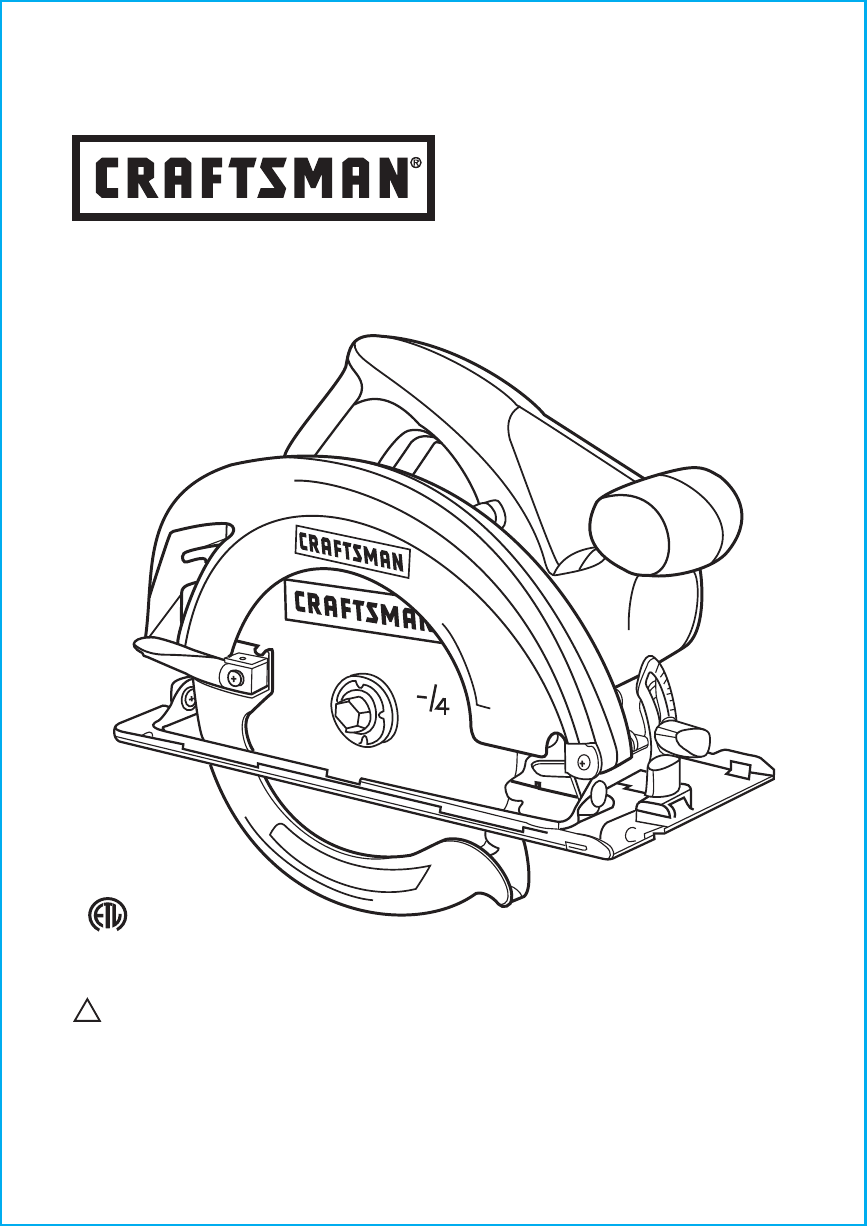
DESCRIPTION cont. DESCRIPTION KNOW YOUR CIRCULAR SAW (Fig. 3) This Circular Saws have the following features: cont. NOTE: Before attempting to use your saw, familiarize yourself with all of the operating features and safety requirements. Fig. 3 Motor Housing Bevel Scale 12 Amp s Lower Blade Guard Lever 71 Bevel Adjustment Locking Lever Blade Wrench (stores in base) Blade Base 2. Quick depth-of-cut adjustments with a maximum depth of cut: 9-10855 - 27/16-in. at 90°; 113/16-in.
OPERATION SAW BLADES All saw blades need to be kept clean, sharp and properly set in order to cut efficiently. Using a dull blade places a heavy load on the saw and increases the danger of kickback. Keep extra blades on hand, so sharp blades are always available. Gum and wood pitch hardened on the blade slows the saw down. Use gum and pitch remover, hot water or kerosene to remove them. DO NOT use gasoline. OPERATION cont. KICKBACK…WHAT CAUSES IT AND WAYS TO HELP PREVENT IT (Fig. 5) Fig.
OPERATION cont. OPERATION cont. Ways to Help Prevent Kickback MAKING DEPTH-OF-CUT ADJUSTMENTS (Fig. 8) ! DANGER: ALWAYS release trigger switch immediately if the blade binds or the saw stalls. Kickback could cause you to lose control of the saw. Loss of control can lead to serious injury. 1. ALWAYS maintain a firm grip with both Fig. 7 (see Fig. 7) hands on the saw and position your body and arms to allow you to resist Kickback forces.
OPERATION cont. OPERATION cont. STARTING A CUT (Fig. 10) TO HELP MAINTAIN CONTROL cont.: ! WARNING: ALWAYS clamp and support workpiece securely. ALWAYS maintain proper control of saw. Failure to clamp and support workpiece and loss of control of saw could result in serious injury. 1. ALWAYS use your saw with your hands positioned correctly, with one hand operating the trigger switch and the other on the front assist handle (see Fig. 10).
OPERATION cont. OPERATION cont. MAKING RIP CUTS HOW TO SET YOUR BEVEL ANGLE (Fig. 15) ALWAYS use a guide when making long or wide rip cuts with your saw. You can use either a straight edge or use the edge guide that was included with your saw. 1. Unplug the saw. ! WARNING: ALWAYS clamp and support workpiece securely. ALWAYS maintain proper control of saw. Failure to clamp and support workpiece combined with loss of control of saw could result in serious injury. 1.
MAINTENANCE OPERATION cont. MAKING BEVEL CUTS (Figs. 16) cont. ! WARNING: If the blade comes in contact with the workpiece before it reaches full speed, it could cause the saw to kickback towards you, possibly resulting in serious injury. NOTE: Since the thickness of blades varies, MAKE A TRIAL CUT in scrap material along the guideline to determine how much, if any, you should offset the blade from the guideline to allow for the kerf of the blade to get an accurate cut. MAKING POCKET CUTS ( Fig.
NOTES TROUBLESHOOTING If the blade does not follow a straight line: • Teeth are dull. This is caused by hitting a hard object such as a nail, dulling teeth on one side. The blade tends to cut to the side with the sharpest teeth. • Base is out of line or bent. • Blade is bent. • Edge guide or straight edge is not being used. If the blade binds or smokes from friction: • Blade is dull. • Blade is on backwards. • Blade is bent. • Workpiece is not properly supported. • Incorrect blade is being used.
Get it fixed, at your home or ours! Your Home For expert troubleshooting and home solutions advice: www.managemyhome.com For repair – in your home – of all major brand appliances, lawn and garden equipment, or heating and cooling systems, no matter who made it, no matter who sold it! For the replacement parts, accessories and owner’s manuals that you need to do-it-yourself. For Sears professional installation of home appliances and items like garage door openers and water heaters.