
Specifications

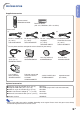
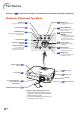

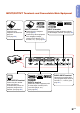
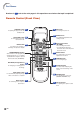

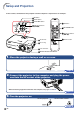
Table Of Contents
- Introduction
- Basic Operation
- Projection
- Functions
- Using the Menu
- Menu Items
- Using the Menu Screen
- Picture Adjustment
- Computer Image Adjustment
- Using the “Options” Menu
- Lamp Timer (Life) (Checking the Lamp Life Status)
- OSD Display (Setting On-screen Display)
- Video System (Setting the Video System)
- Background (Selecting a Startup and Background Image)
- Eco Mode (Setting the Eco Mode)
- Auto Power Off (Auto Power Off Function)
- Menu Position (Selecting the Menu Screen Position)
- Menu Color (Selecting the Menu Color)
- Password (Setting a Password)
- If You Forget Your Password
- Anti-Theft (Setting the Anti-Theft)
- Using the “Language” Menu
- Using the “PRJ Mode” Menu
- Connections
- Screen Setup
- Appendix
-13
Introduction
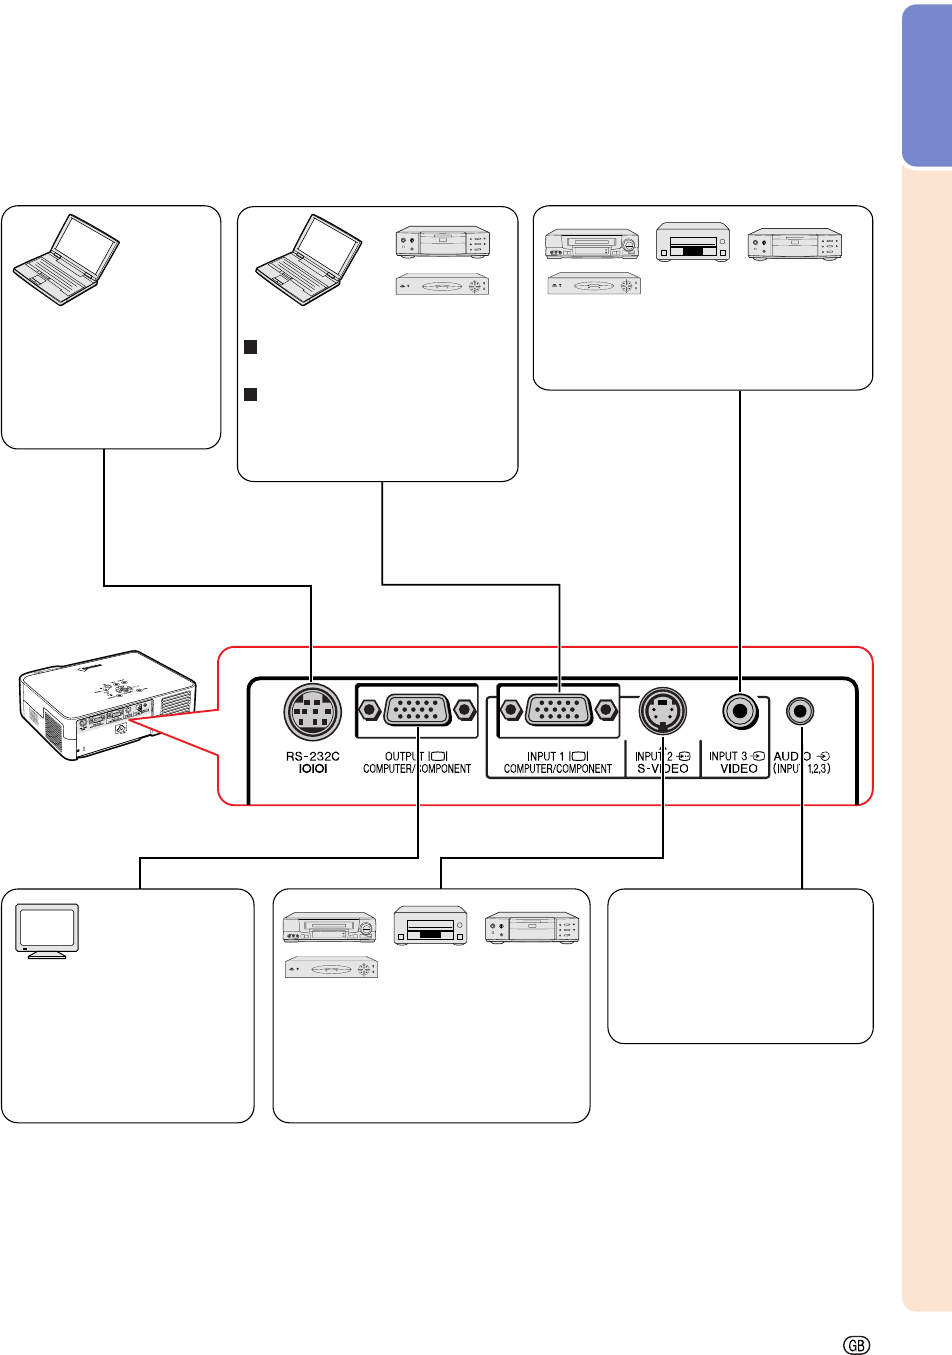
INPUT/OUTPUT Terminals and Connectable Main Equipment
INPUT 1 terminal
Connecting the computer.
(See page 51.)
Connecting video equipment
with component output
terminal (DVD player, DTV
decoder, etc.). (See page 53.)
RS-232C terminal
Connecting the
computer to control the
projector.
(See page 54.)
AUDIO INPUT terminal
Connecting an audio cable
(Shared audio input terminal
for INPUT 1, 2 and 3.) (See
page 51.)
RGB OUTPUT terminal
Connecting the monitor
when you want to
simultaneously watch the
projection image on the
monitor. (See page 55.)
INPUT 3 terminal
Connecting video equipment without
S-video output terminal. (See page 52.)
INPUT 2 terminal
Connecting video equipment with
S-video output terminal (VCR,
Laser disc player, etc.).
(See page 52.)