
Specifications
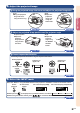

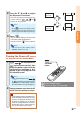
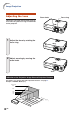
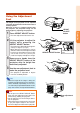
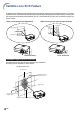
Table Of Contents
- Introduction
- Basic Operation
- Projection
- Functions
- Using the Menu
- Menu Items
- Using the Menu Screen
- Picture Adjustment
- Computer Image Adjustment
- Using the “Options” Menu
- Lamp Timer (Life) (Checking the Lamp Life Status)
- OSD Display (Setting On-screen Display)
- Video System (Setting the Video System)
- Background (Selecting a Startup and Background Image)
- Eco Mode (Setting the Eco Mode)
- Auto Power Off (Auto Power Off Function)
- Menu Position (Selecting the Menu Screen Position)
- Menu Color (Selecting the Menu Color)
- Password (Setting a Password)
- If You Forget Your Password
- Anti-Theft (Setting the Anti-Theft)
- Using the “Language” Menu
- Using the “PRJ Mode” Menu
- Connections
- Screen Setup
- Appendix
-25
Projection
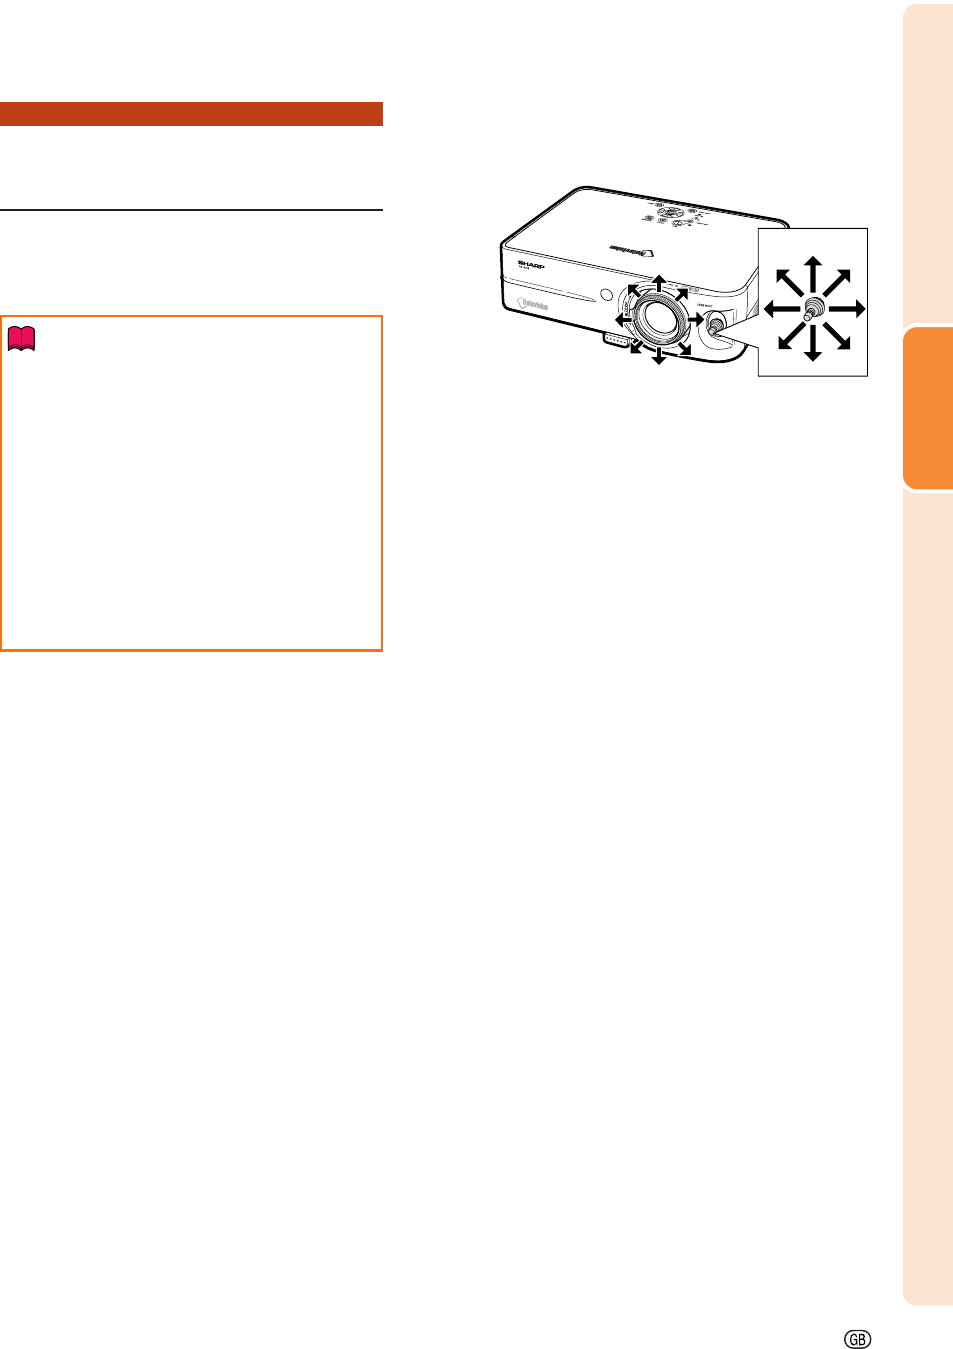
Adjusting the Projected
Image Position
Adjust the projected image position
using the lens shift lever.
Info
• When using the projector (during projec-
tion), be sure not to subject the projector to
any impact. If the projector is subjected to
impact, the projection image may deviate
from the adjusted position.
• When transporting or carrying the projec-
tor, attach the lens shipping block and the
lens cap to the projector.
• When the angle is being adjusted using the
adjustment foot, deviation of the projected
image arising when carrying out lens shift
in the lateral direction can not be corrected
by the Keystone Correction.