
Specifications
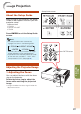
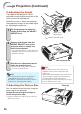


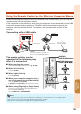
Table Of Contents
- Introduction
- Easy Start
- Setup
- Connections
- Basic Operation
- Useful Features
- Operating with the Remote Control
- Menu Items
- Using the Menu Screen
- Picture Adjustment (“Picture” Menu)
- Signal Adjustment (“SIG-ADJ” Menu)
- Adjusting the Projected Image (“SCR-ADJ” Menu)
- Adjusting the Projector Function (“PRJ-ADJ1/2” Menu)
- Auto Sync (Auto Sync Adjustment)
- Auto Power Off Function
- Auto Restart Function
- Speaker Setting
- Selecting the Transmission Speed (RS-232C)
- Fan Mode Setting
- System Lock Function
- Keylock Function
- Selecting the Quick Start Menu
- COMPUTER2 Select
- Setting the FUNCTION Button Operation
- STANDBY Mode
- DLP® LinkTM
- DLP® LinkTM Invert
- Returning to the Default Settings
- Checking the Lamp Life Status
- Setting Up the Projector Network Environment (“Network” Menu)
- Appendix
27
Basic
Operation
Image Projection
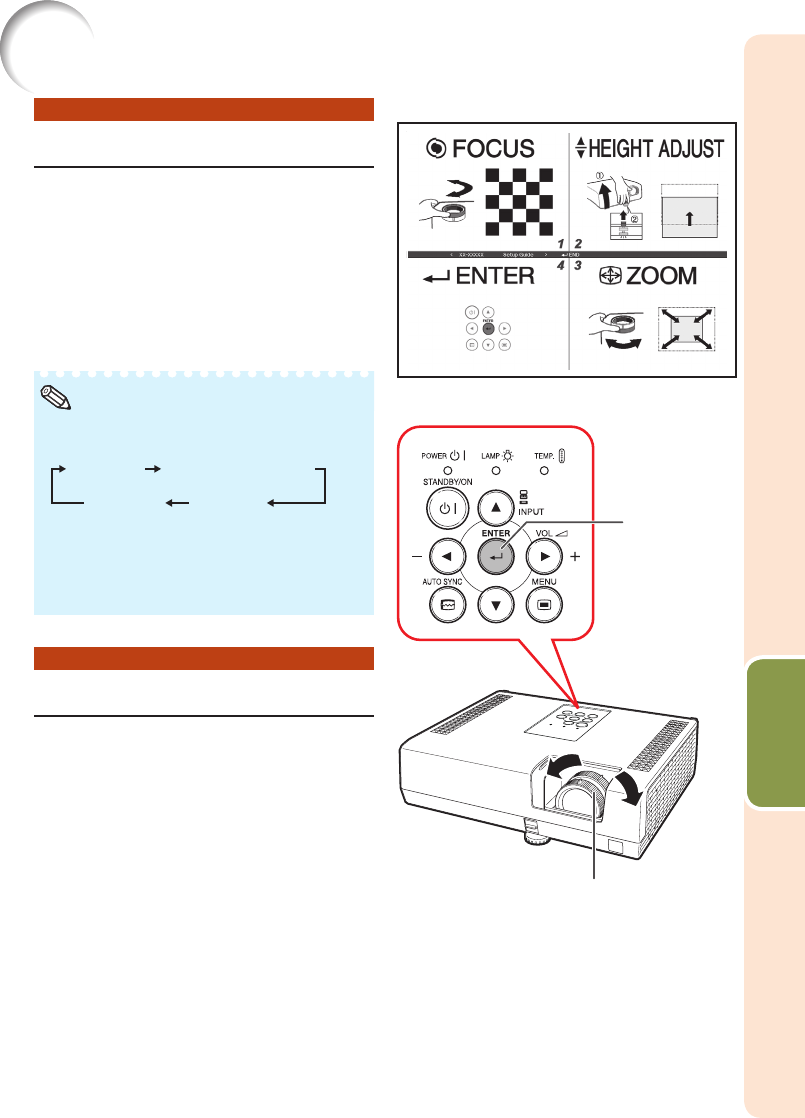
About the Setup Guide
After turning on the projector, the Setup
Guide screen appears to assist you with
projector setup.
Guidance items
1 FOCUS
2 HEIGHT ADJUST
3 ZOOM
Press ENTER to exit the Setup Guide
screen.
The Setup Guide screen automatically
highlights the items in the following order:
1 FOCUS
3 ZOOM4 ENTER
2 HEIGHT ADJUST
However, you can adjust the focus or height
(angle) regardless of the highlighted item.
If you do not want to display the Setup Guide
for the next time, set “Menu” - “SCR - ADJ” -
“Setup Guide” to “Off”. (See page
49.)
•
•
Note
Adjusting the Projected Image
1 Adjusting the Focus
You can adjust the focus with the focus
ring on the projector.
Rotate the focus ring to adjust the
focus while watching the projected
image.
Using the knob on the focus ring will make the
adjustments easier.
•
Setup Guide screen
ENTER button
Focus ring