
Operation Manual
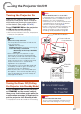
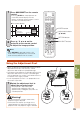
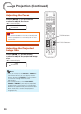
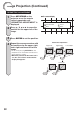
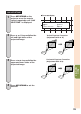
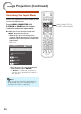
Table Of Contents
- Introduction
- Easy Start
- Setup
- Connections
- Basic Operation
- Useful Features
- Operating with the Remote Control
- Menu Items
- Using the Menu Screen
- Picture Adjustment (“Picture” Menu)
- Audio Adjustment (“Audio” Menu)
- Signal Adjustment (“SIG” Menu)
- Screen Adjustment (“SCR” Menu)
- Helpful Functions Set during Installation (“PRJ” menu)
- Setting Up the Projector Network Environment (“Net.” Menu)
- Viewing Stereoscopic 3D Images
- Appendix
34
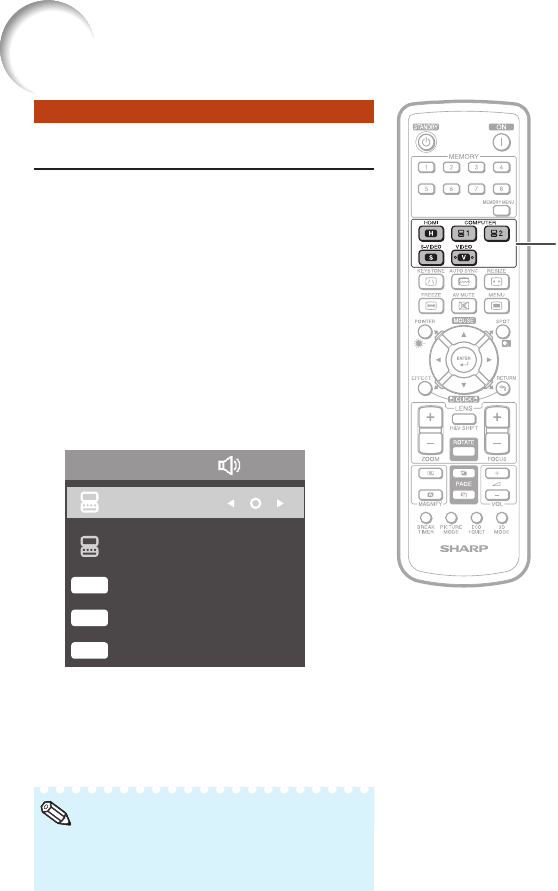
Image Projection (Continued)
Switching the Input Mode
Select the appropriate input mode for the
connected equipment.
Press HDMI, COMPUTER 1/2,
S-VIDEO or VIDEO on the remote
control to select the input mode.
When you select the input mode with
INPUT R/P on the projector:
When R/P is pressed, the Input list
appears. While the Input list is displayed,
follow the procedure below to switch the
input mode.
INPUT list
INPUT Audio
2 MONITOR OUT
HDMI
H
S-VIDEO
S
VIDEO
V
1 COMPUTER1
–Press R/P to select the desired input
mode and then press ENTER.
If ENTER is not pressed, the projector
switches to the selected input mode in a
few seconds.
When no signal is received, “NO SIGNAL” will
be displayed. When non-supported signal is
received, “NOT REG.” is displayed.
•
Note
■
•
•
HDMI, COMPUTER 1/2,
S-VIDEO, VIDEO buttons